USE ONLY HAYWARD GENUINE REPLACEMENT PARTS
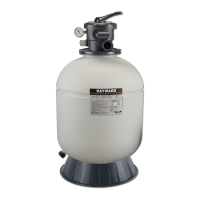
Page 4 of 15 Swim Pro® by HAYWARD® Sand Filter
IS0240TC REV OZ
OPERATION
Your filtration system uses filtration sand designed to trap impurities from the pool water. The sand in the tank acts as the
filtration media. The pump draws in unfiltered pool water, which contains impurities in suspension and feeds it through the
multi-port control valve to the top of the sand in the filter. When the water flows through the sand, the impurities are trapped
and the filtered water then returns to the pool.
INSTALLATION
(see figure 1 spare parts list) .
1. Locating the filter: Find a clean, level spot. The top of the filter must be no more than 2 m abov
e
the water level. P
lace the filter so that the piping, the valve (1), and
the drain plug (7) are easy to
reach. This wi
ll make servic
ing and winterizing easier.
2. Ass
embling the pump: Assemble the pump and its mount near the filter as indi
cated by the
manufacturer’s instructions.
3. Filling the filter. The sand is put in through the opening in the top of the filter.
a. P
lace the underdrain assembly (6) on the bottom of the tank and cover the op
ening in the top of the
tub
e with the sand shield (5) provided for this purpose. This prevents sand
from entering the tube.
Make sure tha
t the drain plug (7) is in plac
e.
b. Half-fill the filter with water
, then pour in the required quantity of sand (see Table II
-on last page).
Check that the underdrain tube (6) remai
ns straight. Th
e surface of the sand should be leveled and
reach the middle of the filte
r
.
c. Remove the s
a
nd shield (5).
4.
Asse
mbling the valve: Place the valve (1), with its gasket (3), on the top of the filt
er.
a.
Make sure that the “PUMP” outlet of the va
lve is toward the pump.
Then attach with the clamp (4).
b.
Remove the black plastic screw on the side of the valve
and replace
it with the pre
ssure gauge (2). Screw in by
hand without forcing.
c.
Connect the “PUMP” outlet (P) of
the valve to the top outlet of the
pump as indicated by the manufacturer’s instructions
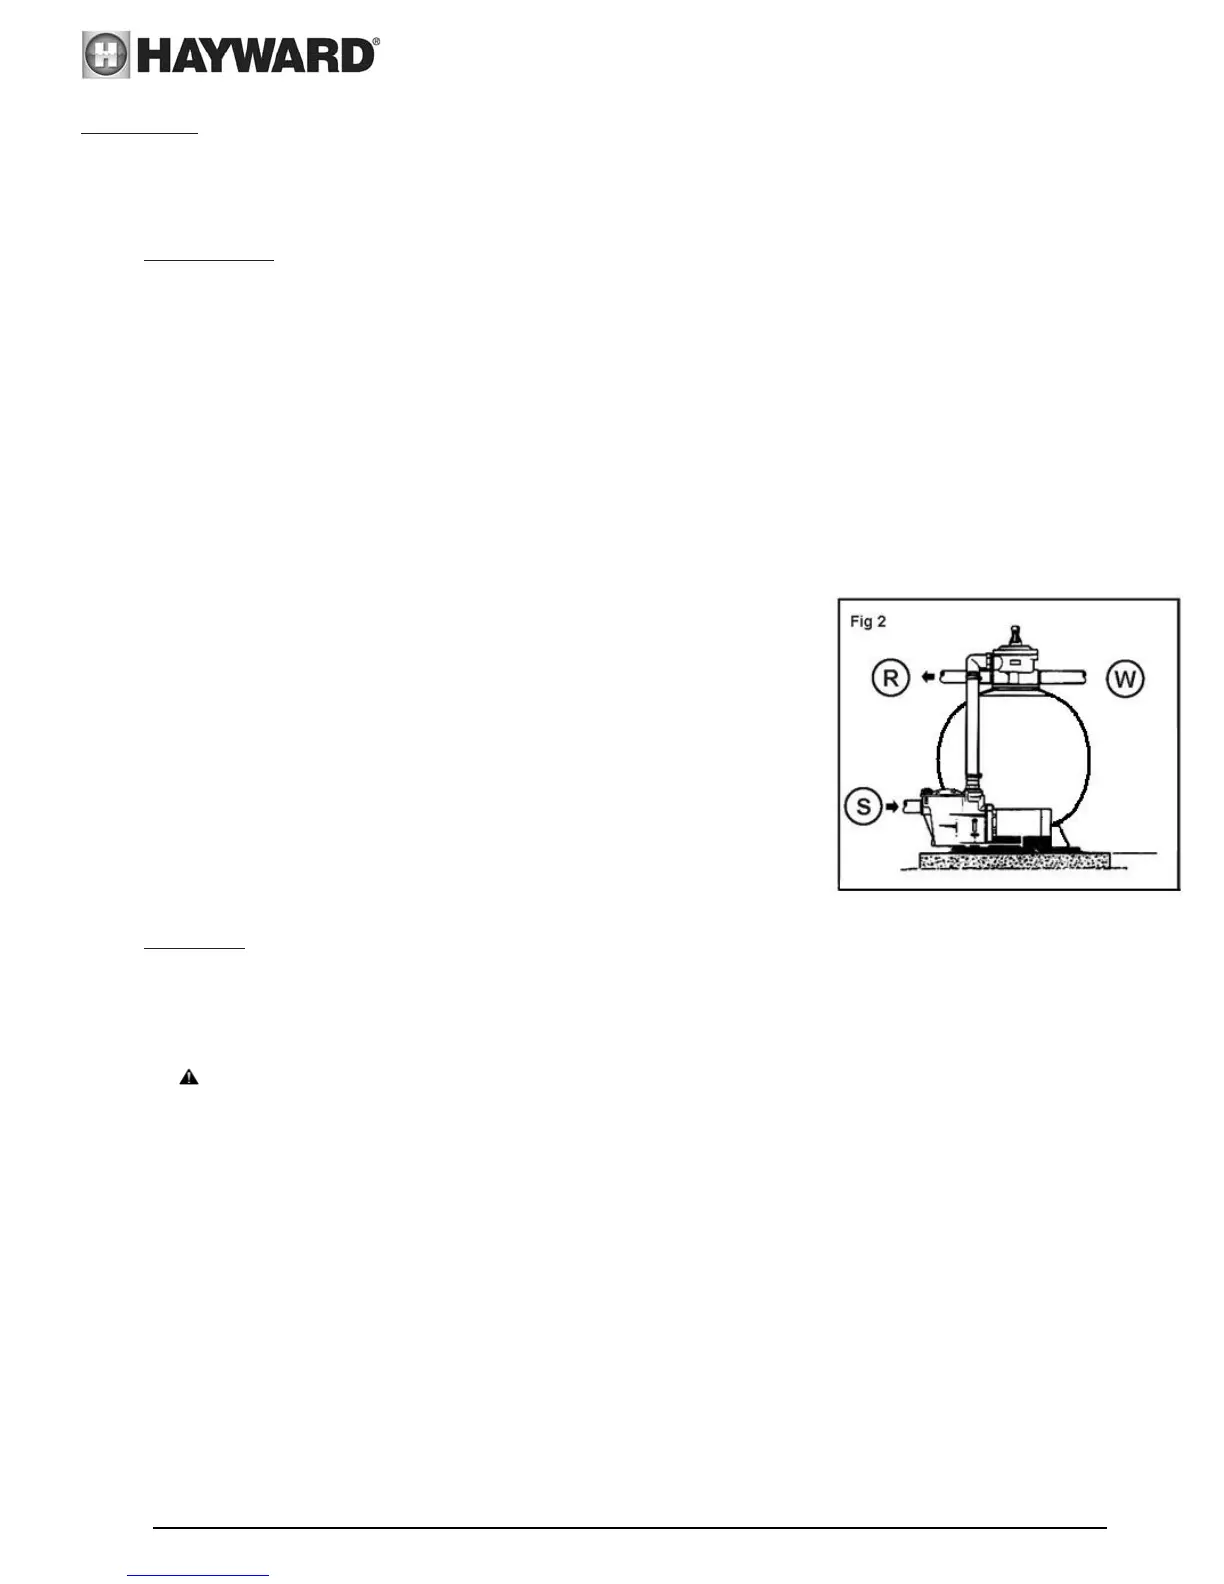
5.
Con
necting the valve: Then connect the pipes from th
e pool (see
fig. 2) and from the skim
mers (S) to the front port of the pump, on the
strainer side. Connect the discharge pipes to the valve port marked
“RETURN” (R), and the drain conne
ction to the valve port marked
“WASTE” (W)
6.
Make th
e electrical connections: Foll
ow the pump instructions
fro
m the manu
facturer.
7.
To avo
id leaks: Make sure that the drain plug (7) is in pl
ace and that
all connections are secure.
START UP:
IMPORTANT: ALWAYS STOP THE PUMP BEFORE CHANGING POSITIONS OF THE MULTIPORT VALVE.
1. Check that all connections are secure and that the filter contains the correct amount of sand.
2. Set the valve to “BACKWASH”. Always lower the handle before turni
n
g.
3. Start the pump as indica
ted by the manufacturer’s instructions. Check that water flows normally
in
the circuit.
WARNING: All suction and discharge valves must be open when the pump is started.
Once the water flows smoothly, let the pump run for
at least another 2 minutes. This backwash is
recommended to eliminate impurities from the filtration sand.
4. Stop the pump and set the
valve to “RINSE”. Restart the pump and let it run until the water be
comes
clear in the valve sight glass (about a minute).
5. Stop the pump and set the
valve to “FILTER”. Restart the pump and filtering starts. Adjust
the inlet
and outlet valves for the desired water flow.
6. Note the pres
sure reading at startup and the position of the needle on the pressu
re gauge. As the
filter operates, impurities ar
e retained and the pressure increases in the tank. When it exceeds
the
initial pressur
e (clean filter) by 0.5 bars, the filter needs be backwash
ed.
Note
1: During initial clean-up of the pool water, it may be necessary to backwash the filter frequently due to
the possibility the new water contained a large quantity of impurities.
Note 2: Clean the pump strainer basket and skimmers regularly to ensure trouble free operation of your
filtration system.
 Loading...