USE ONLY HAYWARD GENUINE REPLACEMENT PARTS
10
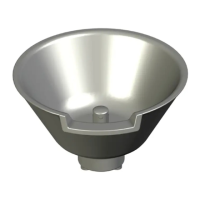
Light Performance
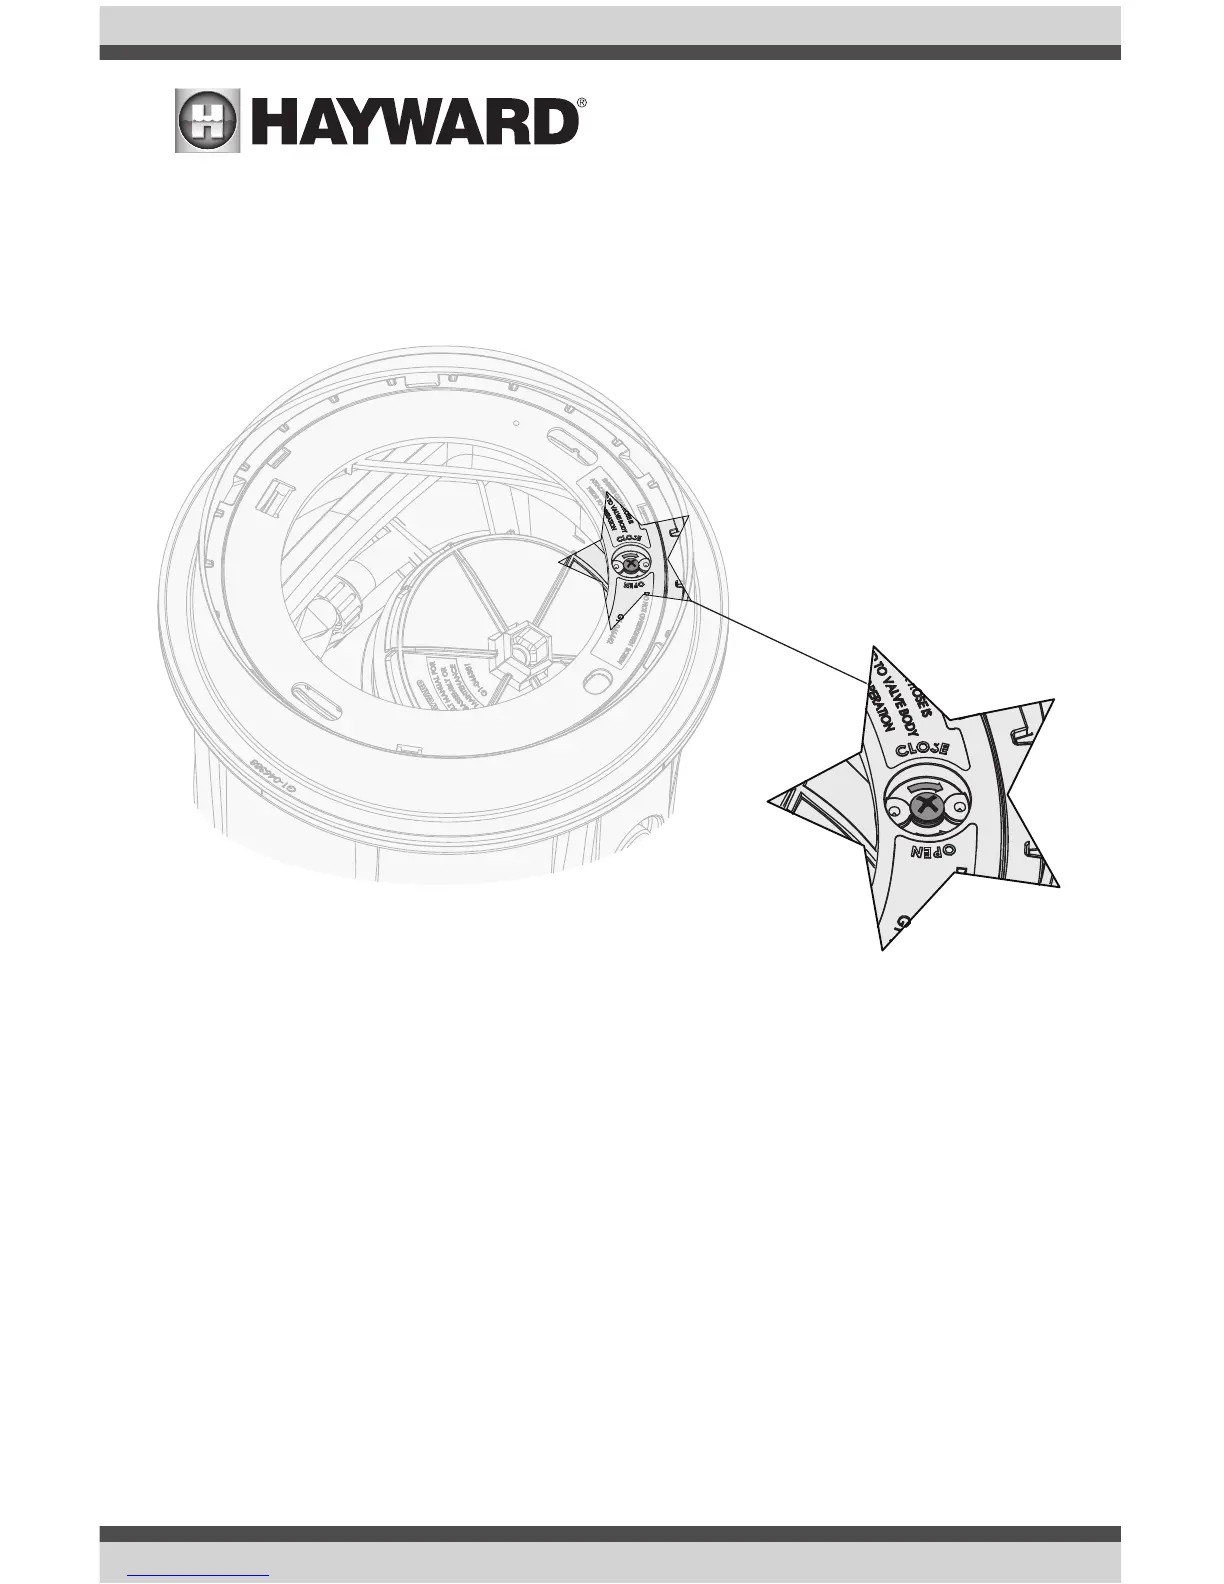
Adjust disruptor stream by opening or closing valve via the screw located beneath the Lid to
increase or decrease the flow of the disruptor stream, depending on angle of laminar jet. This will
increase or decrease the light intensity in the stream. Be careful not to over-torque the screw. See
images below.
Once you’ve reached the desired illumination, reinstall the Lid by aligning the tabs to the disruptor
plate and use screws to lock the Lid in place.
Winterization
Step 1: Close water supply valves during winterization to prevent any water from entering the
Laminar Jet.
Step 2: Use compressed air or some other source to remove water from lines.
Step 3: Unscrew the hose from the flow control valve and install the cap that was removed dur-
ing installation.
Step 4: The Laminar Jet bottom union may be removed to further remove residual water.
 Loading...