Page 11For technical questions, please call 1-888-866-5797.Item 59640
OPERATING INSTRUCTIONS
Read the ENTIRE IMPORTANT SAFETY INFORMATION section at the beginning of this manual
including all text under
subheadings therein before set up or use
.
TO PREVENT SERIOUS INJURY FROM ACCIDENTAL OPERATION:
Make sure that the Trigger is in the off-position and unplug the tool or remove
its Battery Pack before performing any procedure in this section.
TO PREVENT SERIOUS INJURY: Wear ANSI-approved safety goggles, heavy-duty
work gloves, and heavy-duty long-sleeved shirt or coat whenever working near the
Blade. Do not wear gloves when sawing.
READ AND FOLLOW THE BAND SAW MANUFACTURER’S INSTRUCTION MANUAL
BEFORE OPERATION. USE AS BAND SAW STAND ONLY – DO NOT USE WITH ANY OTHER
TYPE OF POWER TOOL. DO NOT USE ON UNEVEN OR SLIPPERY SURFACES.
Workpiece and Work Area Set Up
1. Designate a work area that is clean and well-lit.
The work area must not allow access by children
or pets to prevent distraction and injury.
2. Route the power cord along a safe route to reach
the work area without creating a tripping hazard or
exposing the power cord to possible damage. The
power cord must reach the work area with enough
extra length to allow free movement while working.
3. Secure loose workpieces using clamps
(sold separately) to prevent movement while working.
4. There must not be objects, such as utility lines,
nearby that will present a hazard while working.
Horizontal Operation
WARNING! TO PREVENT SERIOUS INJURY: READ AND FOLLOW THE BAND SAW MANUFACTURER’S
INSTRUCTION MANUAL BEFORE OPERATION. DO NOT WEAR GLOVES WHEN SAWING.
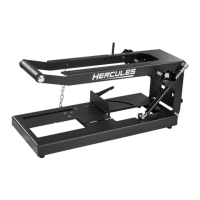
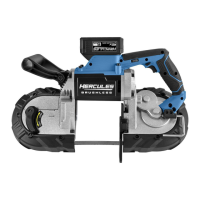
1. Set up Band Saw according to its instruction manual.
2. Install Band Saw into Stand, then plug into
grounded 120VAC outlet or install battery pack.
3. Make test cut:
a. Using 3″ diameter thick-wall steel pipe or
square tube, draw a line along length of pipe.
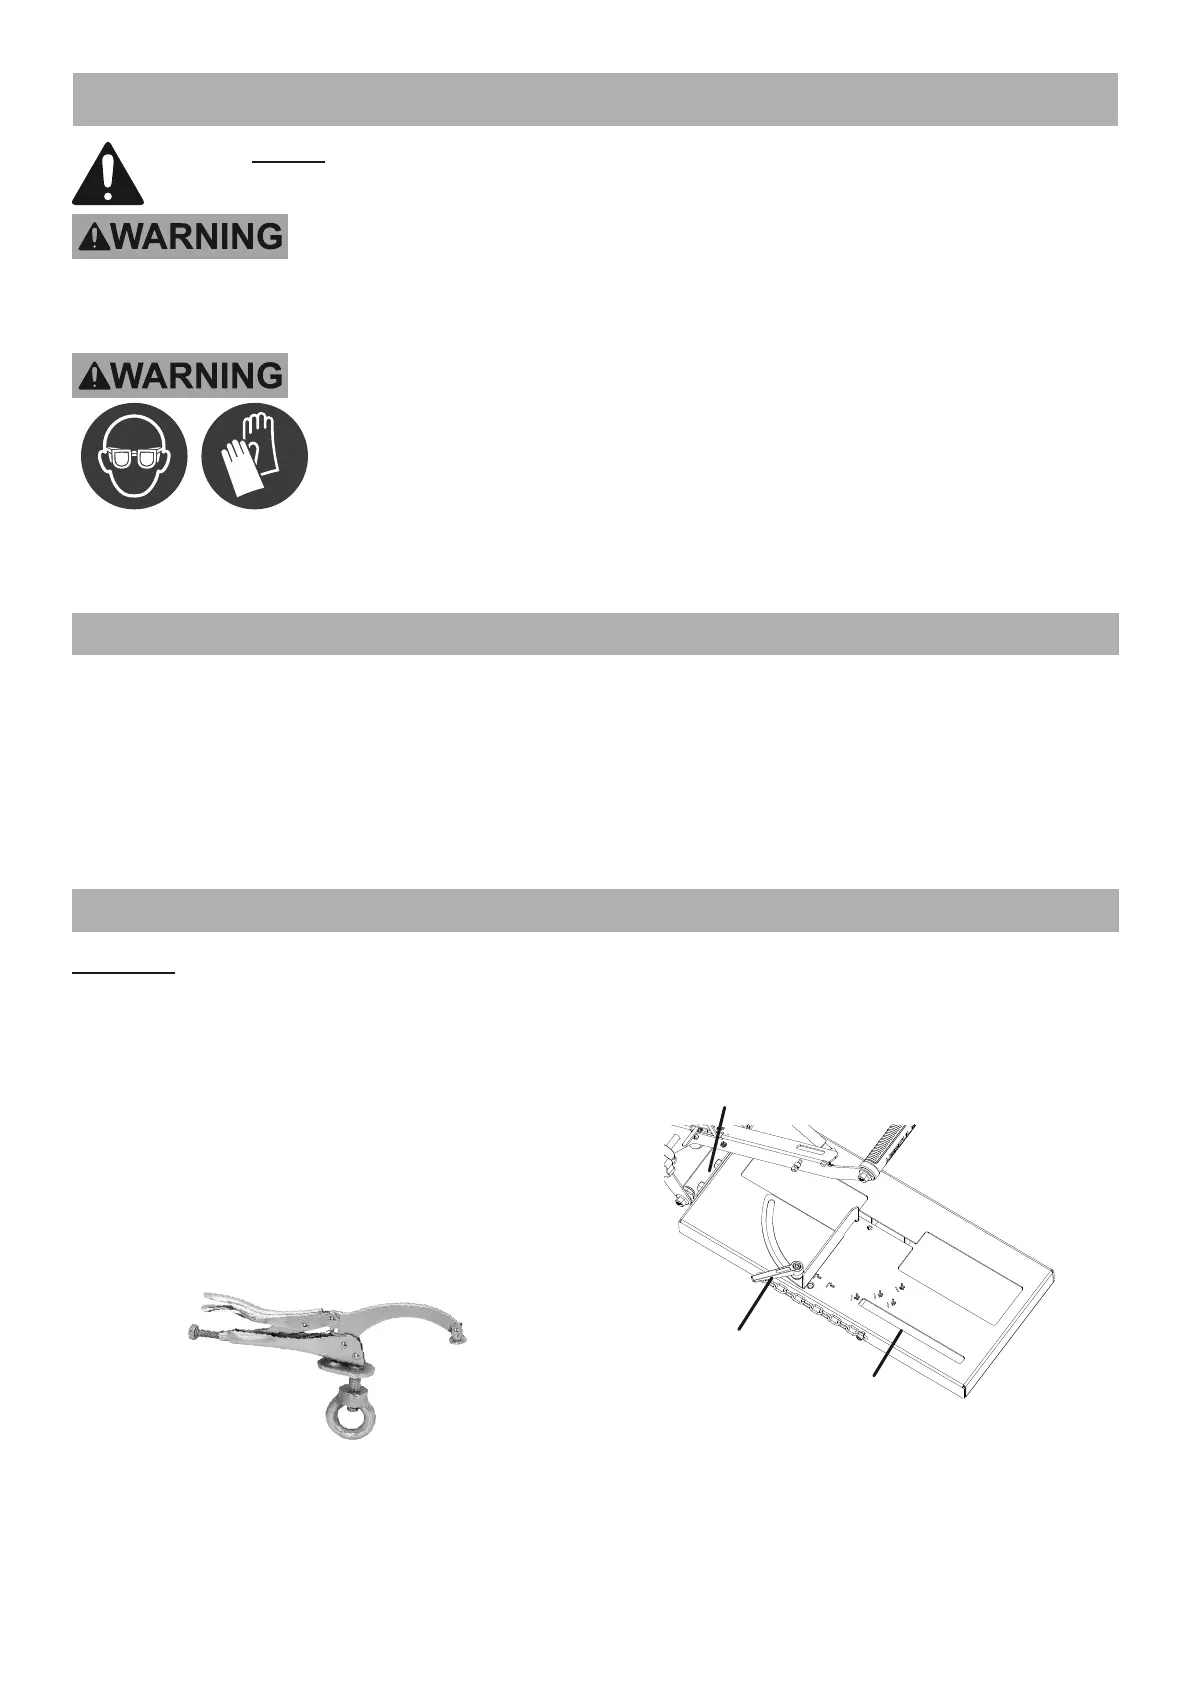
b. Using Harbor Freight 9″ Drill Press Clamp,
slide Clamp’s ring into Clamp Slot and
secure pipe with the line facing up.
c. With Band Saw in upright position, move Trigger
Switch to On position, make straight cut, then use
T-Square to check cut 90° from line on both sides.
d. If necessary, fine tune adjustment with
three Bolts between Base and Arm.
4. Set angle: Loosen Miter Angle Knob,
set angle then tighten Knob.
Miter
Angle
Knob
Adjustment
Bolts
Clamp
Slot
5. With Band Saw in upright position, move Trigger
Switch to On position. After cut is finished,
move Trigger Switch to OFF position.
6. To prevent accidents, disconnect tool’s
power supply after use. Clean, then store
the tool indoors out of children’s reach.
 Loading...