Digital Night Vision Monocular User Manual
9
5. Rotate the wheel to change the hour, minute, second, year, month, or day selected, and press
the wheel again to finish the setting.
6. Hold the wheel to save settings and exit.
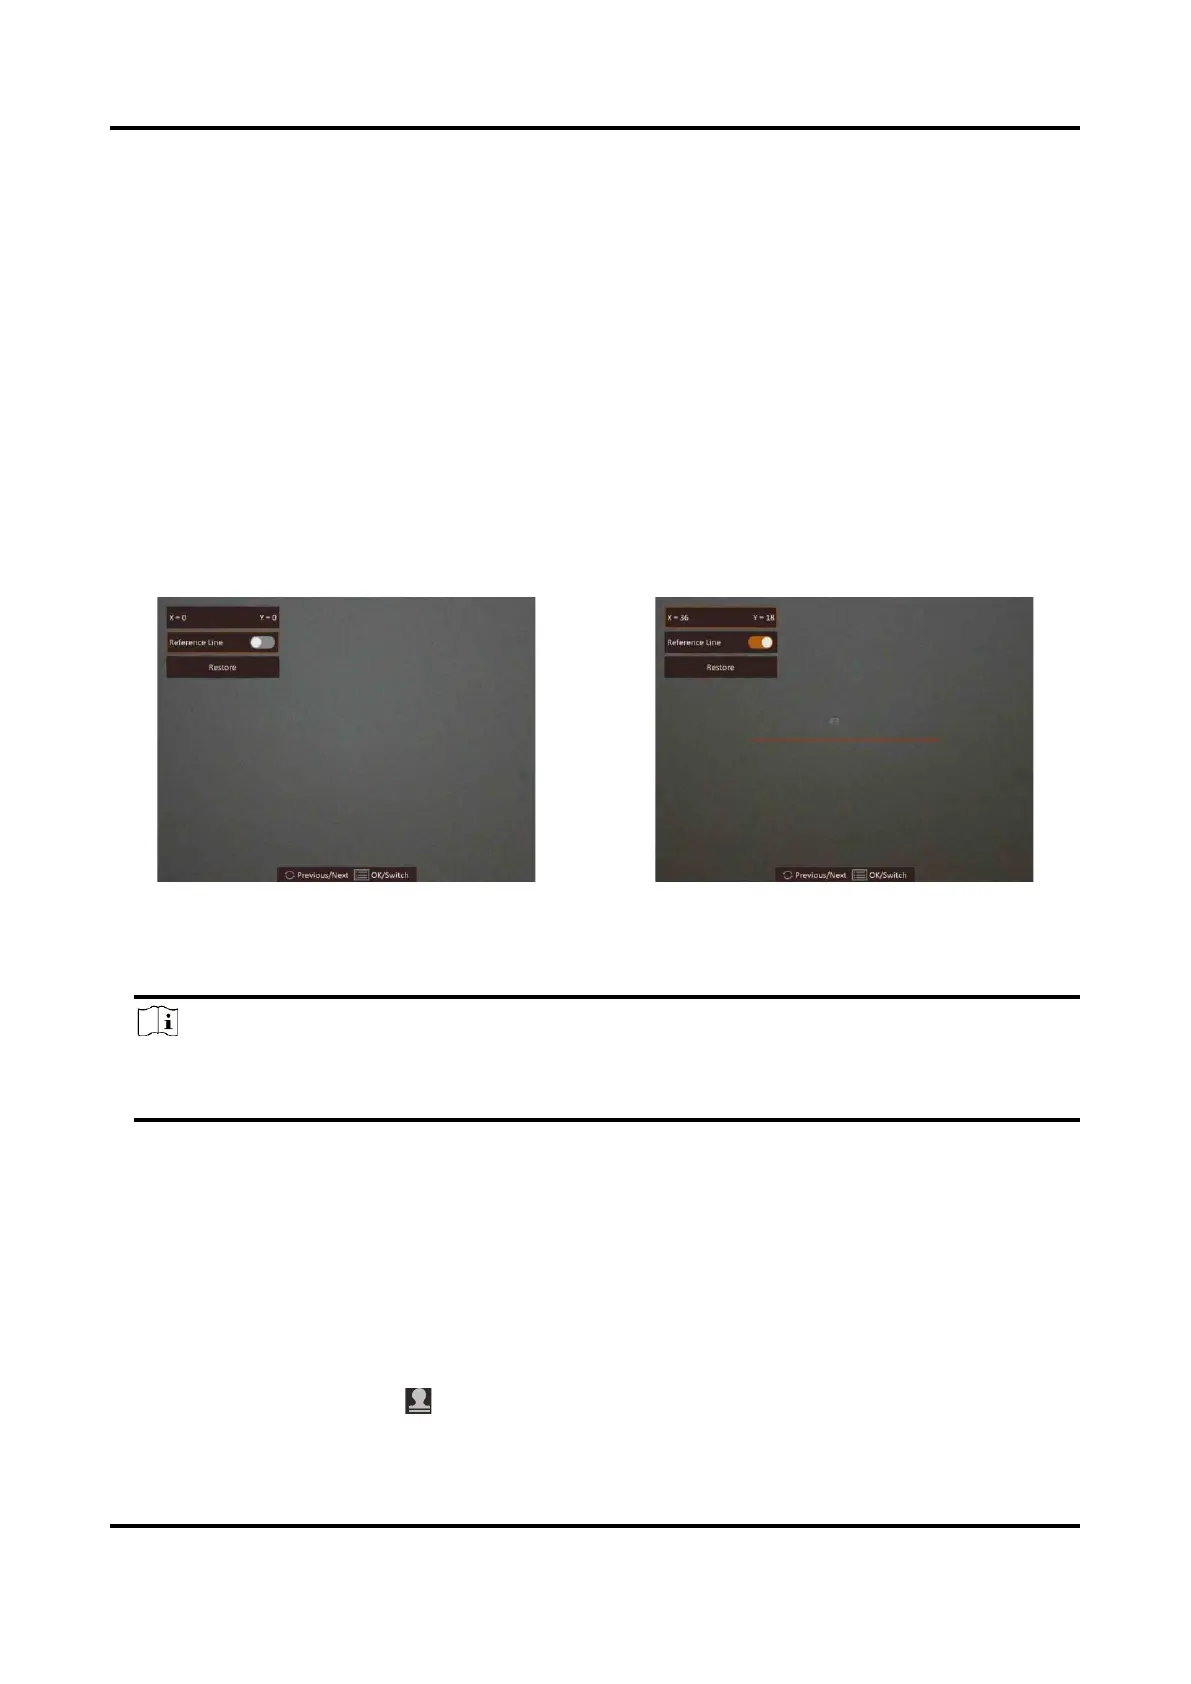
3.7 Calibrate Image
The device can adjust the thermal view to make it consistent with the optical view.
Steps
1. Hold the wheel to enter the image calibration interface.
2. Rotate the wheel to select the coordinates, and press the wheel to confirm.
3. Rotate the wheel to select the coordinates, and press the wheel to switch the X and Y axis.
4. (Optional) Rotate and press the wheel to select Reference Line, and press the wheel to enable
this function. A horizontal reference line appears in the middle of the view when it is enabled.
Figure 3-3 Image Calibration Effect with the Reference Line
5. (Optional) Rotate and press the wheel to select Restore, and press the wheel to confirm. Select
OK to restore the view to default position, and CANCEL to return to the setting interface.
Note
The default position of image window may not be exactly at zero (X = 0, Y = 0). This is caused by
slight individual differences of optical components, and it is a normal phenomenon.
4. Hold the wheel to exit image calibration.
3.8 Set Brand Logo
You can add brand logo on the live view interface.
Steps
1. Hold the wheel to show the menu.
2. Rotate the wheel to select .
3. Press the wheel to enable Brand Logo.
 Loading...