Network Dome Camera·Quick Start Guide
Front
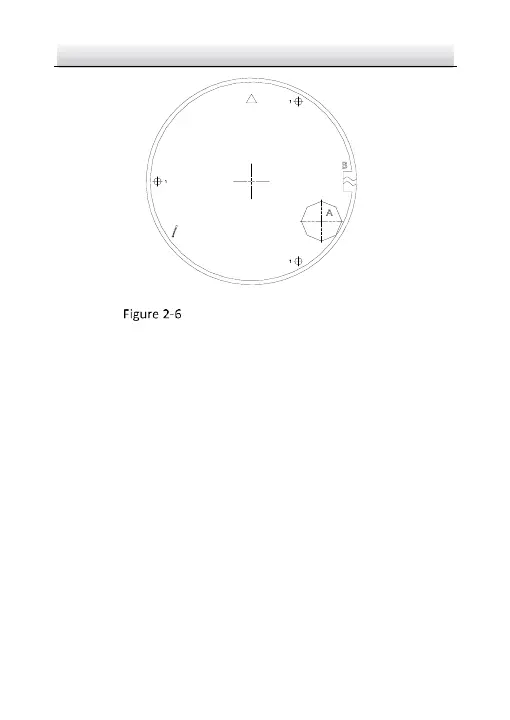
Drill Template
Hole A: Route cables through the ceiling.
Hole B: Side outlet.
Hole 1: Fix the mounting base.
Please use Φ5.5mm drill to install
expansion screws.
The Drill Template (Type II Camera)
Notes:
● The drill template varies according to the different camera
models as the figures below. Please refer to the actual device.
● If you want to route the cables inside the ceiling, drill a cable
hole in the ceiling according to the drill template. Route and
connect the cables before next step.
3. Align the holes of the back box with the drilled screw holes on the
ceiling. And secure the camera with the supplied screws.