Before you start:
Both wall mounting and ceiling mounting are suitable
for the camera. We take ceiling mounting as an example
in this section. You can take the steps of ceiling
mounting as a reference, when adopting wall mounting.
Steps:
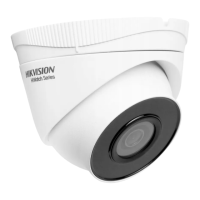
1. Disassemble the turret camera by rotating the trim
ring anticlockwise to get the trim ring out of the
camera as shown in the figure below.
Figure 2-11 Get the Trim Ring out
2. Paste the drill template (supplied) to the place
where you want to install the camera.
Figure 2-12 Drill Template
Note:
Drill the cable hole, when adopting the ceiling outlet
to route the cable.
3. Attach the camera to the ceiling, and secure them
with supplied screws.
Figure 2-13 Attach the Camera to the Ceiling
Note:
The supplied screw package contains
self-tapping screws, and expansion bolts.
For cement ceiling, expansion bolts are required
to fix the camera. For wooden ceiling,
self-tapping screws are required.
4. Route the cables through the cable hole, or the side
opening.
5. Put the trim ring back, and tighten it by rotating it
clockwise.
 Loading...
