18
Advanced Features
You can use DLNA Certified computers, TVs, and other
devices to play or transfer the videos, pictures, and music
stored on your phone , tablet or other devices connected to
your network. For more about DLNA (Digital Living Network
Alliance), visit www.dlna.org. Make sure your phone and TV
are both connected to the same wireless network.
Set DLNA to On:
1. On the Network screen, select Applications and press
the [ENTER] button to enter the submenu.
2. Press the [◄/►] buttons to set DLNA to On.
DLNA Setting
If your computer does not support DLNA, you may install
software that supports DLNA such as TVersity or Windows
Media Player (Version V11 or higher). We recommend
Windows Media Player as the installation and setup is
easier.
1.
On the PC taskbar, click Start.
2.
Point to All Programs, and then click Windows Media
Player.
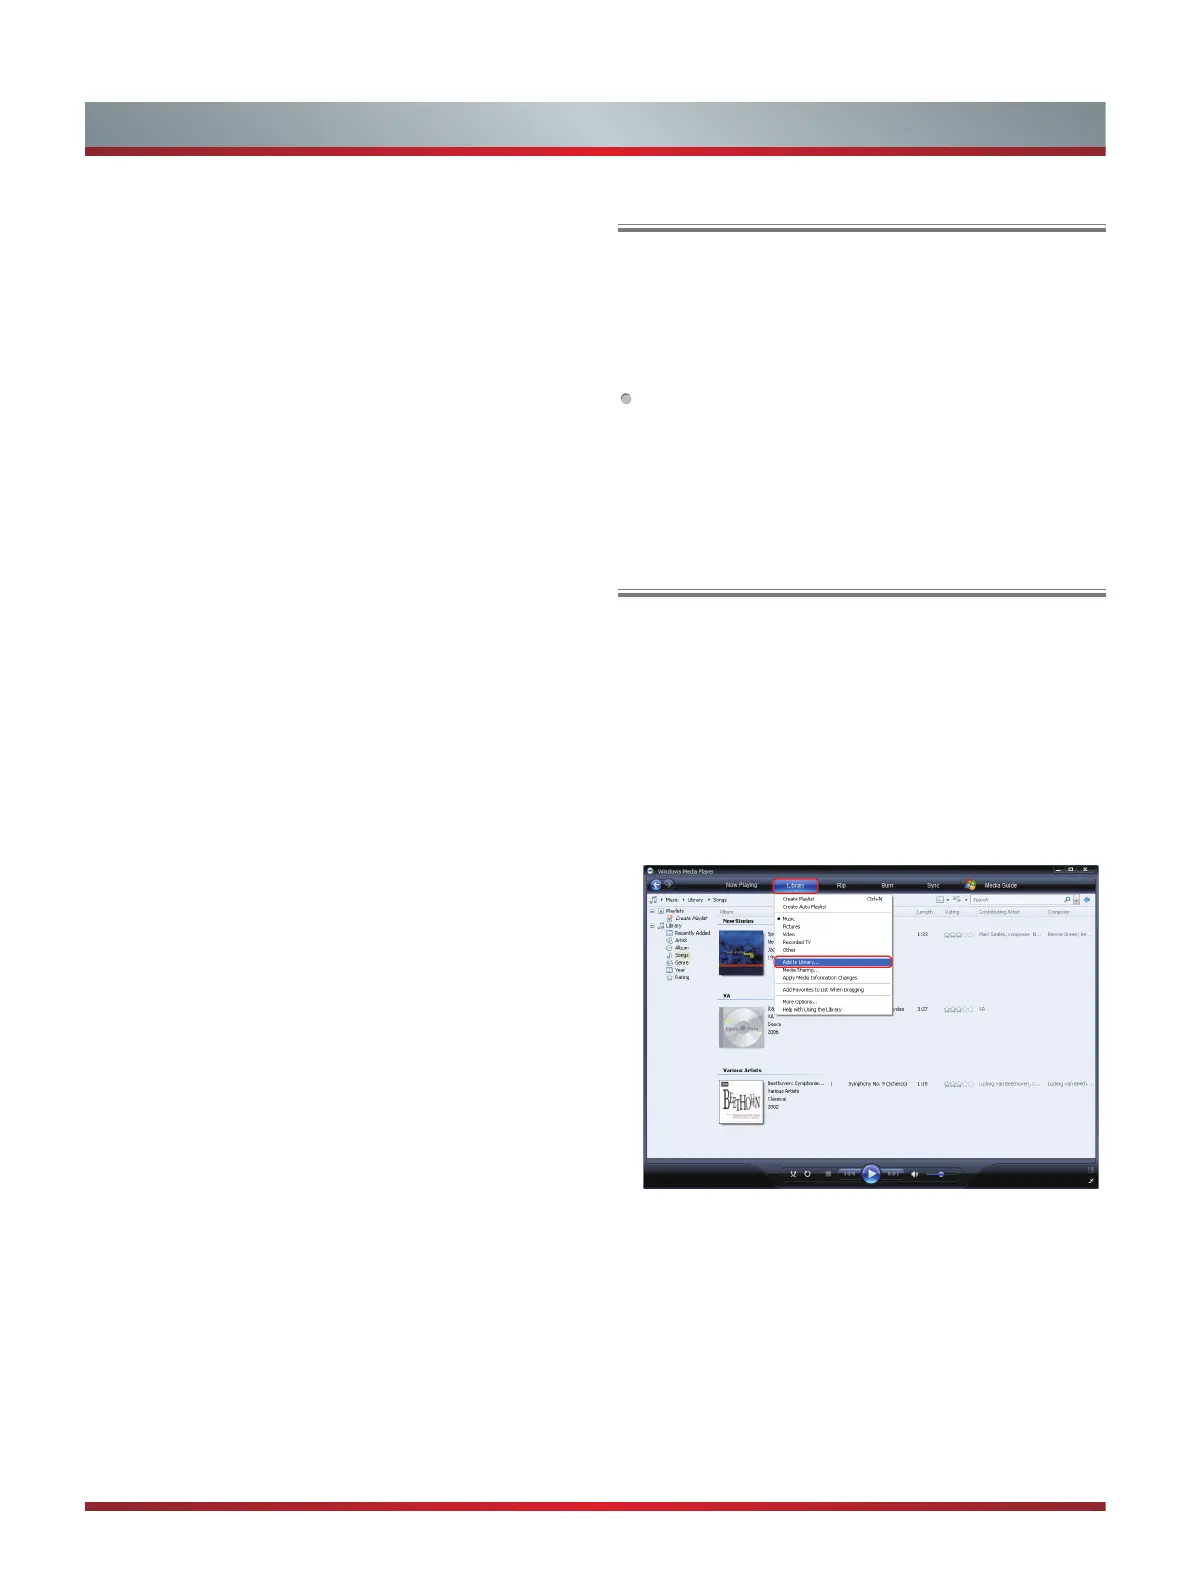
3.
Click “Library” tab and then “Add to Library...” as shown in
the following screen shot.
4.
In the Add To Library dialog box, click “Add” as shown in
the following screen shot.
Media Share Settings in Computer
8. If you select Auto, a screen will appear prompting you
to select PIN (personal identification number) or PBC
(push button configuration) setup. Choose the method
supported by your wireless access point.
If you choose PIN, an identification number will
appear on the screen for you to enter into the access
point. After entering the PIN, press the [►] button. If
the PIN is in use by another device, select [REFRESH]
to obtain a new PIN and enter it into the access point.
After entering the PIN, press the [►] button.
If you choose PBC, a screen will appear prompting
to press [►] button. After pressing the [►] button you
have two minutes to locate and press the Push Button
on your access point to connect to the TV.
9. Press the [MENU] button to return to the previous menu.
10. Select Connection Test to check the Internet connectivity.
 Loading...