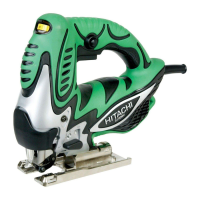
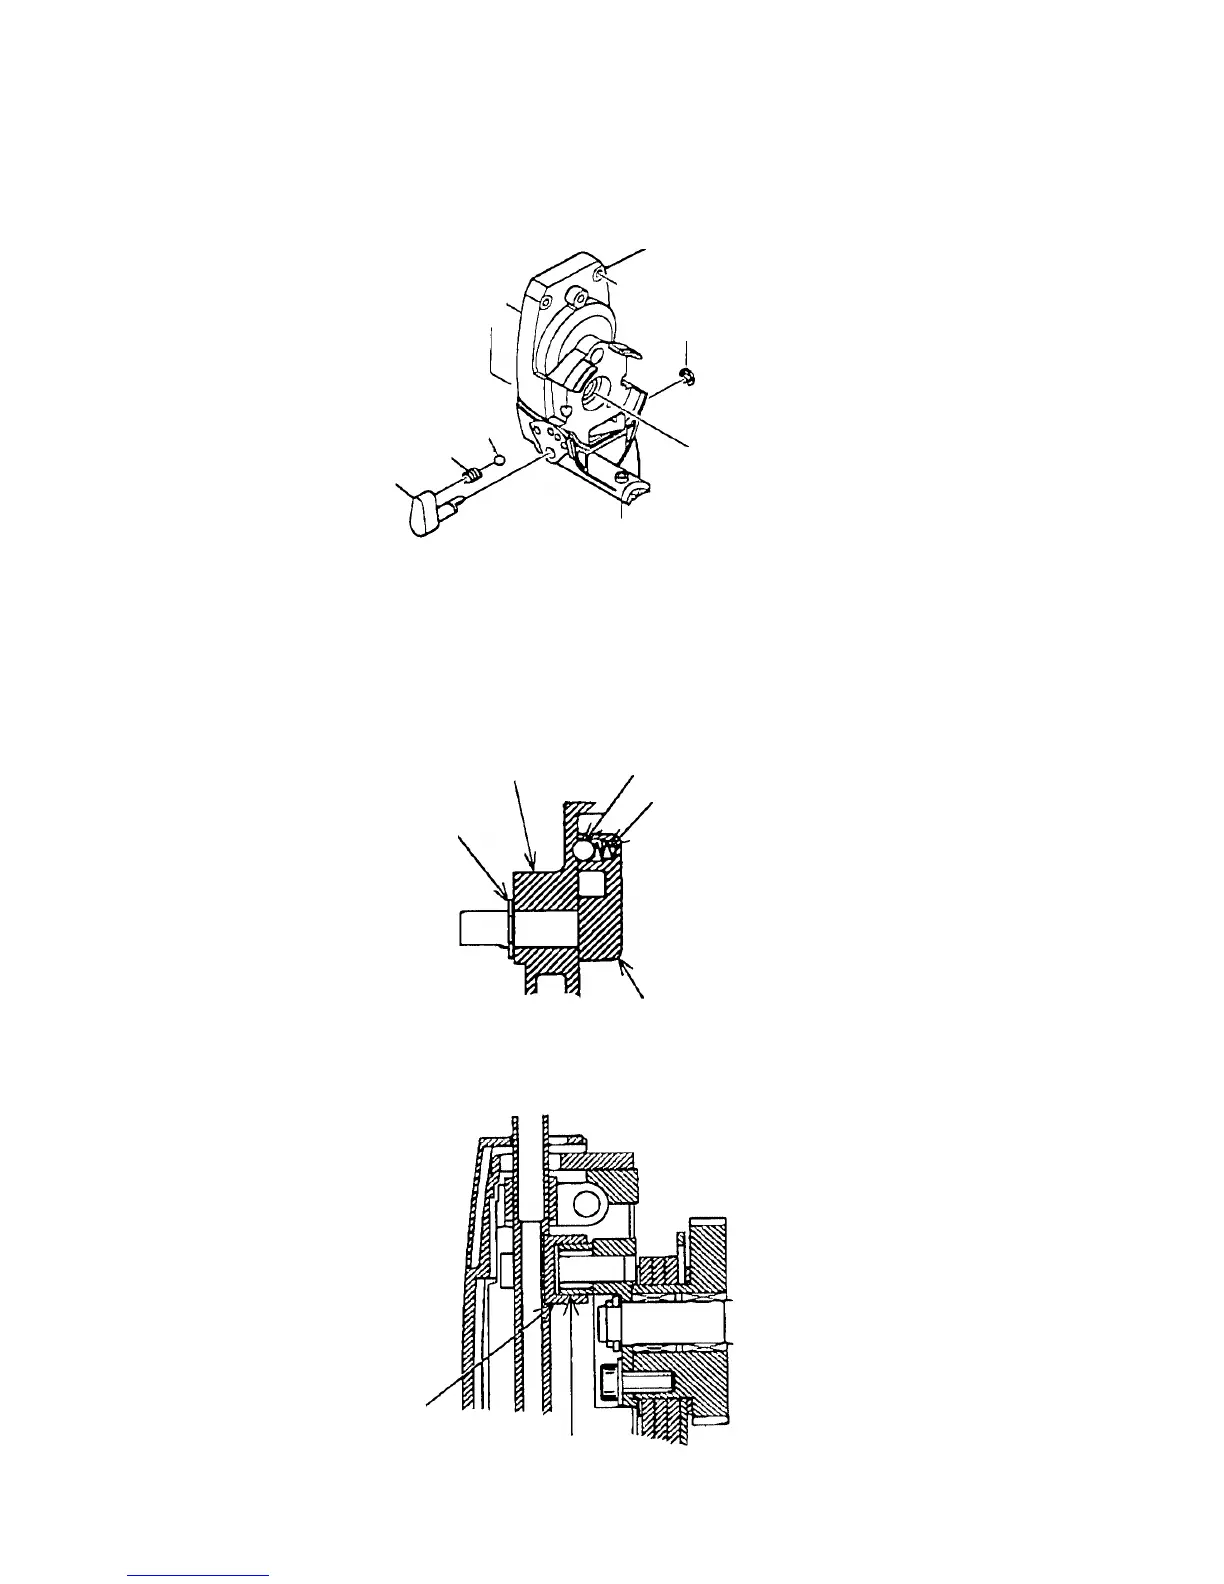
(8) Disassembly of the Change Knob [52] ([55]) (Fig. 12)
Being very careful not to lose Spring (C) [53] ([56]) and the Steel Ball D3.97 [54] ([57]) inside the Change
Knob [52] ([55]), remove the D5 Retaining Ring (E-type) for D5 Shaft [47] ([50]) from the end of the Change
Knob [52] ([55]), and remove the Change Knob [52] ([55]) from the Gear Cover [45] ([48]).
10-2. Reassembly
Reassembly can be accomplished by following the disassembly procedures in reverse. However, special attention
should be paid to the following points.
(1)
Assemble Spring (C) [53] ([56]) and the Steel Ball [54] ([57]) in the Change Knob [52] ([55]) as shown in Fig. 13.
Fig. 12
Fig. 13
Change Knob [52] ([55])
Gear Cover [45] ([48])
Spring (C) [53] ([56])
Steel Ball D3.97 [54] (57])
Retaining Ring (E-Type)
for D5 Shaft [47] ([50])
(2) Confrim that the Connecting Piece [32] ([35]) surely fits into the Connector [31] ([34]) as shown Fig. 14.
Steel Ball D3.97 [54] ([57])
Change Knob [52] ([55])
Spring (C) [53] ([56])
Gear Cover [45] ([48])
Retaining Ring (E-type)
for D5 Shaft [47] ([50])
Connector [31] ([34])
Connecting Piece [32] ([35])
Fig. 14
 Loading...