--- 35 ---
(a) Disassembly
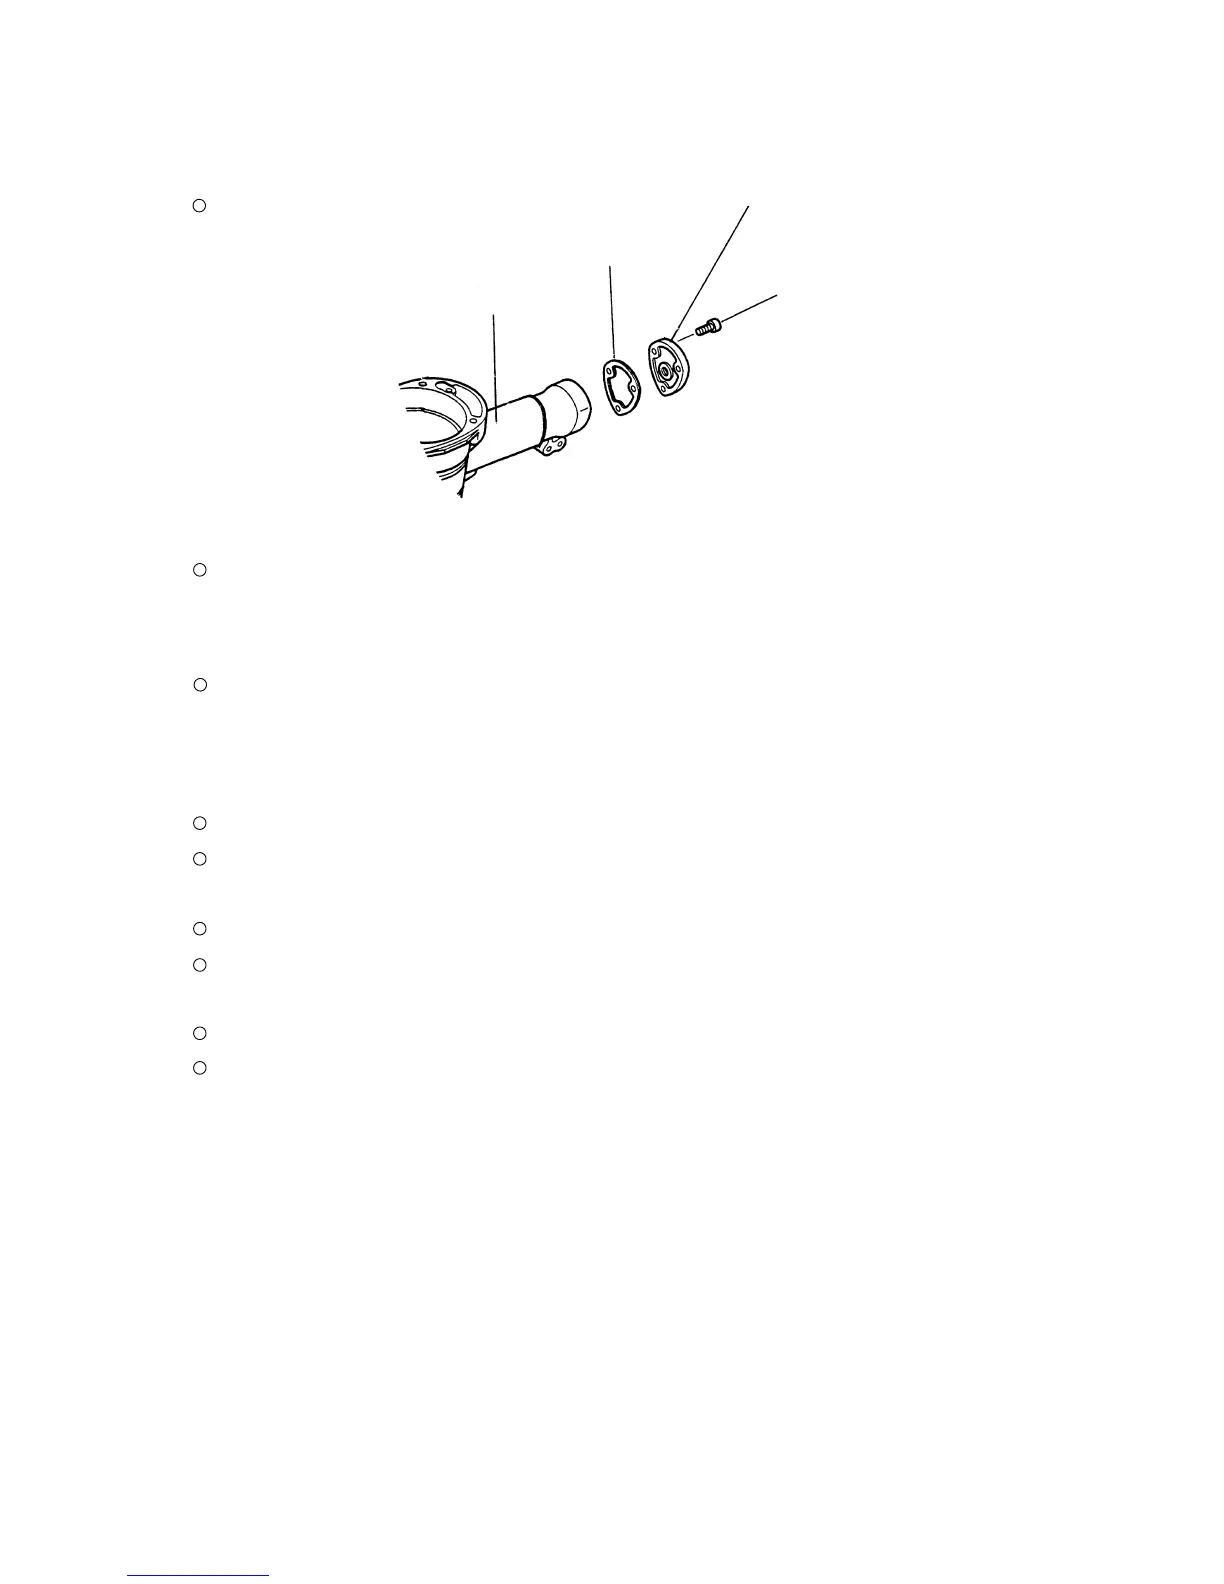
Remove the three Hex. Socket Hd. Bolts M5 x 18 [41], then the Cap [40] and Gasket (D) [39] can be
removed.
(b) Reassembly
Reassembly can be accomplished by following the disassembly procedures in reverse.
(2) Magazine [82] and the related parts (See Fig. 20.)
Tools required
Hexagonal bar wrench (3 mm, 4 mm and 5 mm)
Spanner (7 mm, 8 mm and 10 mm)
(a) Disassembly
Remove the magazine section according to 10-2-(3).
Remove the loose High Tension Bolt M6 x 18 [29] to remove the Nail Feeder [75] and the Ribbon Spring
[76].
Remove the two Hex. Socket Hd. Bolts M6 x 12 [53] to remove Handle Arm (B) [37].
Remove the Hex. Socket Hd. Bolts M5 x 45 [84] and the Hex. Socket Hd. Bolts M4 x 15 [85] to remove
Stop Lever [87], Sleeve [83] and the related parts.
10-5. Disassembly and Reassembly of the Cap and the Magazine Section
(1) Disassembly and reassembly of the cap (See Fig. 19.)
Tool required
Hexagonal bar wrench (4 mm)
Hex. Socket Hd. Bolt M5 x 18 [41]
Body Ass'y [25]
Gasket (D) [39]
Cap [40]
Fig. 19
 Loading...