4 EN
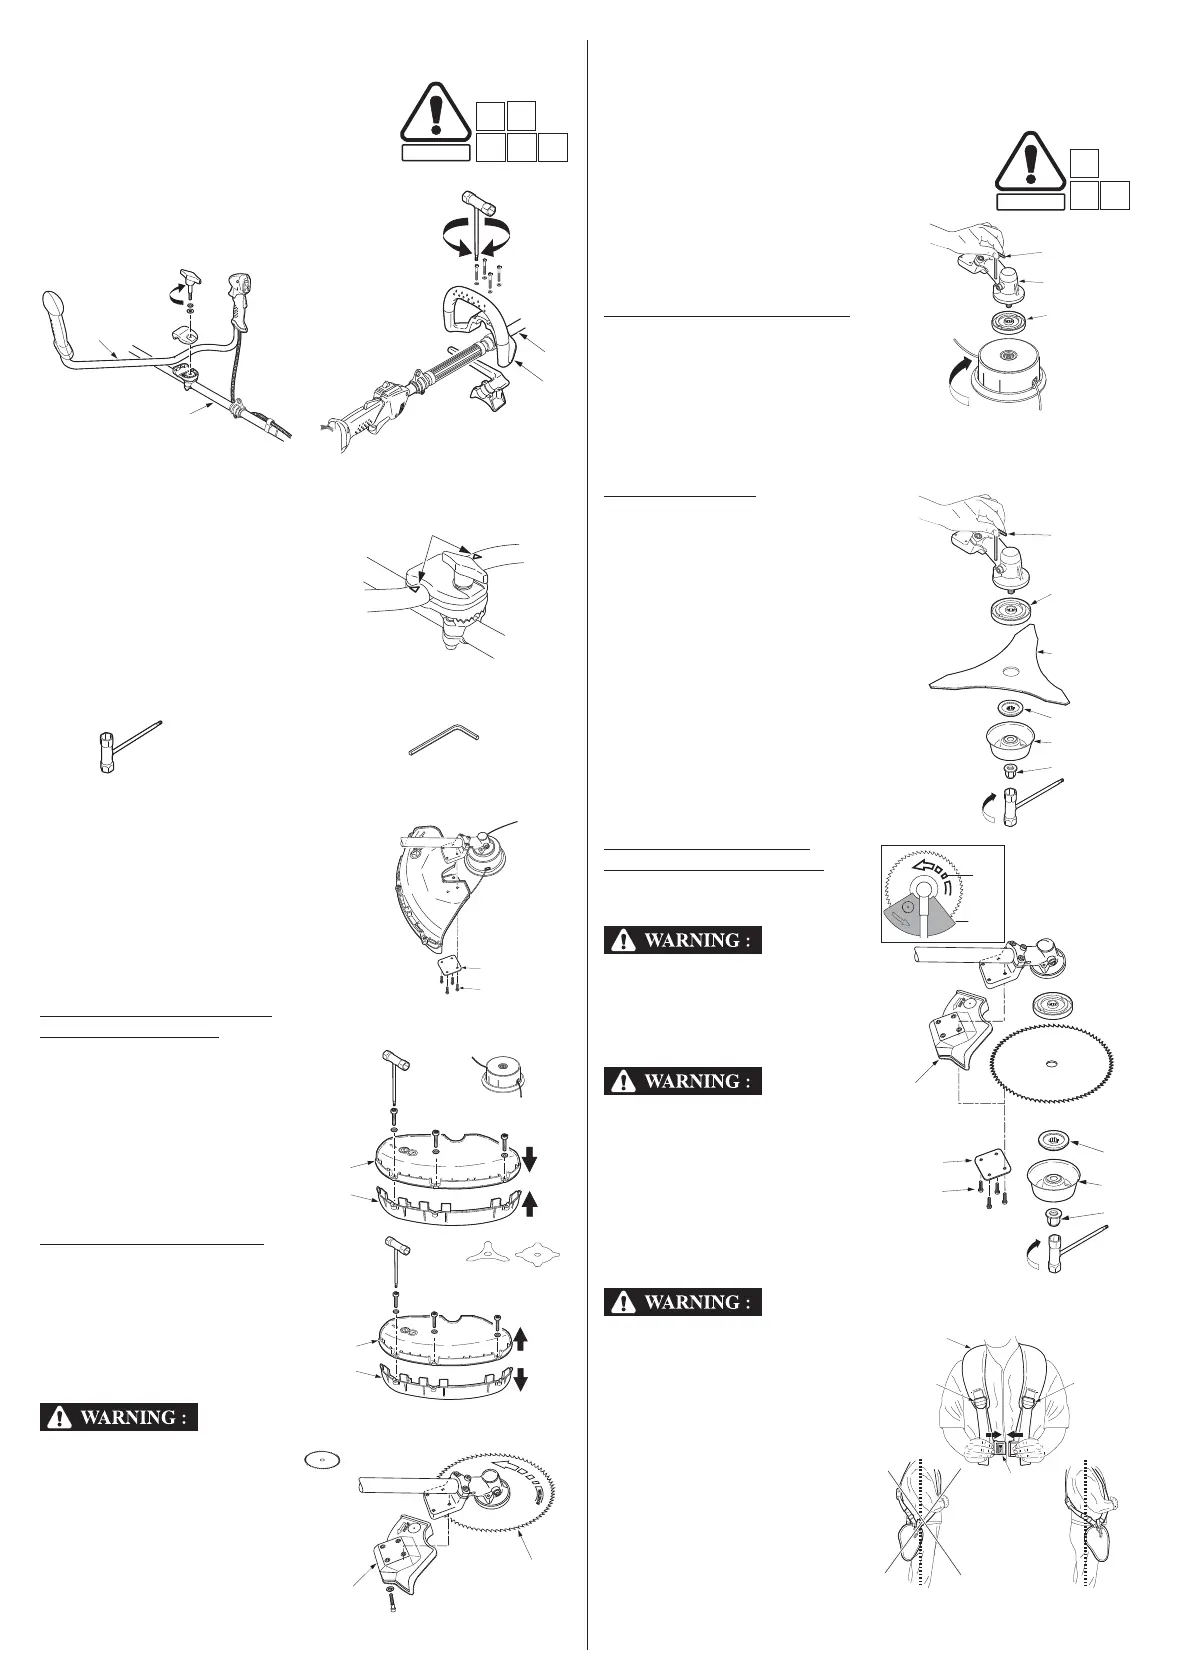
FITTING
GRIPS AND HANDLES
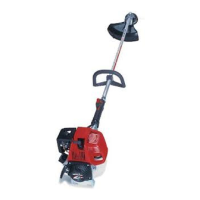
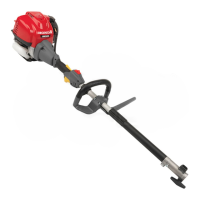
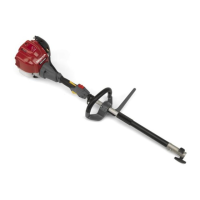
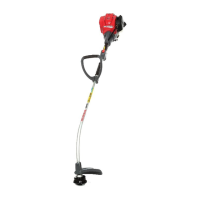
The bike type handle [1] (U type)
or the loop handle [2] (L types)
must be installed on the
transmission tube [3].
• U types: Position the handle
between the two arrows [4].
Fitting is to be performed using
the tools in the kit supplied with
the appliance.
ATTACHMENT
PROTECTORS
Your brush cutter is supplied with
a guard.
Install the guard on the machine
with the four screws [8] and the
spacer [7] supplied with the Torx
wrench.
UTILIZATION WITH NYLON
LINE CUTTING HEAD
Fit the two sections [10] and [9]
and clamp them into place as
shown in the diagram. Screw the
3 screws and the washers by
using the torx wrench.
UTILIZATION WITH BLADE
Do not fit the lower section [10].
(UMK435E1 UEET)
While using the Honda
circular saw blade [11]
(optional), always replace
the standard protector [10]
and [9] by the special Honda
protector [12], available as
an accessory.
Assembly is the same as for
the standard protector.
ASSEMBLING THE CUTTING
SYSTEM
• Pay special attention when
fitting the spacer [13]. The
concave side must face the
transmission [15].
NYLON LINE CUTTING HEAD
With the spacer [13] already fitted
on the transmission shaft, screw
on the nylon line cuttinghead. It is
tightened by turning
counterclockwise.
Use the hexagonal wrench [14] to immobilize the transmission so
that the nylon line cutting head is properly tightened.
3 - TOOTH BLADE
Place the grass-cutting disc [16]
between the spacers [13]
and [17] so that the grooves on
the spacers fit perfectly onto the
shaft.
Install the stabilizer [18]. Block
the rotation of the shaft with the
hexagonal wrench [14]. Securely
tighten the locknut [19] in the
counterclockwise direction with
the appropriate wrench.
CIRCULAR SAW BLADE
(OPTIONAL ACCESSORY)
Assemble in the same way as
the 3- tooth blades.
Use of this accessory is
restricted to the UMK435E1
UEET models only, and it must
be fitted together with the
special Honda protector [20].
Install the blade in the
appropriate way. The arrow on
the blade [21] must point in the
same direction as the one on
the protector [20].
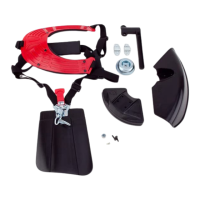
FITTING AND
ADJUSTING THE
HARNESS
For operator safety and
comfort, it is important to
adjust the harness straps so
they can be worn comfortably
and so that the machine is
properly balanced in the
working position.
Machines are supplied with a
double harness [22].
Put on the harness and fasten it
with the quick fastener [23].
Adjust the straps with the
buckles [24] so that the machine
hangs at hip height.
[5] Spark plug wrench / Torx wrench [6] Hexagonal wrench
B3
[1]
[3]
[10]
[9]
R
O
T
A
T
I
O
N
[11]
[12]
[14]
[15]
[13]
[14]
[16]
[17]
[18]
[19]
[13]
[7]
[8]
[20]
[19]
[18]
[17]
M
A
X
.
1
0
.
0
0
0
R
P
M
[21]
[20]
Ø200
 Loading...