Home Automation
- 3 -
5100-100-075-V0
Ready To Arm - Chime
View Enrolled
Devices
View Enrolled
Controllers
Reset Controller
Pri. Controller Shift
to Secondary
Locking Door Learn
Base Command
Set On
Base Command
Set Off
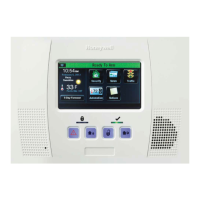
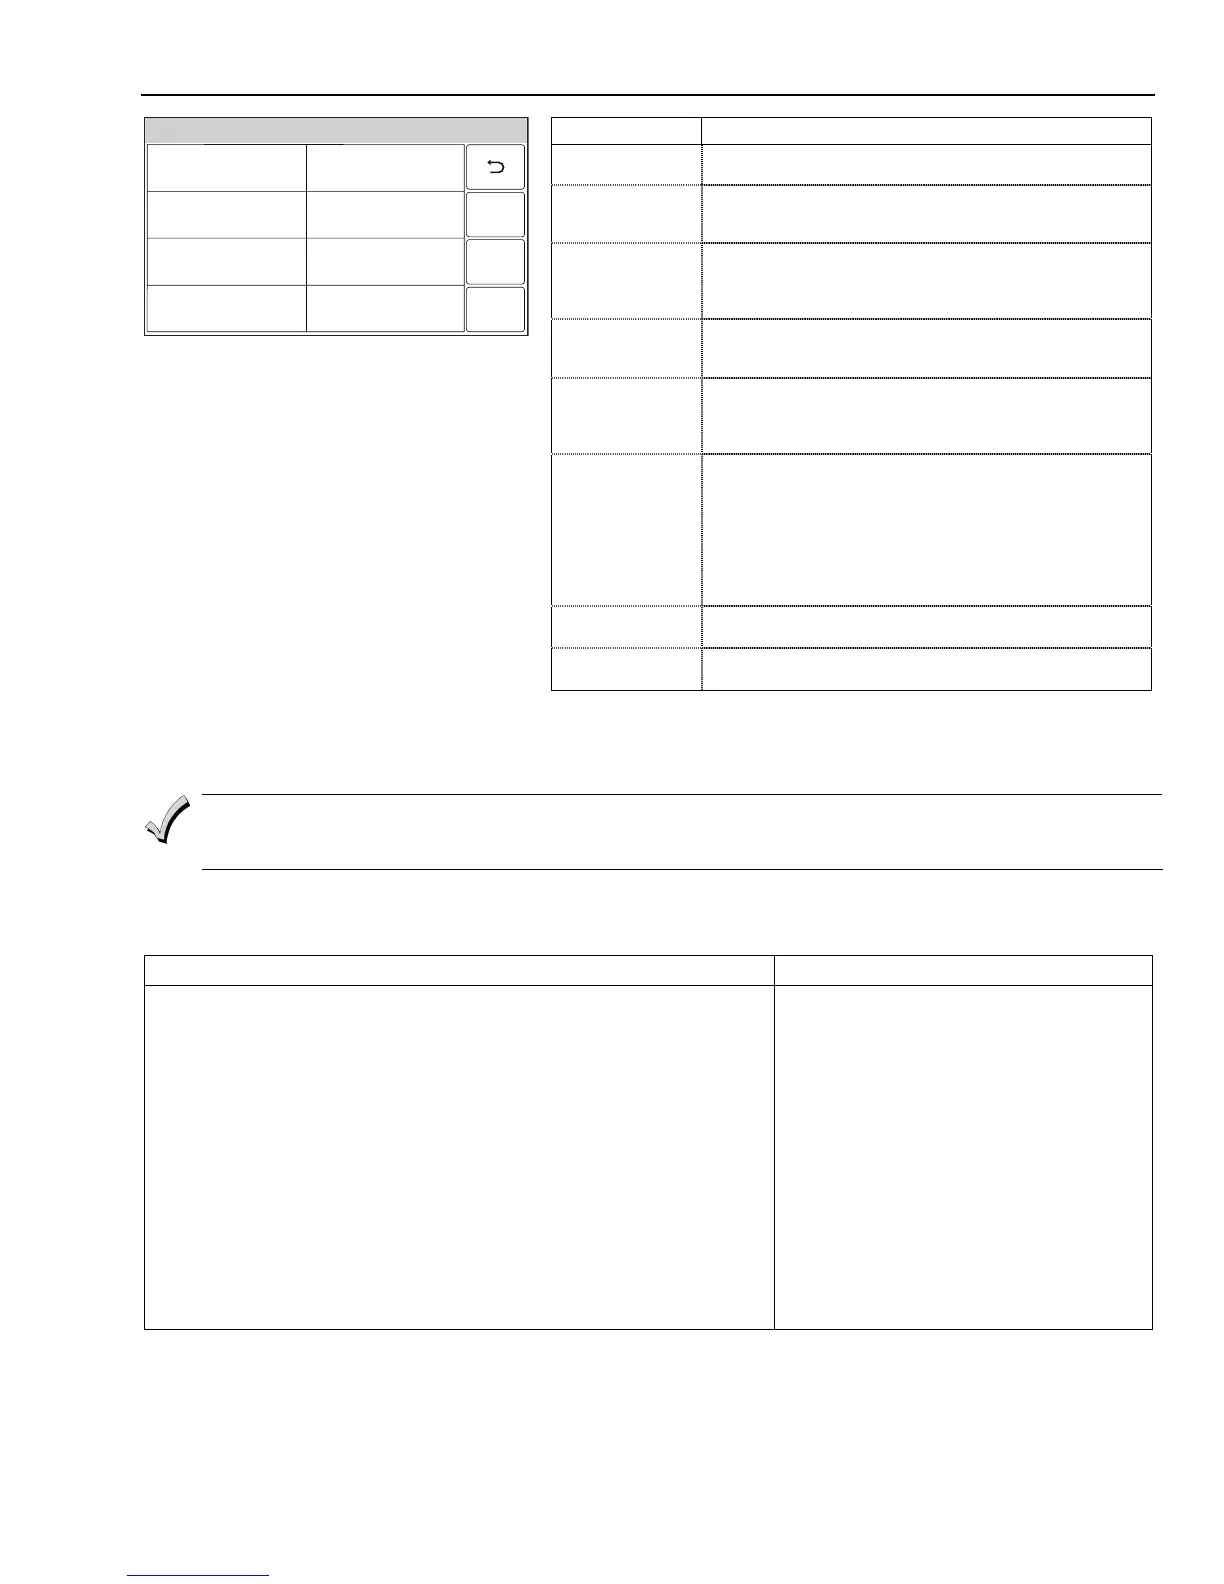
Z-Wave® Advanced Tools Screen
Button Function
View Enrolled
Devices
View Z-Wave device information: System Index/name,
device type, device ID, manufacturer, node number
View Enrolled
Controllers
View Controller Information: Controller role: (Primary or
Secondary), Home ID, device type, device ID, node number,
manufacturer
Reset Controller Deletes all nodes and generates a new random Home ID.
Resetting the Controller does not Exclude the individual
devices; therefore, each device will need to be Excluded
before being Included into a Controller.
Pri. Controller
Shift to
Secondary
Transfers the role of primary controller to another controller*
(i.e.; a Z-Wave remote control) and duplicates the Z-Wave
network.
Locking Door
Enable Arm Stay, Arm Away or Arm without Auto-Stay when
Z-Wave door lock is locked. Causes the system to arm in
the selected mode, Away, Stay, or Away without Auto-Stay
when the Z-Wave Door is Locked.
Learn
Includes the panel as secondary controller*, usually on a Z-
Wave remote control, and duplicates the Z-Wave network.
Devices (switches and thermostats only) may be Included
using the Z-Wave remote control and the information can be
transferred to the control panel using this feature. The
secondary controller (control panel) cannot have Z-Wave
devices Included. The Learn button is selected after Include
process is started on the primary controller.
Base Command
Set On
Required test command to turn On all switches.
Note: Some thermostats will exit Setback mode.
Base Command
Set Off
Required test command to turn Off all switches.
Note: Some thermostats will enter Setback mode.
* Although both controllers can operate the Z-Wave devices, only the Primary can
Include/Exclude devices.
Including Z-Wave® Devices
The functions described below should be accomplished at the LYNX Touch control.
Z-Wave devices should be in their final location prior to inclusion. When Including a device, it may be
necessary to perform an Exclude before a successful Include can be achieved. This is particularly true if the
device was previously in another Z-Wave network.
Include/Add a Light Switch or Outlet Module
Install the receptacle, wall switch or lamp/appliance module (refer to the Module’s Instruction Guide). To
Include a Light switch or outlet module into a Z-Wave network, perform the following:
ACTION NOTES
1. At the Dashboard screen or Security Home Screen select the
“Automation” icon
2. At the Automation Screen, select “Tools”.
3. At the “Device Management” screen, select “Include Devices”.
4. The panel displays “Ready to include device. Press the function button
on device”. Within one minute press the device’s Function button or
activate the switch.
5. If the module has been successfully enrolled, the panel displays
“Device Found! Please Wait” and then the device information is
displayed.
6. After successfully including a light switch or outlet module, the device’s
information will be added to the top of the inclusion list.
7. Once you have finished including devices, press the “Home” key to
return to the Dashboard screen or select the “
2” button to return to the
previous screen.
• Z-Wave light modules may vary; follow the
instructions provided with your specific device
to Include properly.
 Loading...