STORETOOLS
1.6 Snap dusting brush
(D) into storage area on
side of cleaner,
1.7 Crevice tool is
permanently attached to
end of handlelwand and
inserted into cleaner
body for storage.
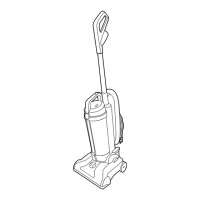
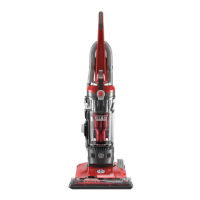
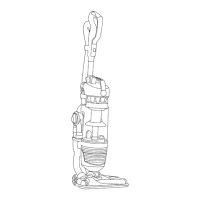
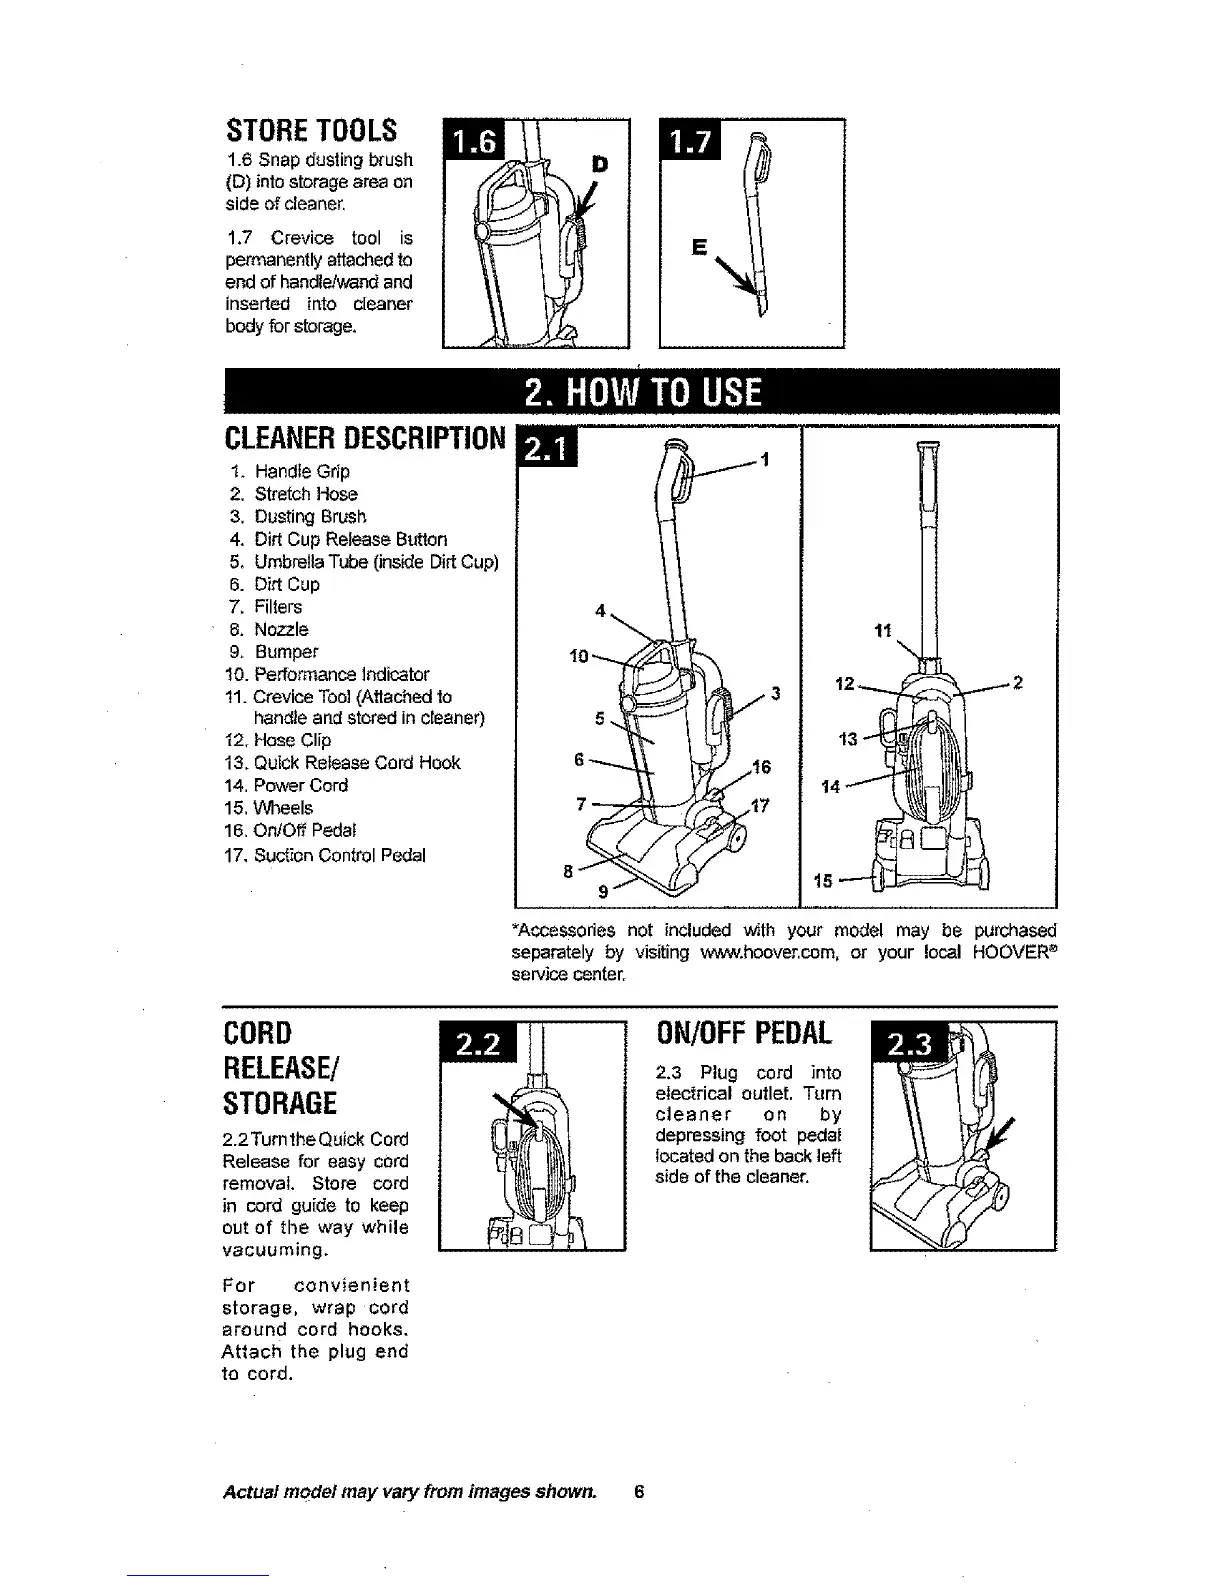
CLEANERDESCRIPTION
1. Handle Grip
2, Stretch Hose
3. Dusting Brush
4, Dirt Cup Release Button
5. UmbreIla Tube (inside Dirt Cup)
6. Dirt Cup
7. Filters
8. Nozzle
9. Bumper
10. Performance Indicator
11. Crevice Tool (Attached to
handle and stored in cleaner)
I2, Hose Clip
13, Quick Release Cord Hook
14. Power Cord
15. Wheels
16, On,'Off Pedal
17, Suction Control Pedal
I
11
12 2
44
t5
*Accessories not included with your model may be purchased
separately by visiting www.hoover, com, or your local HOOVER _
service center.
CORD
RELEASE/
STORAGE
2.2Turn theQuick Cord
Release for easy cord
removal. Store cord
in cord guide to keep
out of the way while
vacuuming.
For convienient
storage, wrap cord
around cord hooks.
Attach the plug end
to cord.
ON/OFFPEDAL
2.3 Plug cord into
electrical outlet, Turn
cleaner on by
depressing foot pedai
located on the back left
side of the cleaner.
Actual model may vary from images shown. 6
 Loading...