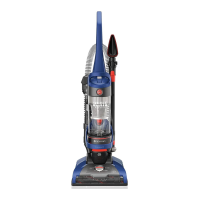
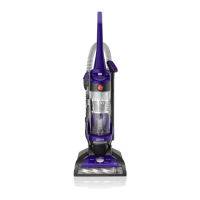
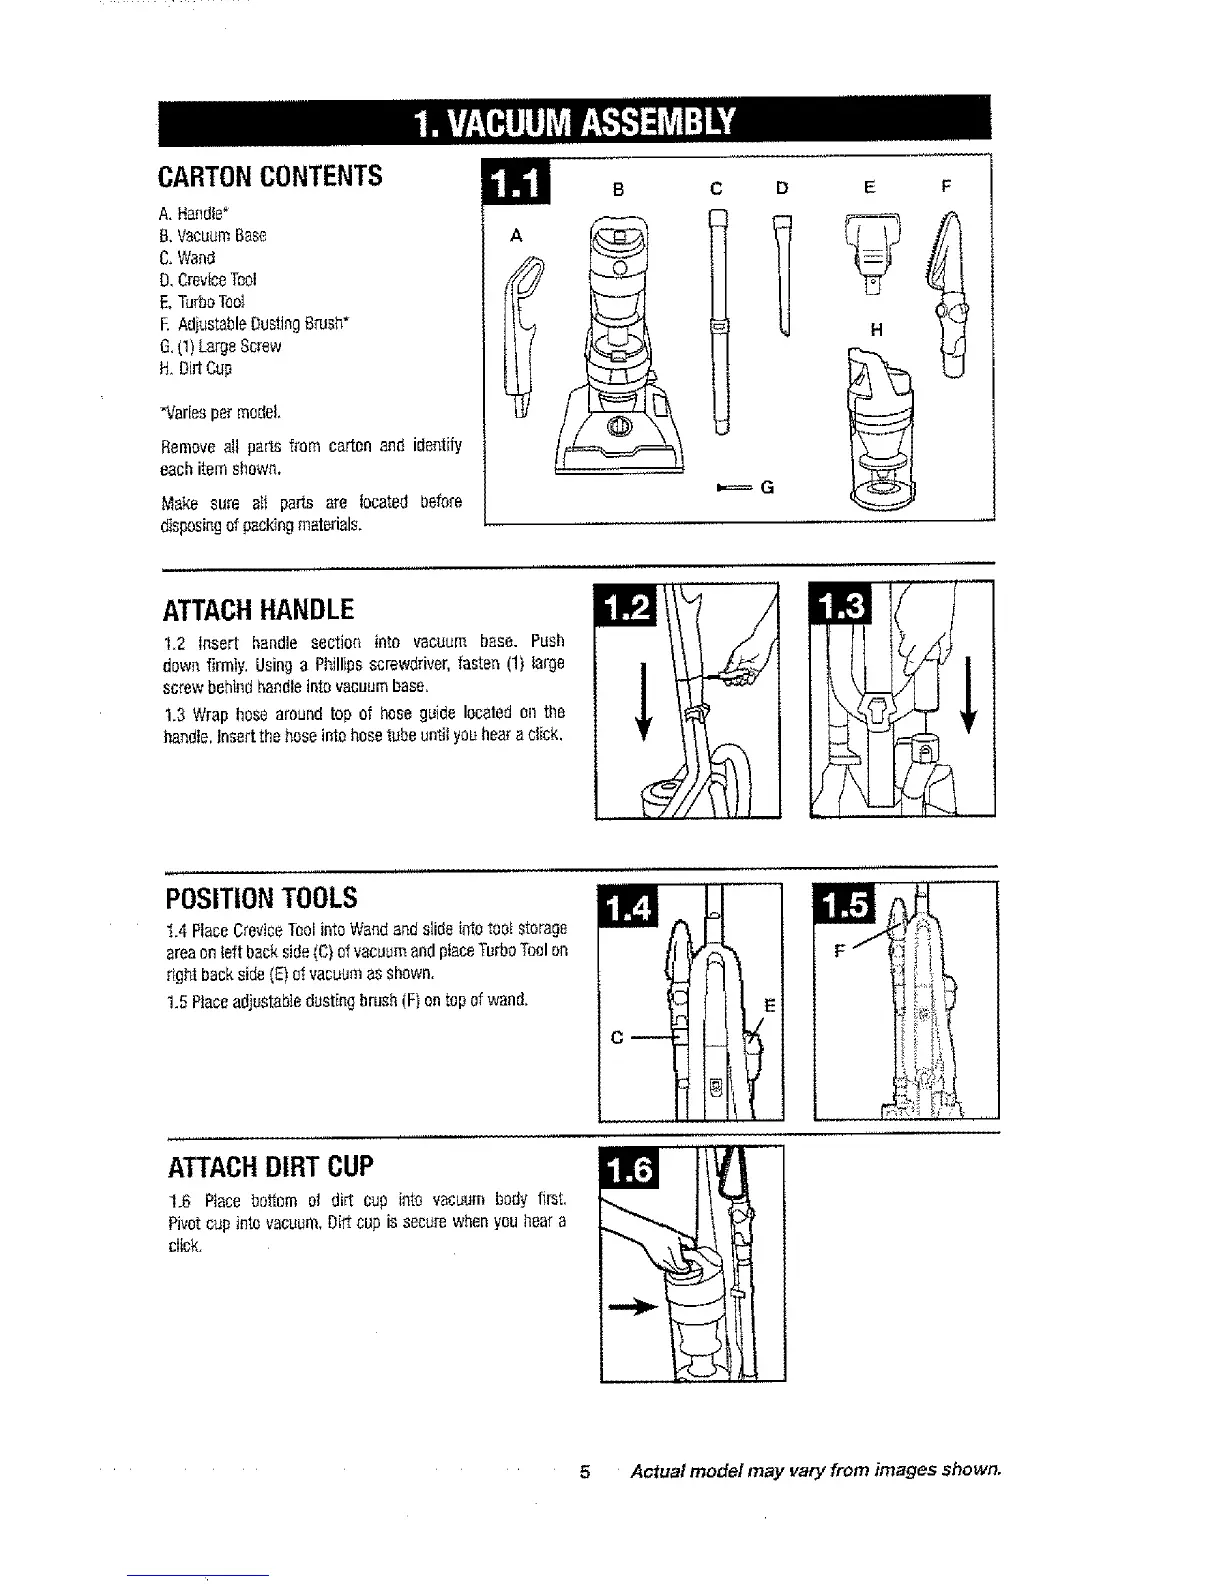
CARTONCONTENTS
A, Handle*
B, VacuumBase
C,Wand
O,CreviceTo0I
E, TurboToot
E AdjustableDusting8[ush*
6, (1)LargeScrew
H.DiMCup
"Variesper model,
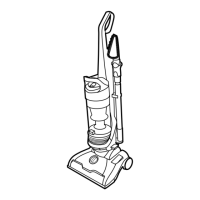
Remove all paris from carton and identily
each item shawm
Make sure eli pads are located before
disposingof pacldngmaterials,
A
B
,-=== G
D E F
ATTACHHANDLE
1.2 Insert handle section into vacuum base, Push
dawn firmiy. Using a Phillips screwdriver, fasten (1) large
screw behindhandleintovacuum base.
1.3 Wrap hose araund top of bose guide located el1tile
handle. Insertthe haseinto hose tube unfit yau hear aclick.
POSITION TOOLS
t.4 PlaceCreviceTeal into Wand and s(ide into toot starage
areaon{eft back side (C)ofvacuumand placeTurbo Toolan
right back side (E) o4vacuumas shown.
1.5 Raceadjustabledusting brush iF) an tapof wand.
ATTACHDIRT CUP
1.6 Ptace bottom a! dirt CUp into vacuum body first,
Pivot cup into vacuum. Dirtcup is secure whenyou bear a
click,
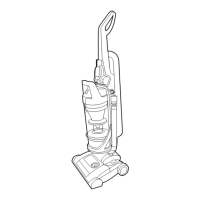
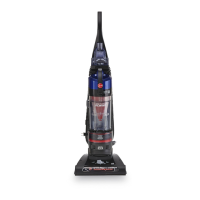
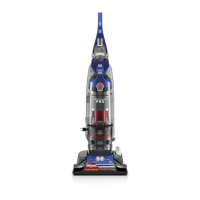
5 Actual model may vary from images shown.

 Loading...