2-8
Installing the Switch
Installation Procedures
Installing the Switch
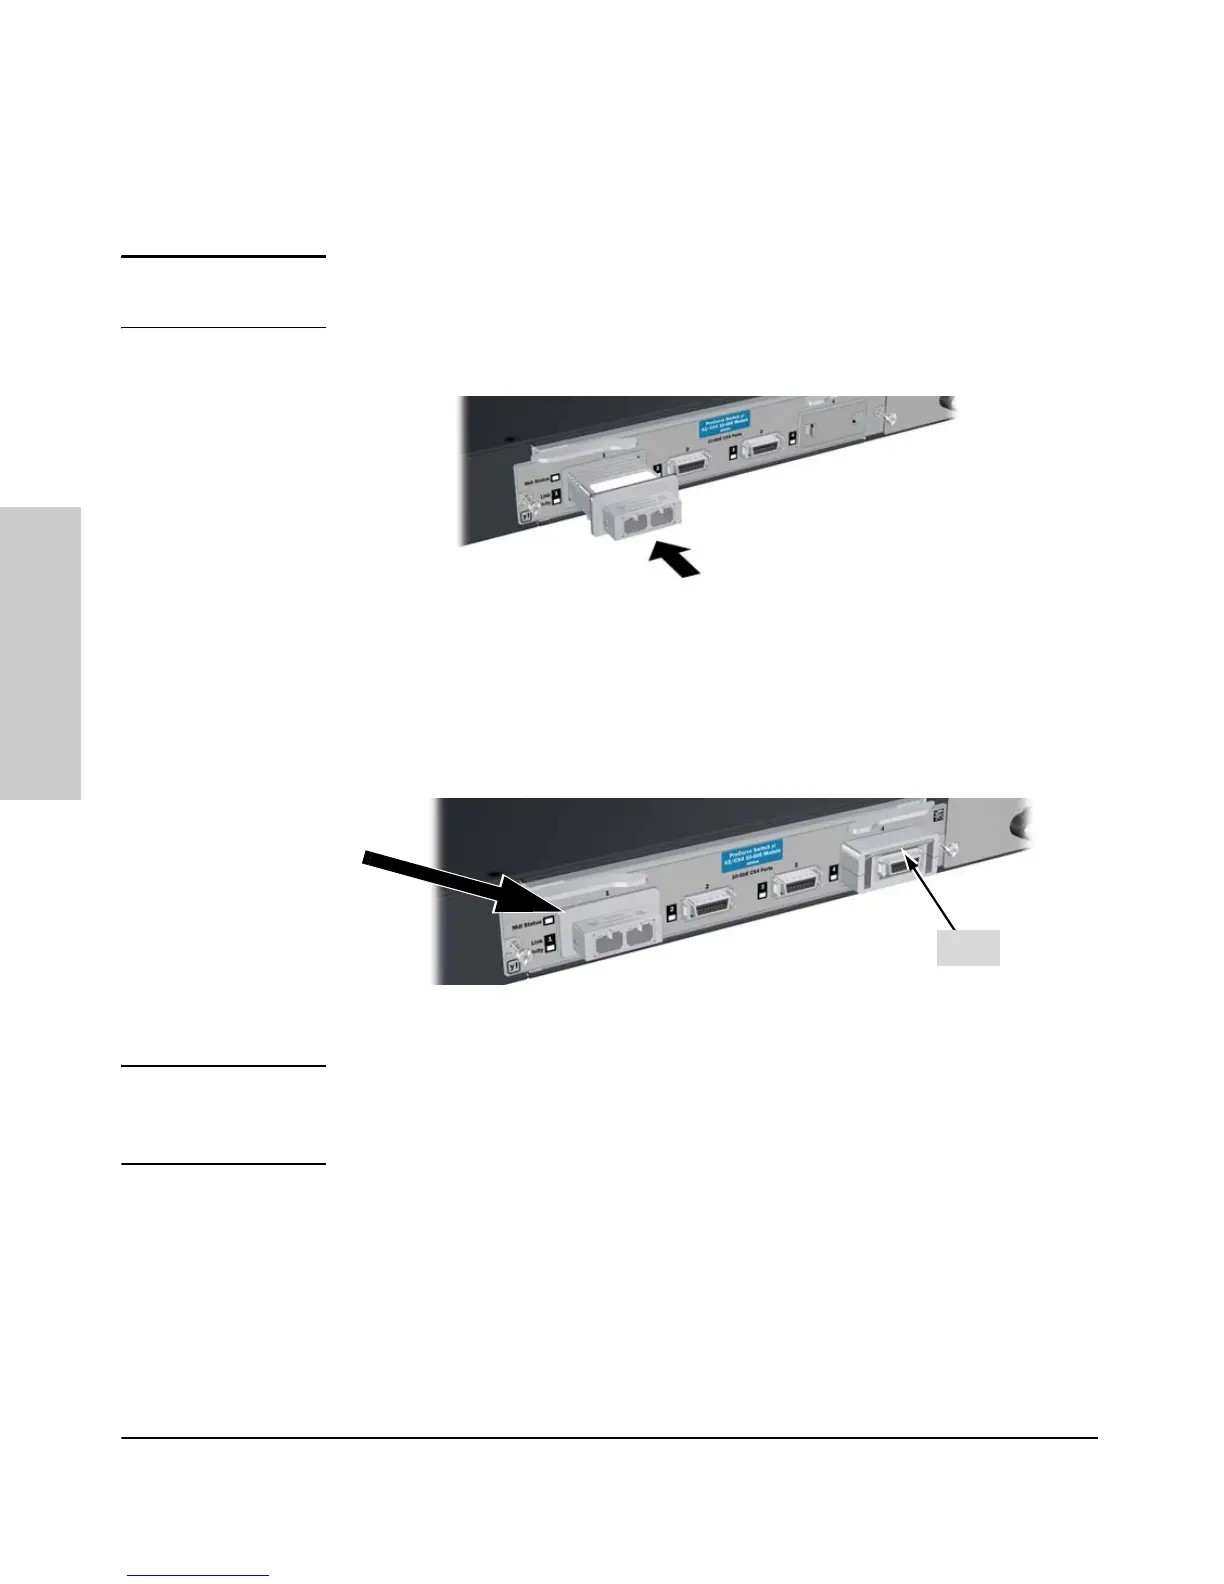
3. (Optional) Install or Remove a Transceiver
Note Hot swapping transceivers is supported. You can install or remove a trans-
ceiver with the switch powered on, a reset will not occur.
a. Slide the transceiver in until it stops.
1
Figure 2-2. Installing a fiber optic transceiver.
1
If you are installing either of the Series 3500yl or 6200yl Switches with an X2 transceiver installed,
the operating ambient temperature should not exceed 40°C (104°F). See transceiver
specifications in the ProCurve Switch yl Module Installation Guide.
b. Push firmly until the gasket seats against the bulkhead.
Figure 2-3. Securing a transceiver bail.
Note When switch power is on, the Link and Activity LEDs will come on for
approximately two seconds and then go off. This is confirmation the trans-
ceiver is completely seated.
c. If your transceiver has a bail, move the bail up, if not your transceiver is
now completely installed. Refer to the ProCurve Switch yl Module Installa-
tion Guide for more details.
To remove the transceiver:
If your transceiver has a bail, lower the bail until it is approximately horizontal,
and then using the bail, pull the transceiver from the slot. If your transceiver
does not have a bail, pull the transceiver straight out.
Bail
 Loading...