14 – English
2.7 To adjust the micro switch
Adjust the micro switch system at working pressure, see
“3.1 Technical data PW450 and PW 460”. Follow the
steps below to make sure it has full function and lifetime.
4. Turn the ow regulation to maximum ow.
5. Make sure that the product runs high pressure and
ow according to the specication in “3.1 Technical data
PW450 and PW 460”.
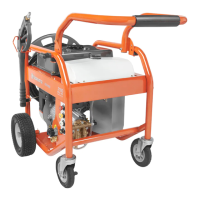
6. Screw the M5 nut on the adjustable key until there is
a clearance between key and micro switch. This can be
felt by moving the arm backwards and forwards, with a
light touch with your nger. See the gure below.
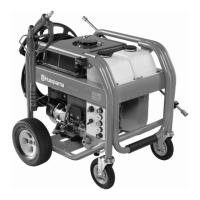
7. Unscrew the M5 nut (counter-clockwise) carefully,
until the key just touches the micro switch. The clearance
must only just disappear = “0 preload and 0 clearance”.
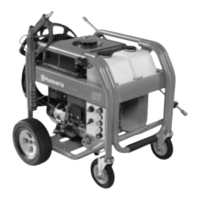
8. Carefully turn the M5 nut 90°±30° clockwise. This will
move the key approximately 0.2mm, away from the
micro switch.
9. Make sure that there is a clearance between the key
and the micro switch.
10. Put Loctite 454 on the key end to lock the M5 nut. The
key adjustment is now done.
11. Check again to make sure that there is a clearance
between the key and the micro switch.
12. Let the product run high pressure for 2 min and verify
the data according to “3.1 Technical data PW450 and
PW 460”.
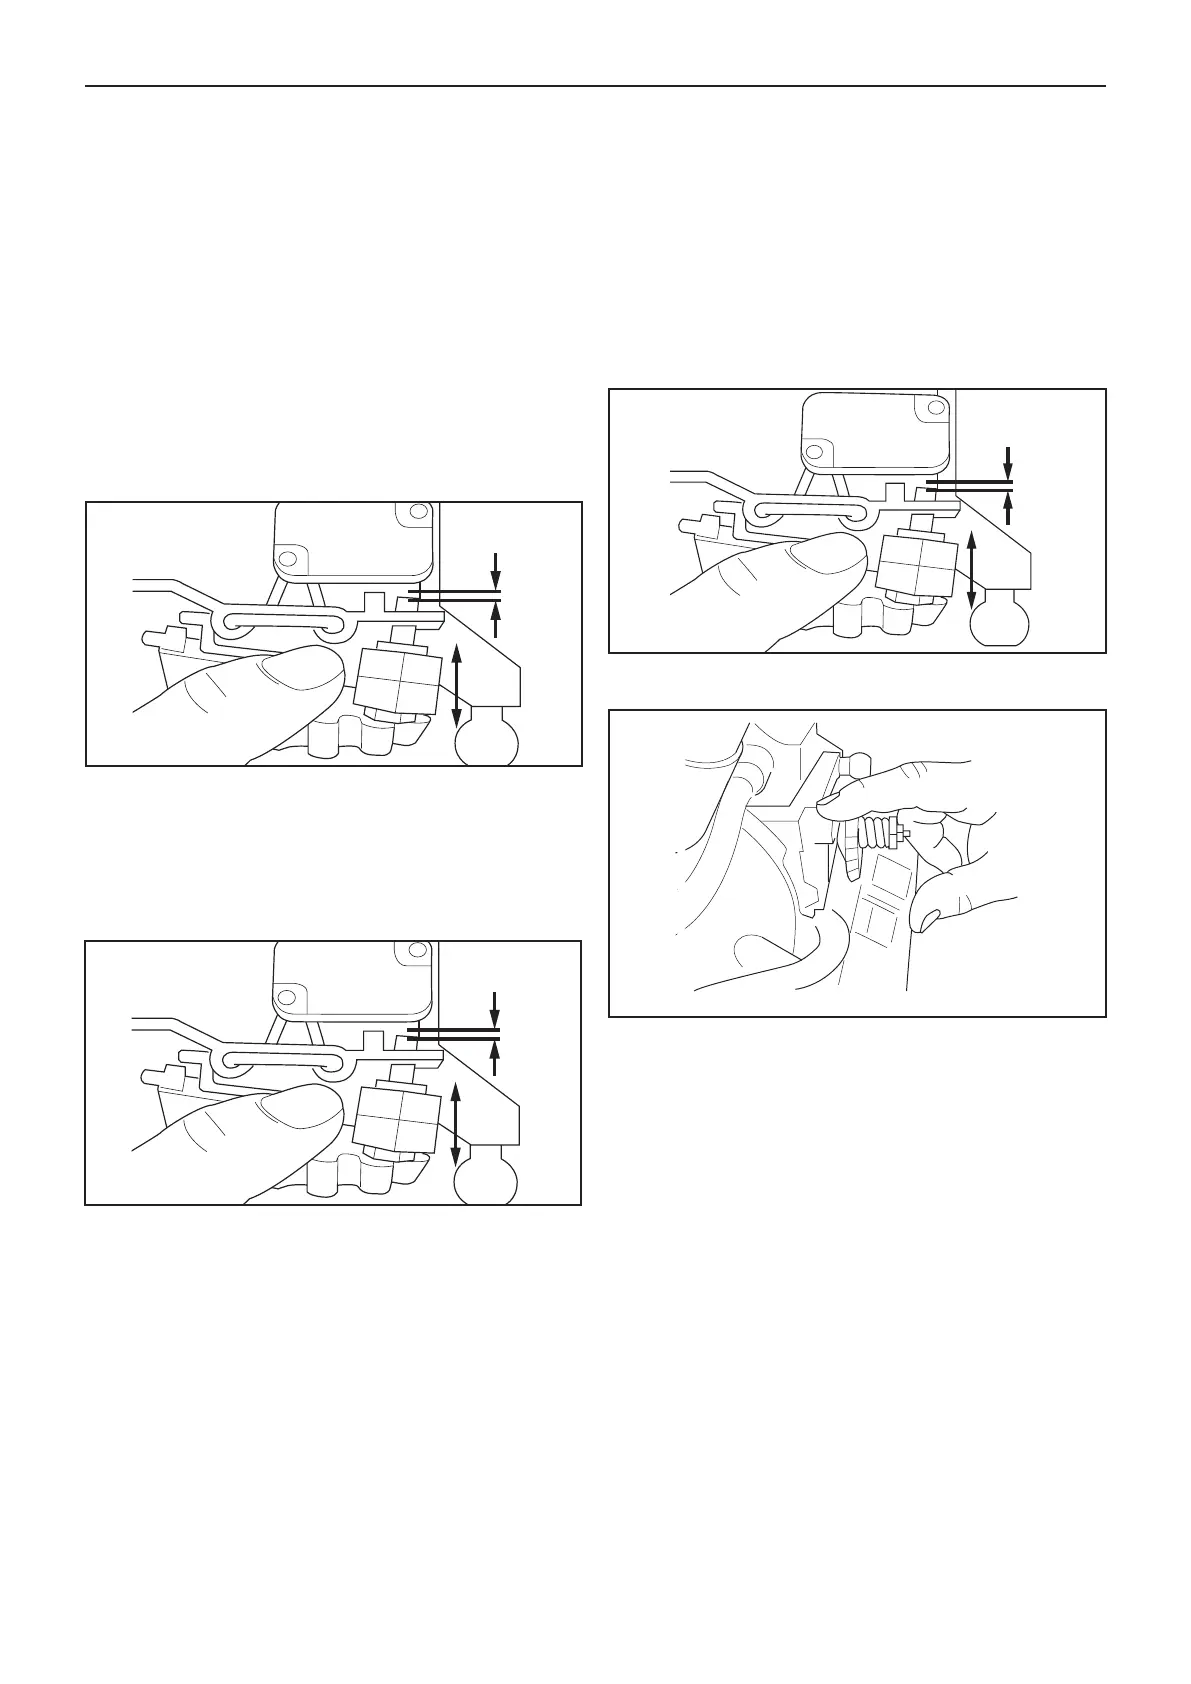
13. Check the clearance between the key and micro
switch. This can be felt by moving the arm backwards
and forwards, with a light touch with your nger. See the
gure below. (When doing this check, the lid will normally
be on the micro switch box.)
14. Check the clearance with your nger.
Repair instructions
 Loading...