8-10
GROUP 4 REMOVAL AND INSTALLATION
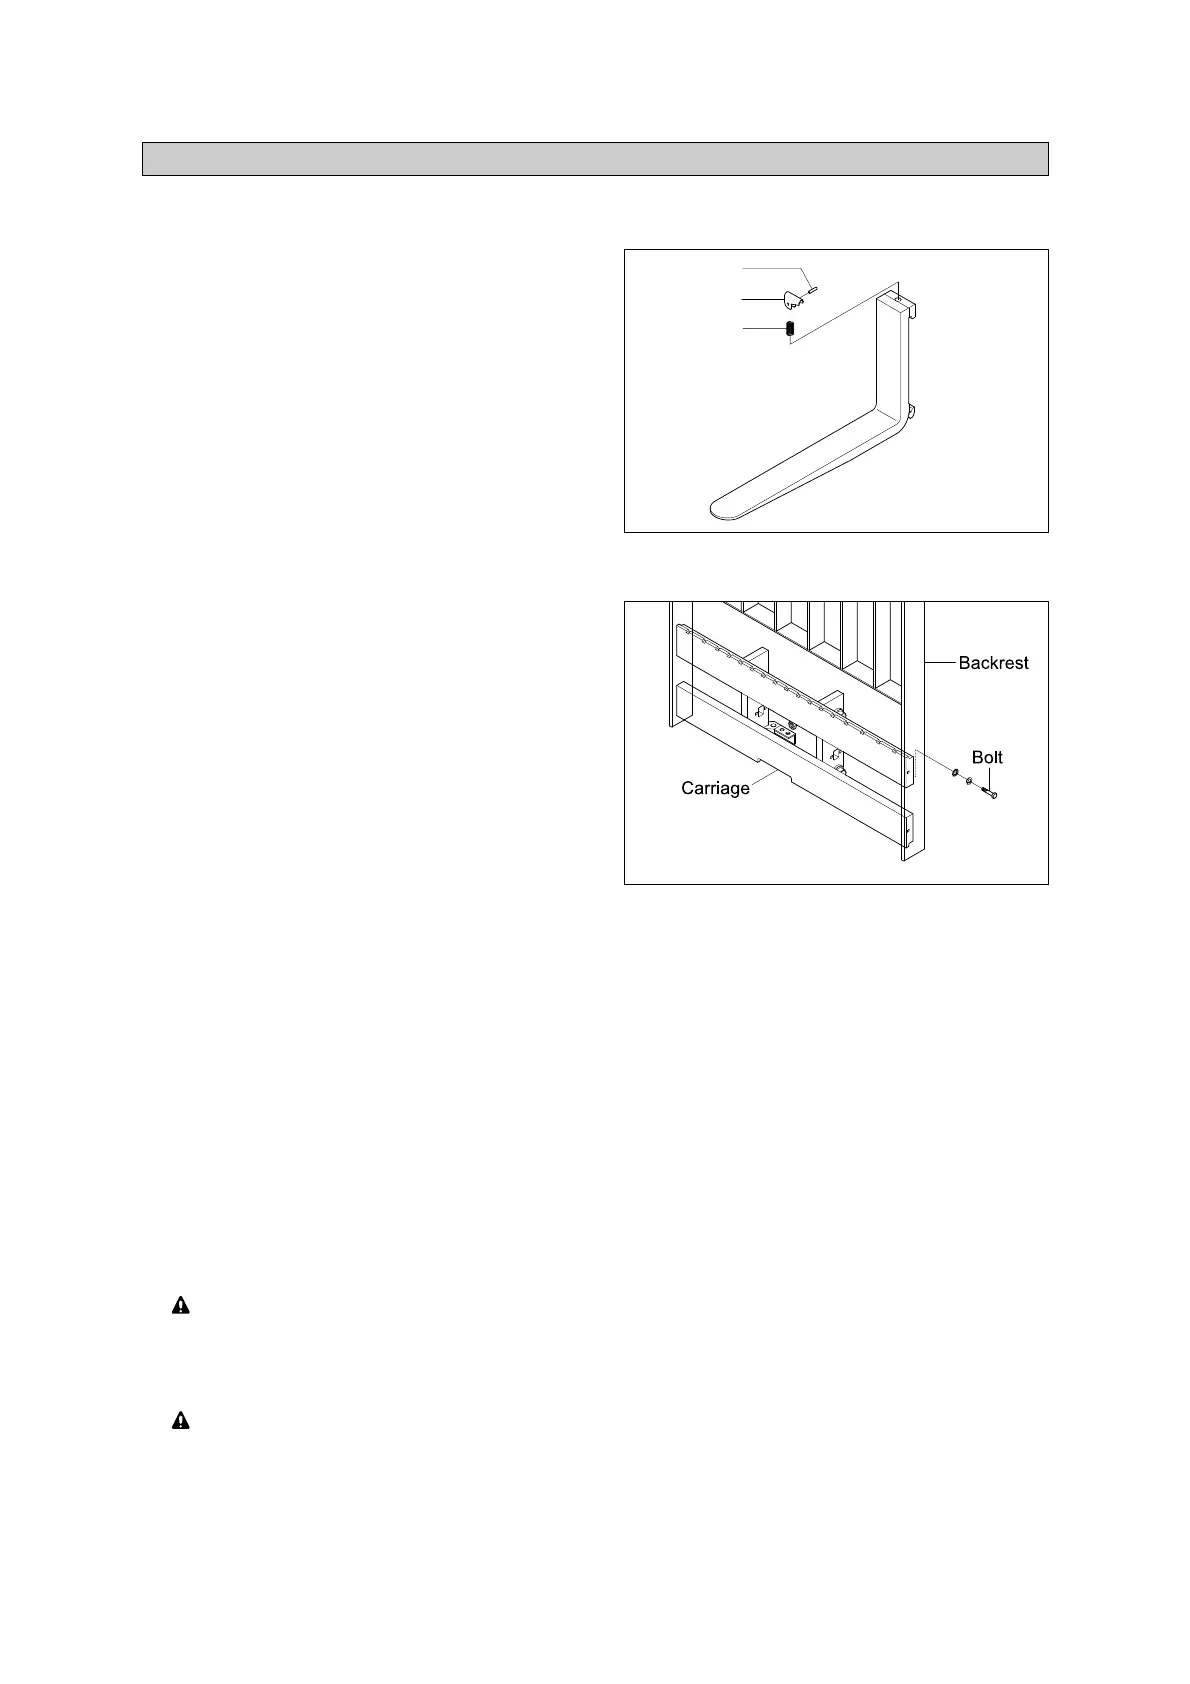
1. FORKS
Lower the fork carriage until the forks are
approximately 25
mm
(1
inch
) from the floor.
Turn the knob up and slide forks, one by
one, toward the center of the carriage
where a notch has been cut in the bottom
plate for easy fork removal.
Remove the fork one by one. On larger forks
it may be necessary to use a block of wood.
Reverse the above procedure to install load
forks.
1)
2)
3)
4)
15L7MS10
15L7MS11
2. BACKREST
Remove bolts securing backrest to fork
carriage. Lift backrest straight up and
remove from carriage.
Position backrest on carriage and lower in
place. Install and tighten bolts.
1)
2)
3. CARRIAGE ASSEMBLY
CARRIAGE
With the mast vertical, raise the carriage high enough to place blocks under the load forks. This is
done to create slack in the load chains when the carriage is lowered. Lower the carriage all the
way down to the floor. Make sure the carriage is level, this will prevent any binding when the mast
is raised.
While supporting lift chains, remove the split pin and slide out chain anchor pins from the chain
anchors of stationary upright.
Pull the chains out of the sheaves and drape them over the front of the carriage.
Slowly raise elevating upright until mast clears top of fork carriage. Move carriage to work area
and lower mast.
Make sure carriage remains on floor and does not bind while mast is being raised.
Inspect all parts for wear or damage. Replace all worn or damaged pars.
Reverse the above steps to reinstall.
Replace
the split pin of chain anchor with new one.
1)
(1)
(2)
(3)
(4)
(5)
(6)
 Loading...