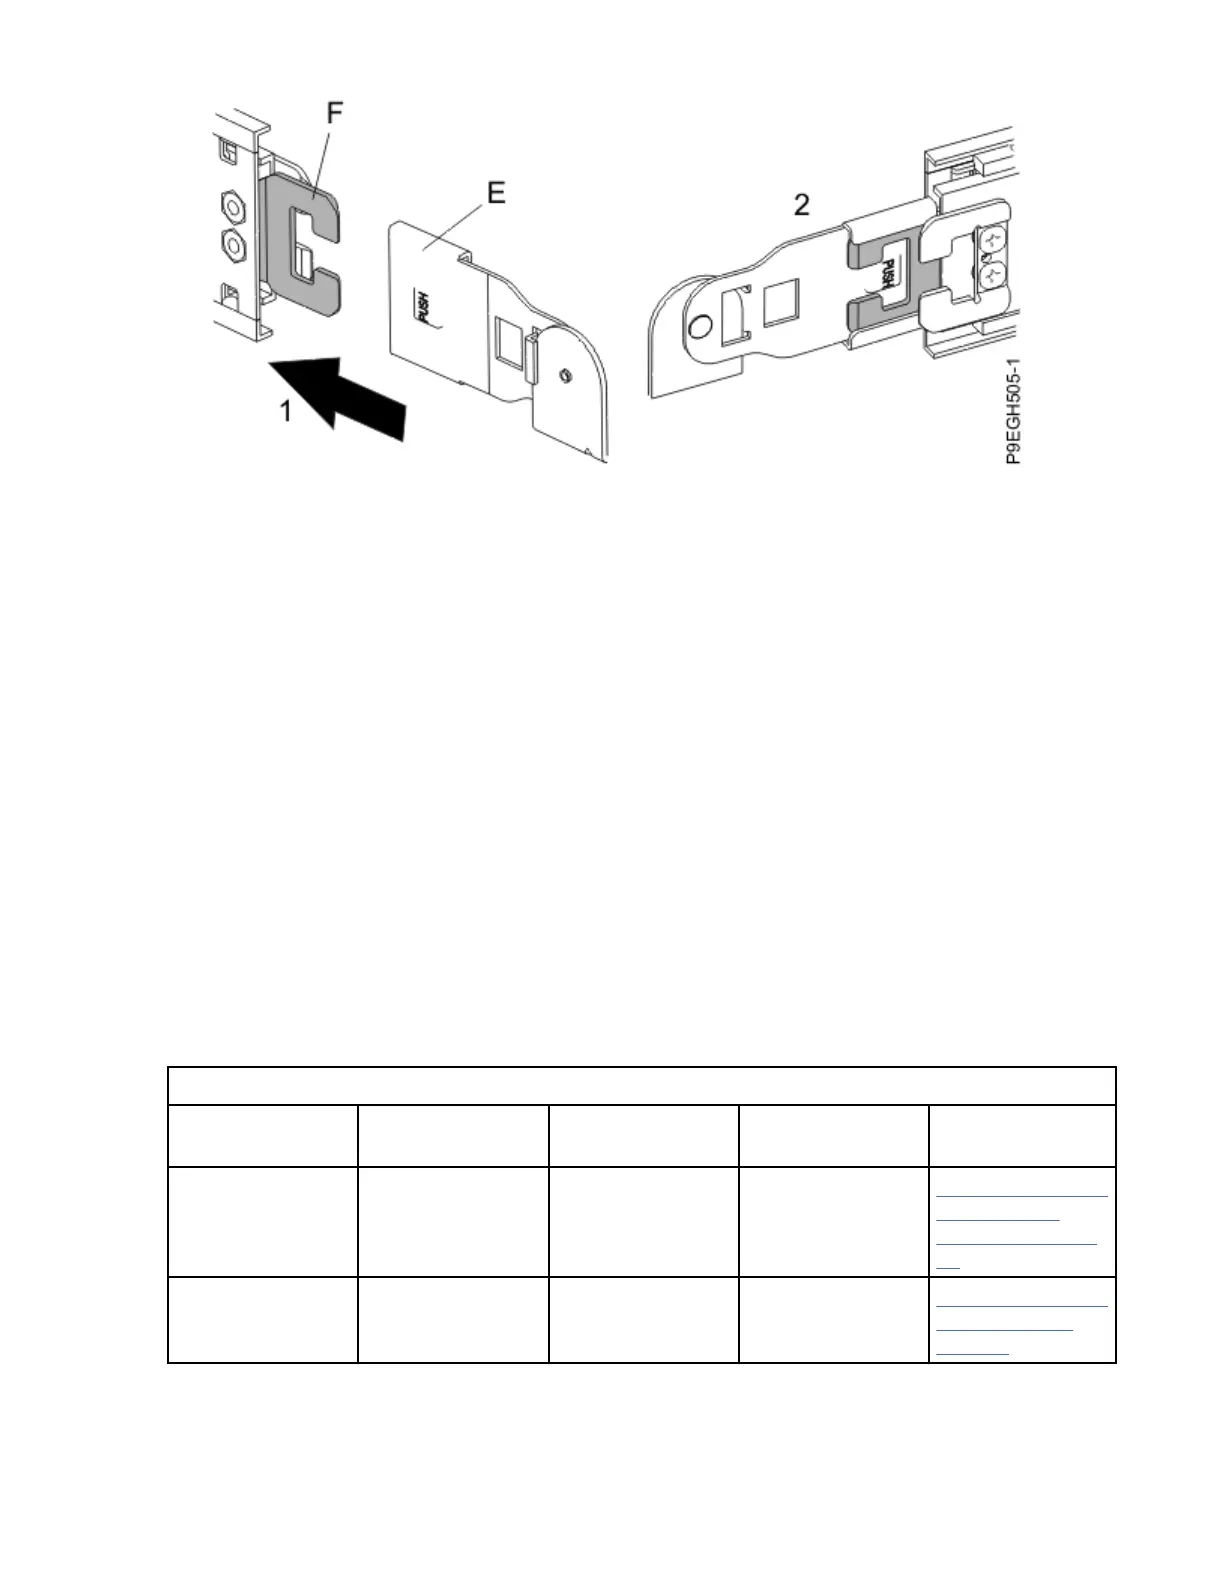
Figure 11. Attaching the extension tab to the cable management arm to the outer cable management
arm tab
5. To route the cables through the cable management arm, complete the following steps:
a. Open each of the baskets by pressing the latches on the cable management arm.
b. Extend the system to the service position.
c. Route the cables through the cable-management arm.
d. Re-latch the baskets. Ensure that the latches are fully seated.
Note: Larger-diameter cables are more difcult to bend. If you have larger-diameter cables, attach a
hook-and-loop fastener around the cables and arm in front of the rst cable management basket.
Attaching the fastener provides additional strain relief.
Cabling the server and setting up a console
Your console, monitor, or interface choices are guided by whether you create logical partitions, which
operating system you install in your primary partition, and whether you install a Virtual I/O Server (VIOS)
in one of your logical partitions.
Determining which console to use
Your console, monitor, or interface choices are guided by whether you create logical partitions, which
operating system you install in your primary partition, and whether you install a Virtual I/O Server (VIOS)
in one of your logical partitions.
Go to the instructions for the applicable console, interface, or terminal in the following table.
Table 1. Available console types
Console type Operating system Logical partitions Cable required
Cabling setup
instructions
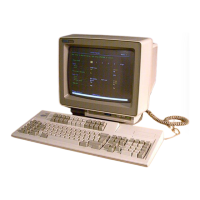
ASCII terminal AIX
®
, Linux, or
VIOS
Yes for VIOS, no for
AIX and Linux
Serial cable
equipped with a
null modem
“Cabling the server
with an ASCII
terminal” on page
13
Hardware
Management
Console (HMC)
AIX, IBM i, Linux,
or VIOS
Yes Ethernet (or cross-
over cable)
“Cabling the server
to the HMC” on
page 14.
12 Power Systems: Installing the IBM Power System S914 (9009-42A)
 Loading...