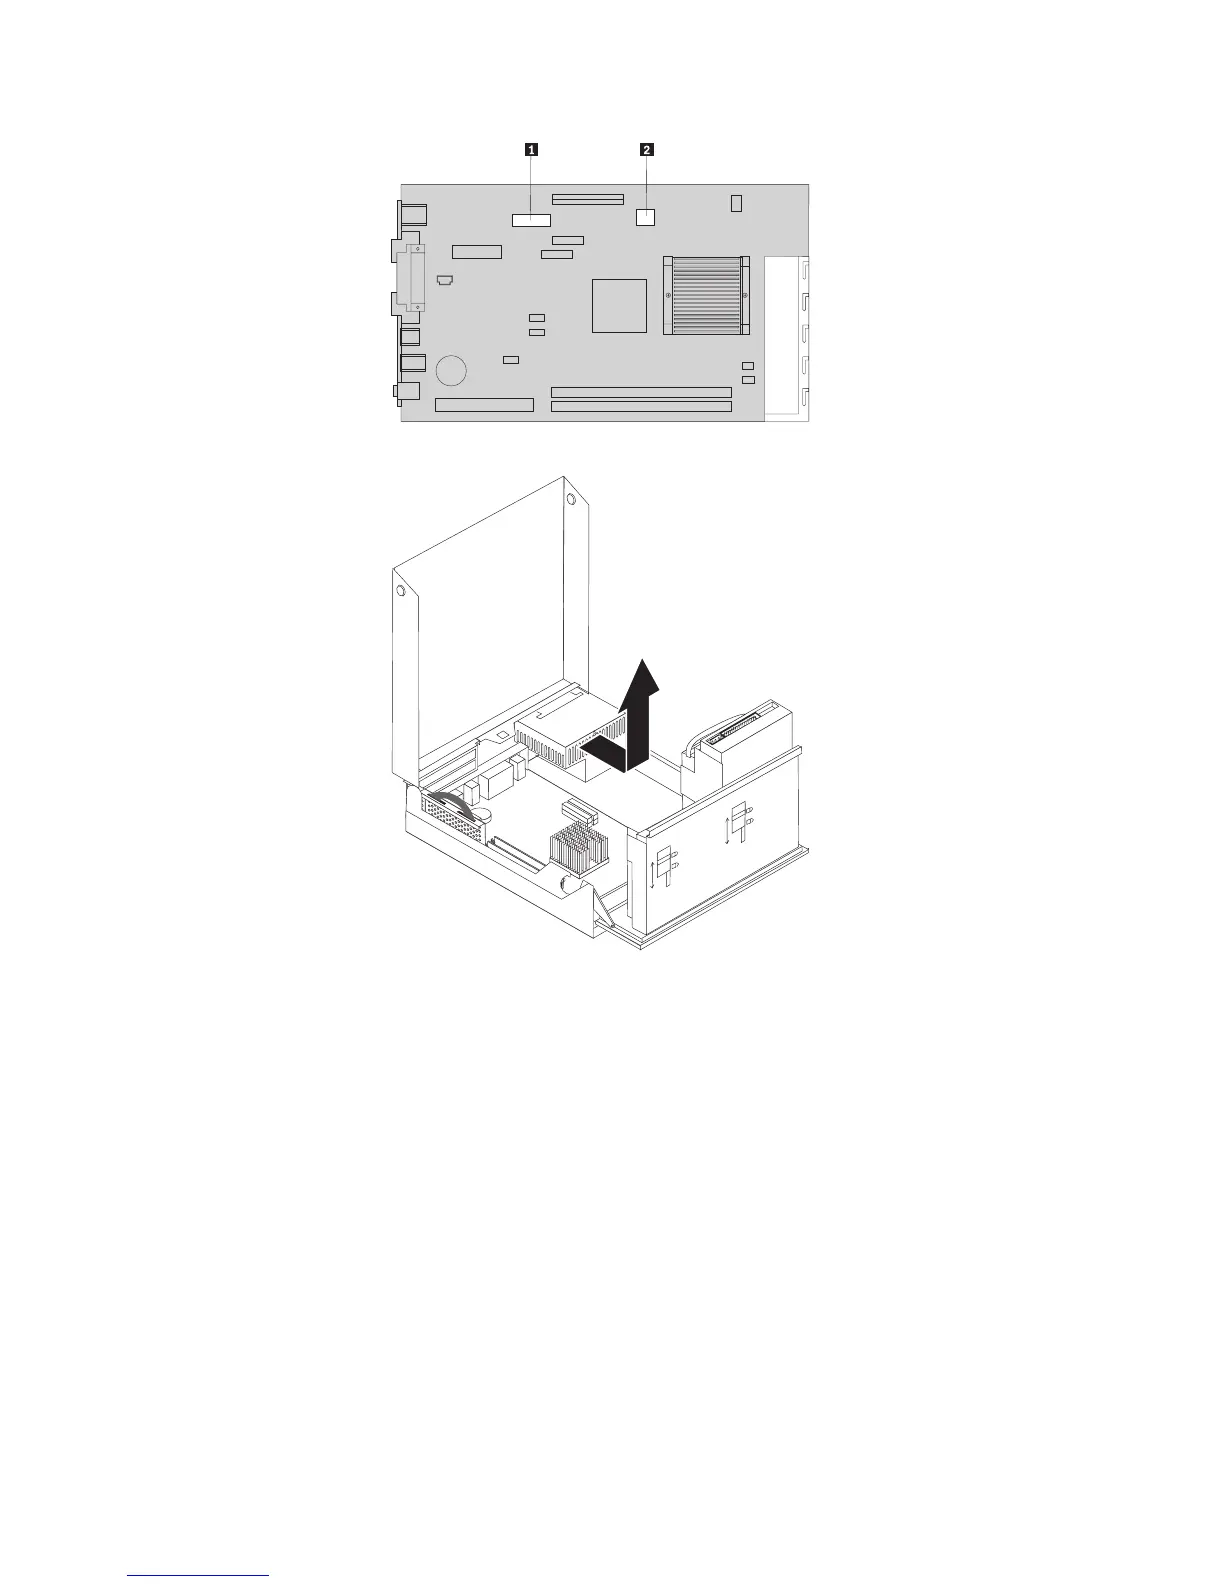
7. Remove the power supply assembly from the computer.
8. Install the new power supply assembly into the chassis so that the screw holes
in the power supply assembly align with those in the chassis.
Note: Use only the screws provided by IBM.
9. Install and tighten the four power supply assembly screws into the rear of the
chassis.
10. Reconnect power supply connectors P1 and P2 to the system board.
11. Reconnect power supply cable connector P3 to the CD-ROM drive and
connector P4 or P5 to the HDD drive.
12. Use the following illustration to route the cables correctly. It is important to
correctly route all power supply cables to avoid interference when lowering
the drive bay assembly.
Chapter 6. Replacing FRUs 33
 Loading...