15. Using the two blue handles provided, lift the system board assembly out of
the computer.
Note: You will have to tilt the system board assembly and move it around the
edge of the power supply assembly to remove it from the computer.
16. Take note of the location of the memory memory modules and remove them
from the system board.
17. Install the memory modules on the new system board in the same location as
they were on the system board being replaced.
18. Install the new system board assembly into the computer chassis by aligning
the two tabs on the rear of the system board assembly with the slots in the
rear of the computer chassis. Slide the system board assembly to the rear until
the front edge of the system board assembly fits behind the flange in the front
and is seated flush to the bottom of the chassis.
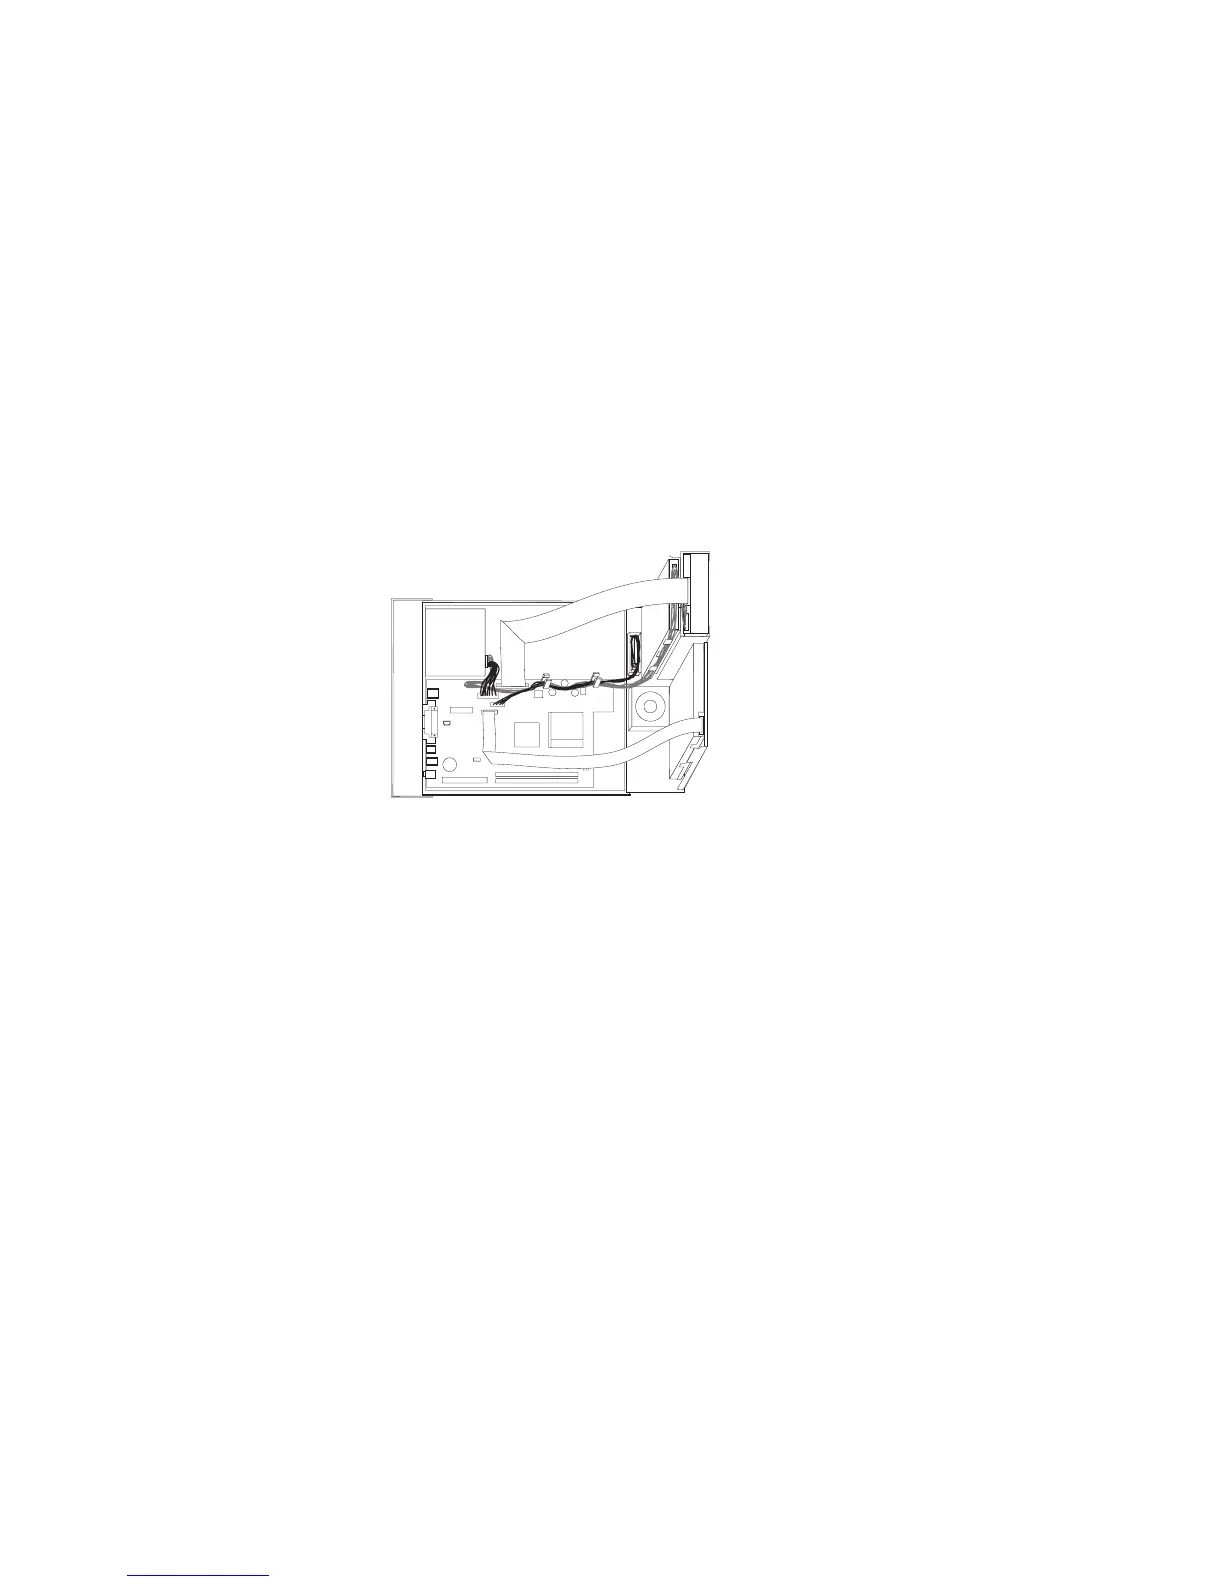
19. Reconnect all cables that were disconnected from the system board. Make sure
all cables are routed correctly.
20. Install the microprocessor on the new system board. See “Replacing the
microprocessor” on page 38. Return here after replacing the microprocessor.
21. Install the PCI riser card.
22. Lower the drive bay assembly into the normal position.
23. Close the cover.
24. Reconnect the external cables and power cords to the computer.
Chapter 6. Replacing FRUs 37
 Loading...