6
2
BASIC OPERATION
02
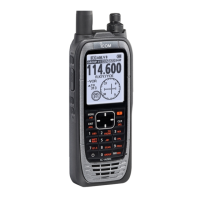
You can also directly set the desired frequency.
Hold down q [
] for two seconds to enter the direct frequen-
cy setting mode.
• Only the active frequency is displayed.
Set an operating frequency. w
• Rotate [O-DIAL] to set above 1 MHz
digit.
• Rotate [DIAL] to set below 100 kHz digit.
• You can set the frequency step in the Settings menu. (p. 21)
When receiving a signal, “RX” is e
displayed and audio is heard.
• Rotate [VOL] to adjust the audio level.
• Adjust the squelch if necessary. Refer to ‘Squelch settings’ for
details.
Hold down PTT switch, and then r
speak at your normal voice level.
• “TX” is displayed.
• DO NOT hold the microphone too closely to your mouth or speak
too loudly. This may distort your signal.
Release the PTT switch to receive. t
Push y [RCL] or [
] to exit the direct frequency setting
mode.
■ Directly setting the frequency
Squelch settings ■
Adjusting the squelch D
Adjust the squelch to mute undesired noise when no signal
received.
Hold down q [VOL] for two seconds to enter “SQL LEVEL.”
Rotate w [DIAL] to select the desired squelch level to be-
tween
–10 and 10.
Push e [RCL] to exit “SQL LEVEL.”
Switching the squelch mode D
You can switch the squelch mode when the Auto squelch
“AUTO SQL” item in the Configuration menu (p. 22) is set to
“USER SET.”
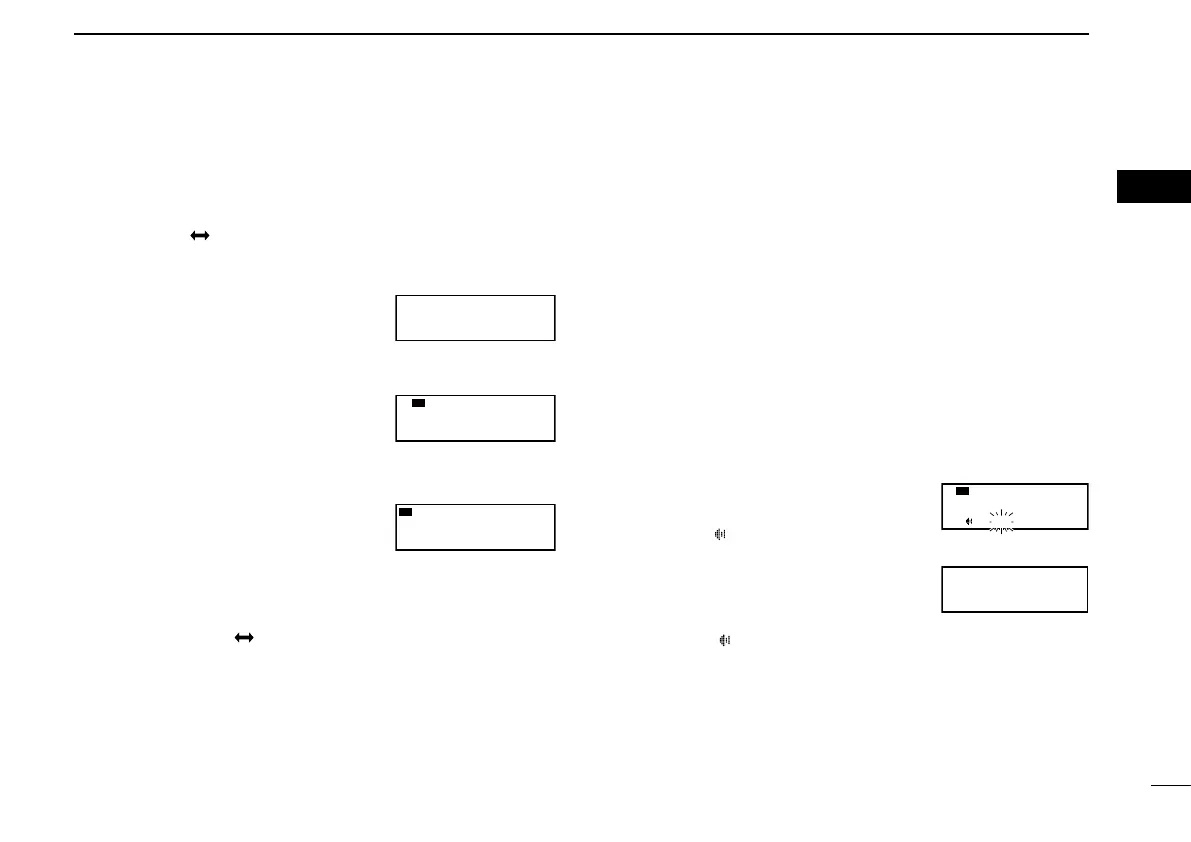
Push q [VOL] to turn ON the squelch
test function.
• “RX” and “
” are displayed.
• The squelch mode readout “MN” or “AU” blinks.
Push w [VOL] again while the squelch
mode readout is blinking to switch the
squelch mode.
• “RX” and “
” disappear and the squelch test function is
turned OFF.
• MN (manual): Uses the squelch level set in “SQL LEVEL.”
• AU (auto): Prevents the audio from breaking up while receiv-
ing weak signals.
Repeat e q through w to switch the squelch mode again.
127.00
5
122.00
RX
MEMORY
TEST
MN

 Loading...