EasyManuals Logo
Home>IDEAL>Boiler>classic HE15P

IDEAL classic HE15P Installation And Servicing

IDEAL classic HE15P
60 pages
To Next Page IconTo Next Page
To Previous Page IconTo Previous Page
Page #42 background imageLoading...
Page #42 background image
42
mexico HE - Installation & Servicing
Servicing
66
HEAT EXCHANGER REPLACEMENT
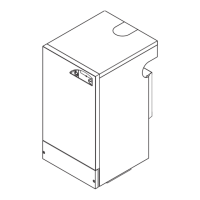
Refer also to Frame 10, ‘Boiler exploded view’.
1. Refer to Frame 51.
2. Remove boiler front panels and inner sealing panel refer
frames 44 & 45.
3. 

and pull the terminal to disconnect the boiler turret from

4. Fully drain the system
5. 
connections at the pre-piping frame
6. 

7. 

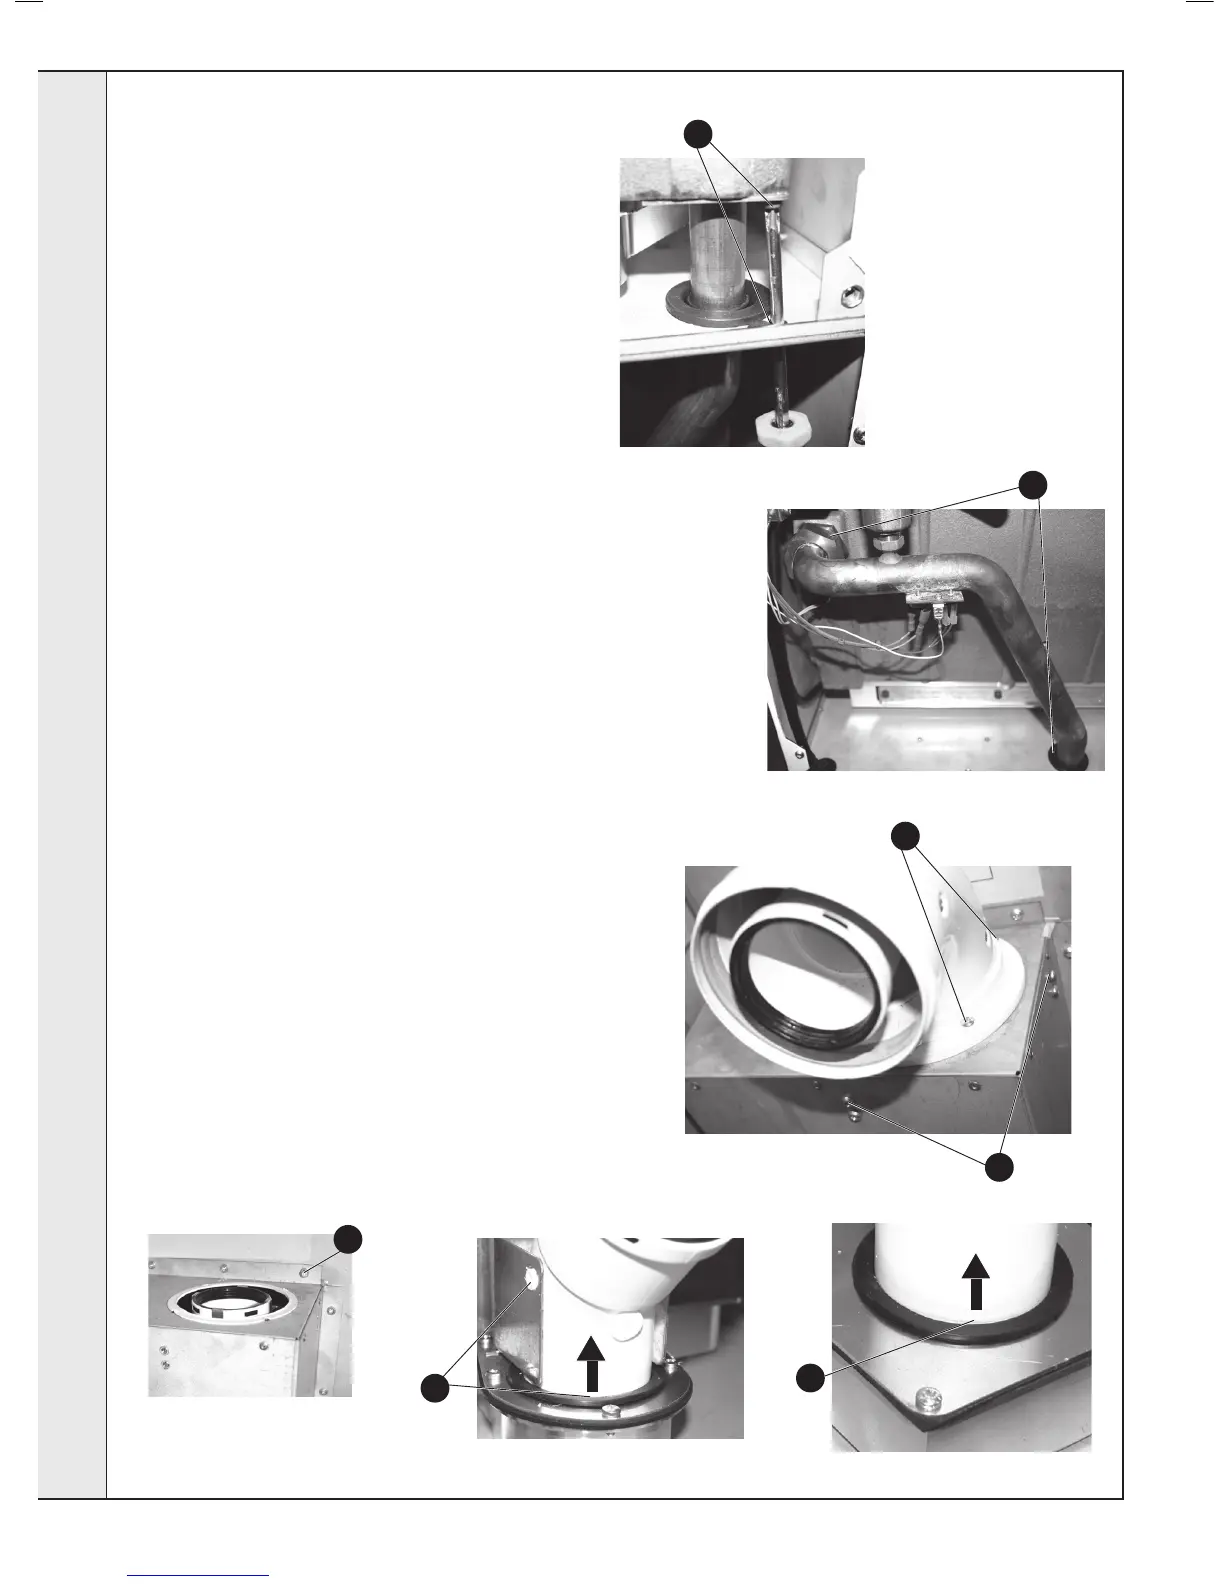
the boiler forward to clear any kitchen unit obstructions
taking care with the electrical wiring.
8. Remove the fan & venturi assembly (refer to frame 46)
9. Remove burner (refer to frame 47)
10. Remove ignition electrode (frame 55) & detection
electrode (frame 56)
11. 
generator (frame 57) and remove the electrical

overheat thermostat (frame 63)
12. 
13. 

exchanger bottom right copper pipe bracket and remove
the screw.
14. 
the top left of the heat exchanger and remove the pipe by
pulling upwards through the rubber grommet.
15. 
the turret.
16. 
17. Remove the 19 screws retaining the rear air box and
remove the box.
18. 

elbow assembly from its joint.
19. 
continued . . . .
SERVICING
13
14
15
16
17
18
19

Other manuals for IDEAL classic HE15P

Questions and Answers:

Question and Answer IconNeed help?

Do you have a question about the IDEAL classic HE15P and is the answer not in the manual?

IDEAL classic HE15P Specifications

General IconGeneral
BrandIDEAL
Modelclassic HE15P
CategoryBoiler
LanguageEnglish

Related product manuals