Concord CX - Installation
13
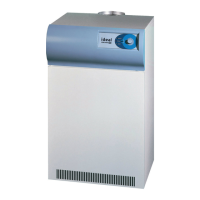
1. Unpack the control box from its carton and release the
temperature sensing probe strapped to the back of the
box.
The boiler casing should now be fitted.
A jacket hardware pack contains all the screws required
for assembly.
INSTALLATION
10
FLUE CONNECTION
1. Complete the flue connection.
2. The boiler is designed to accept flues to
BS. 835 and should be sealed with an
approved boiler putty.
11
GAS CONNECTION
1. Connect the gas
supply to the gas
inlet pipe at the
rear LH side of the
boiler.
2. Table 2 gives
details of the inlet
connection size
and the minimum
working pressures.
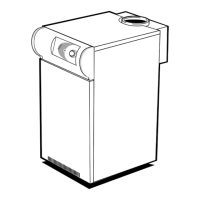
2. Slide the bottom of the side panels on to the location
buttons on the base tray.
3. Screw the side panel to support angles. Repeat for
the other side.
INSTALLATION
12
CASING ASSEMBLY
 Loading...