4
Important Operating Considerations for Safety
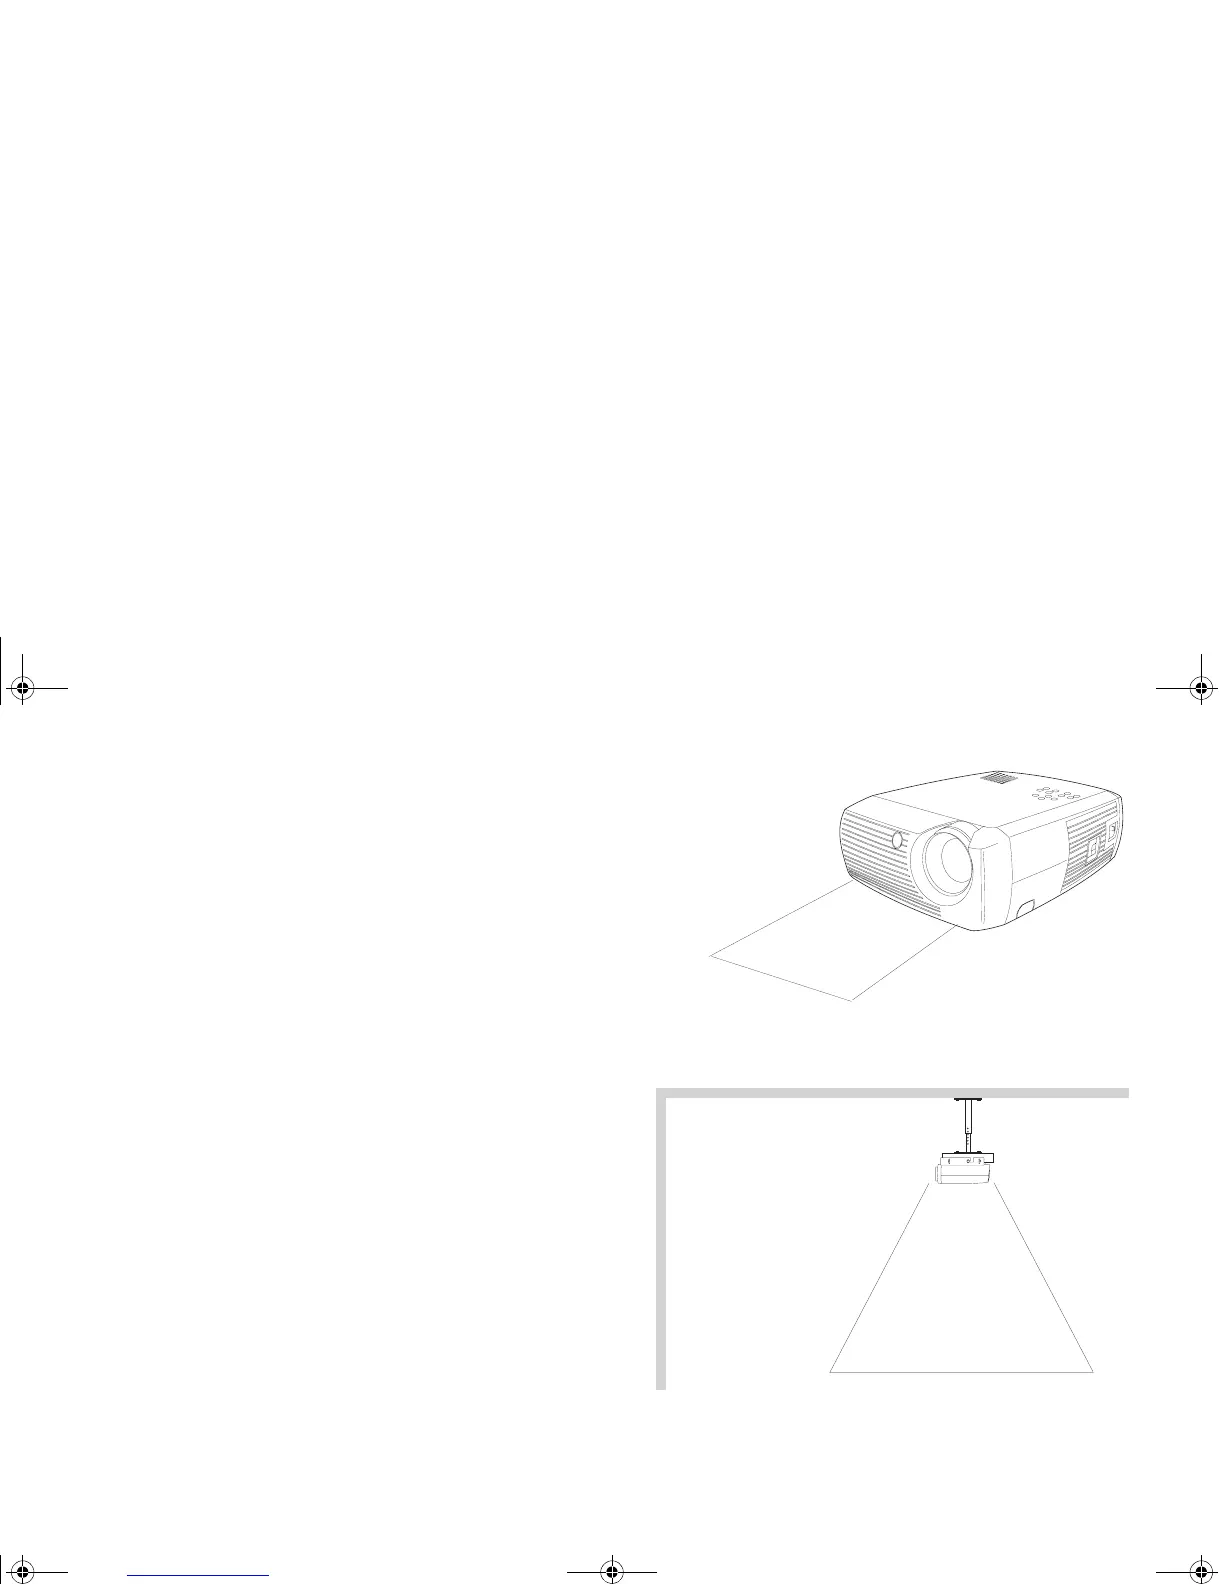
• Place the projector in a horizontal position no greater than 15 degrees
off axis.
• Locate the projector in a well-ventilated area without any obstructions
to intake or exhaust vents. Do not place the projector on a tablecloth or
other soft covering that may block the vents.
• Locate the projector at least 4' (1.2 m) away from any heating or cooling
vents.
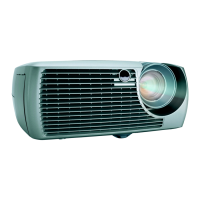
• Use only InFocus-approved ceiling mounts.
• Use only the power cord provided. A surge-protected power strip is
recommended.
• Refer to this manual for proper startup and shutdown procedures.
• In the unlikely event of the lamp rupturing, discard any edible items
placed in the surrounding area and thoroughly clean the area along all
sides of the projector. Wash hands after cleaning the area and handling
the ruptured lamp. This product has a lamp which contains a very
small amount of mercury. Dispose of it as required by local, state or
federal ordinances and regulations. For more information see
www.eiae.org.
Follow these instructions to help ensure image quality and lamp life over
the life of the projector. Failure to follow these instructions may affect the
warranty. For complete details of the warranty, see the Warranty section at
the end of this User's Guide.
2
f
t
(
.
6
m
)
Do not place objects or people in the 2 foot (.6m) area along the front of the projector.
For ceiling mount applications, this area should be 5 feet (1.5m).
5 ft (1.5m)
X2_usrguide_One_Year.fm Page 4 Wednesday, April 21, 2004 9:34 AM