W
W
a
a
t
t
e
e
r
r
S
S
y
y
s
s
t
t
e
e
m
m
s
s
,
,
L
L
L
L
C
C
www.123filter.com
- Page 4 of 12 -
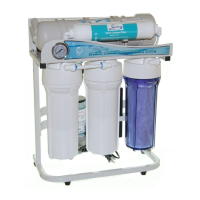
About the system
Reverse Osmosis process is a separation process. Tap water enters the system, and it is separated at the 4
th
stage membrane filter.
One side would go to the storage tank (purified water); the other side carrying all the minerals is purged
to the drain. The ratio of
purified water to drain water is 1:2. That means for every gallon of water you use, it will drain 2
to 3 gallons. The drain is required for
the RO process to work. If the drain is intentionally shut off, all the minerals will
be accumulated inside the membrane, and it would
permanently damaged the membrane filter.
All Reverse Osmosis units require purging of water when it’s producing water.
Production rate: For a 75GPD system, the system uses a 75 GPD (gallons per day) RO membrane. The actual production rate will
depend on
water input pressure, temperature, and water chemistry. At optimal condition the membrane will make 75 GPD, but on
average, it would make about 45 to 60 gallons per day, or about 2 to 3 gallons per hour.
Drain rate: The drain rate of the system is set at 300 mL/min. using a flow restrictor. This drain rate is constant,
independent of input
pressure. The drain will shut off automatically when the tank is full and the system is not making water. For average household, the
daily drain water is about 3-4 flushes of toilet water.
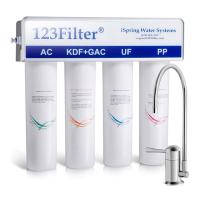
Pre-installation: Install filters and membrane in housings.
Pre Filters
: Remove the filters’ wrap, and from right to left, put in Sediment, GAC and CTO cartridges respectively. Make
sure the O-ring is fully seated in the groove.
RO Membrane
: Remove the membrane housing cap, install the membrane by carefully pushing the spigot end into the socket at
the far end of the housing until completely in. Make sure the end of 2 black rings goes in first.
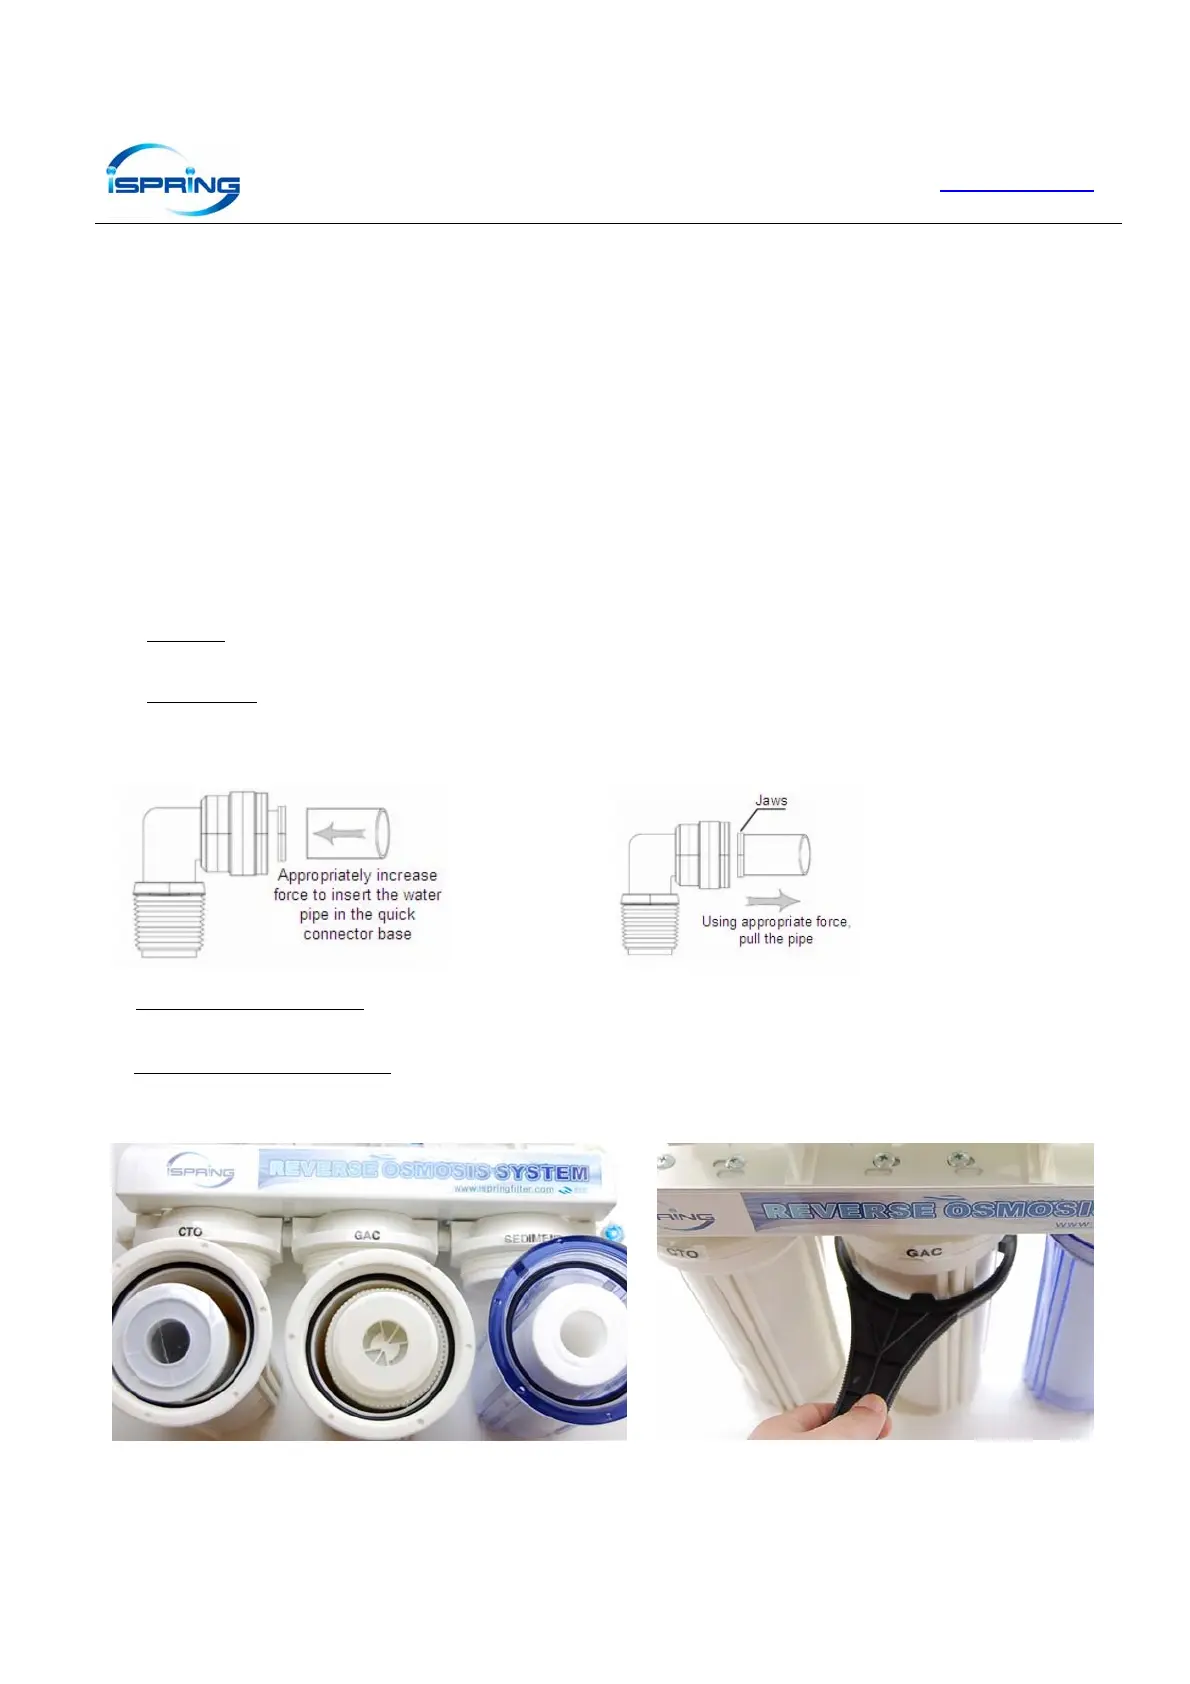
Installation tips for quick-connect fittings
A. Connect tubing to quick fitting: Check the end of the tubing to make sure it is evenly cut and circular (not oval) shaped. Insert
the tube all the way into the fitting till it stops completely.
B. Disconnect tubing from the fitting:
Remove the blue c-clip that has a raised edge, push in the jaw to release the spider lock, then
remove the tube at the same time.
ASSEMBLY QUICK VIEW
CTO GAC SEDIMENT
(picture for demo only. samples still have plastic wrap on)
1. Remove plastic wrap on the filters
2. Insert the filters as shown above.
1. Put upper portion of the unit on top of the filter housing
2. Screw on filter housing vertically to the filter housing cap by hand
3. Then use filter housing wrench to tighten the each housing
 Loading...