14
Capture/Save the image
Note: To get the best quality capture please wait a few seconds
after the image has been put into place, you will see the image
darken and adjust the best settings.
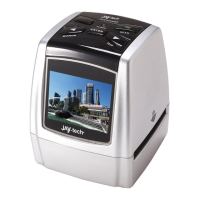
◆Insert the film/slide holder from the right side of scanner (Arrow
sign on the right side) and push it. When the film/slide holder is
in the correct position “Click” will be heard and Ready light will
be in green. The image can be previewed in OVT Scanner main
window by clicking on the “Get Photo” and “Acquire from Film
Scanner”
Note: The film/slide holder could be push forward only. No pull
back to the right side allowed. If taking out needed push the
film/sli
de holder
and pull back from the left side
◆Click “Capture” on the application window or press “Copy”
button on the film scanner
◆After the first image captured push the film/slide holder forward
again. When the film/slide holder is in the correct position
“Click” will be heard and Ready light will be in green again.
Then you can capture the second image. The captured images
will be on the right corner of OVT Scanner main window.
◆The captured images will appear as thumbnails on the film strip
◆You may capture up to 12 images before saving to your
computer
Important: After you capture your images you still need to save
them to your computer-The images will not be saved on the film
scanner after you exit
the OVT Scanner window
8. Saving images
 Loading...