3
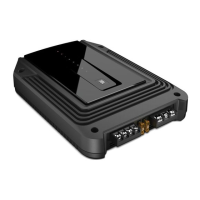
INSTALLATION LOCATION
Amplifiers need air circulation to stay cool. Select a location that provides enough air for the amp to cool itself.
• Suitable locations are under a seat (provided the amplifier doesn’t interfere with the seat adjustment mechanism), in the trunk, or in any other
location that provides enough cooling air.
• Do not mount the amplifier with the heatsink facing downward, as this interferes with the amplifier’s convection cooling.
• Mount the amplifier so that it will not be damaged by the feet of backseat passengers or shifting cargo in the trunk.
• Mount the amplifier so that it remains dry – never mount an amplifier outside the car or in the engine compartment.
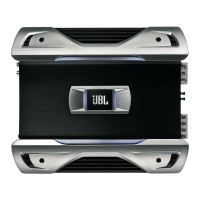
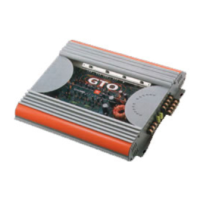
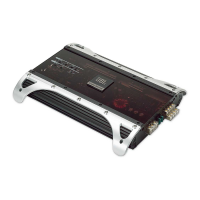
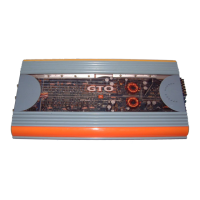
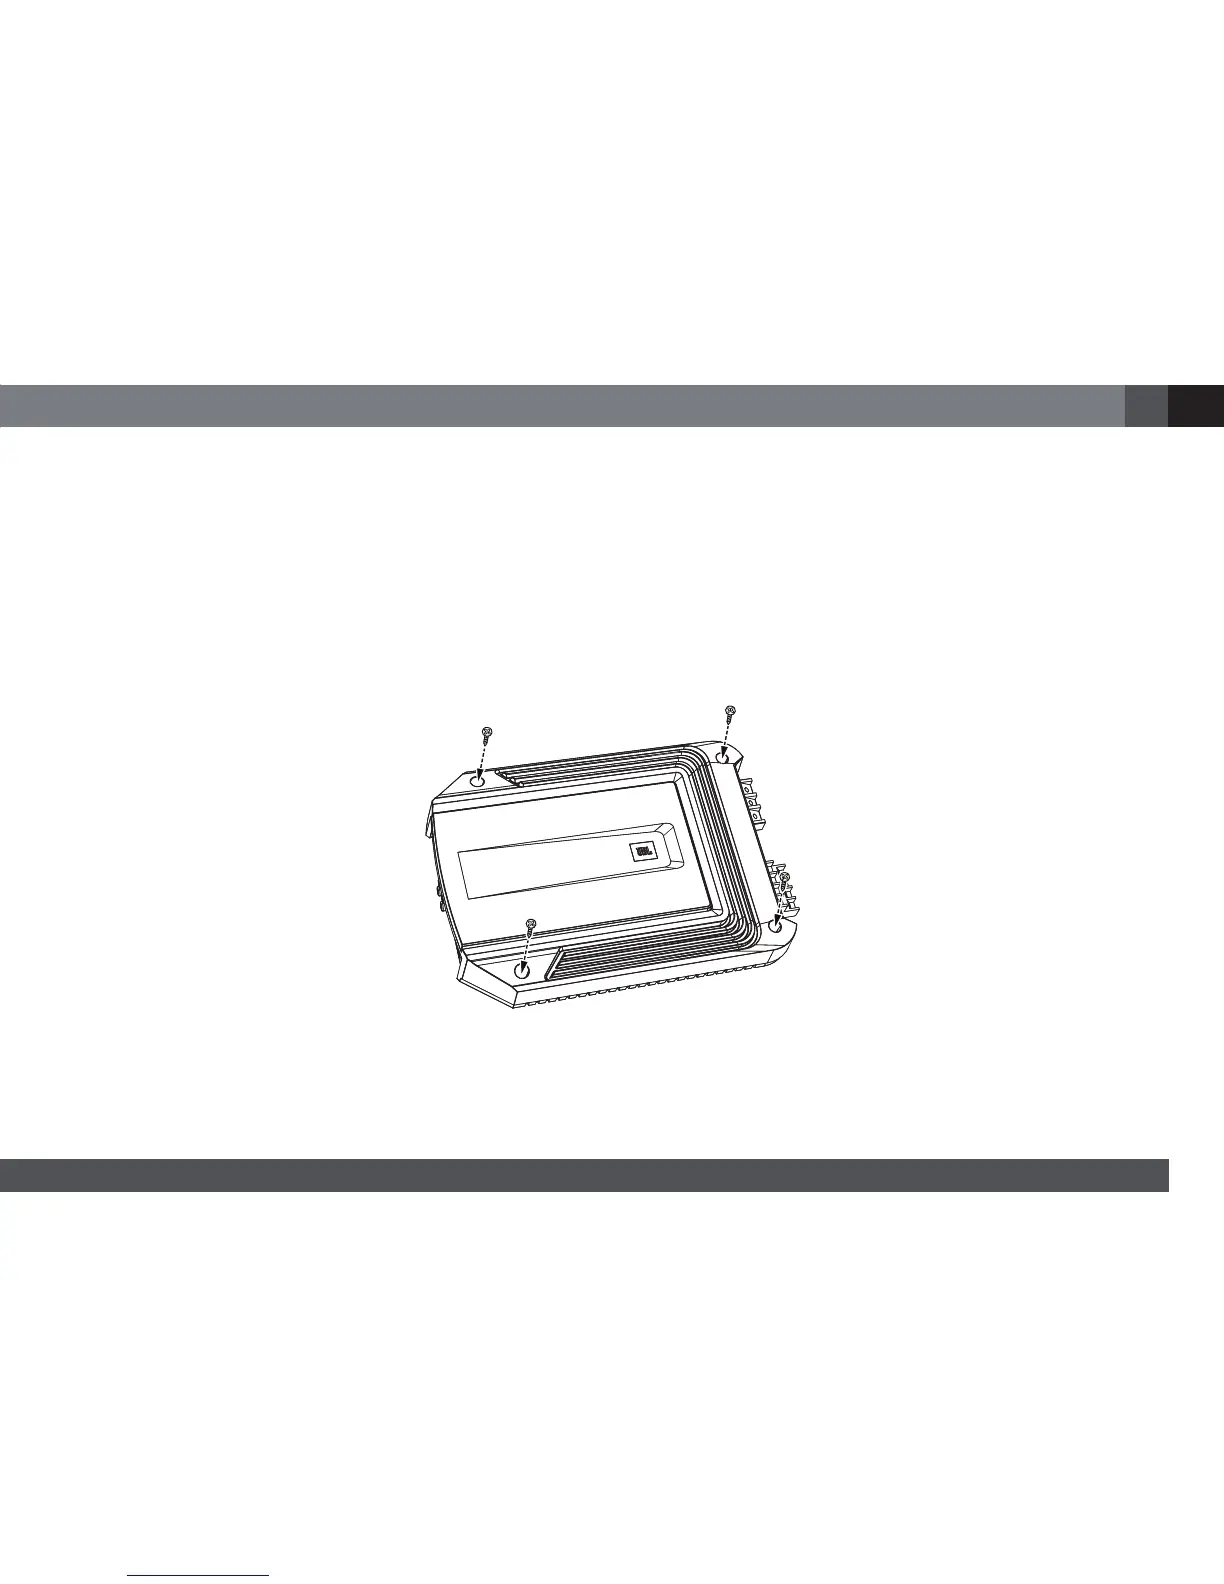
MOUNTING THE AMPLIFIER
NOTE : You may find it more convenient to make all of the connections to the amplifier before you permanently mount it to the vehicle.
1. Select a suitable mounting location as described above.
2. Using the amplifier as a template, mark the locations of the mounting holes on the mounting surface.
3. Drill pilot holes in the mounting surface.
4. Attach the amplifier to the mounting surface with four appropriate mounting screws of your own choice. We suggest using #8 Phillips-head sheet
metal screws. Make sure the amplifier is mounted securely.
 Loading...