− 38 −
In addition, there are the following error codes in this device. These error codes interlock (or limit function) and inform the problem so
that the problem is not enlarged when any problem is discovered. When you request our service, please confirm the error codes.
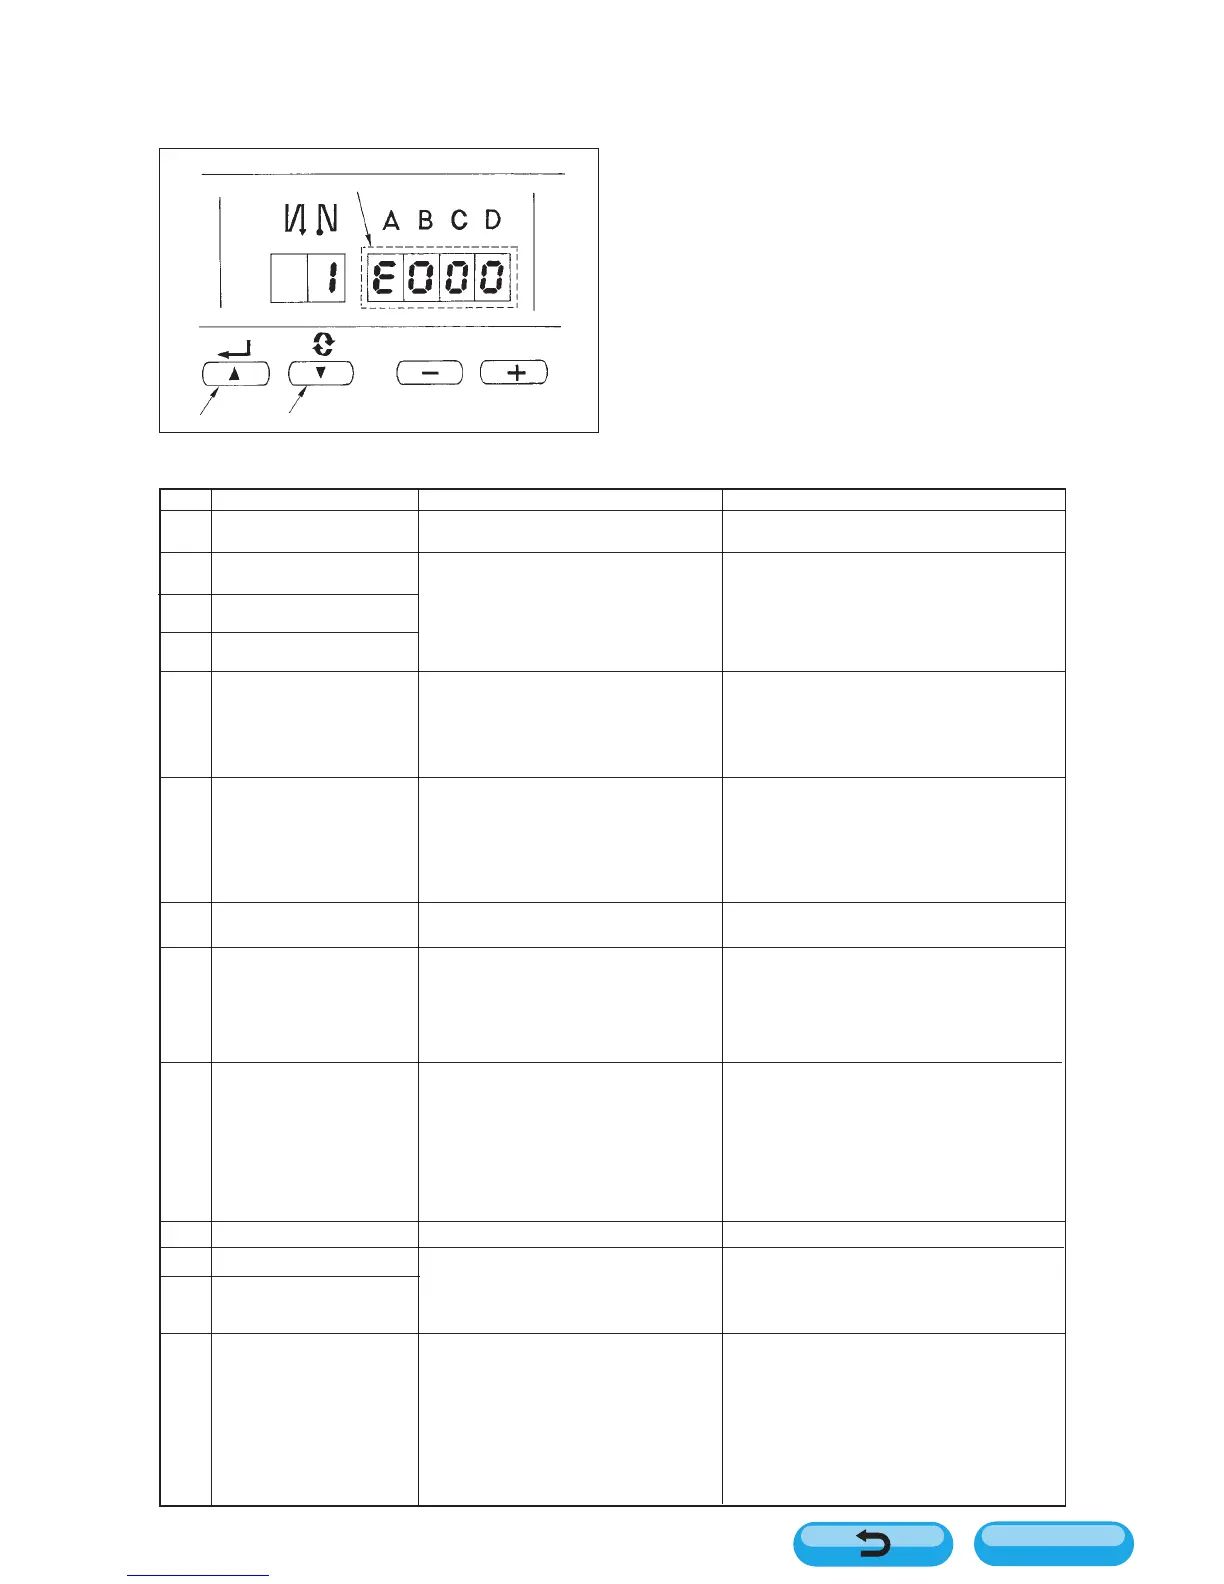
Checking procedure of the error code
1) Pressing switch 1 in the control box, turn ON the power switch.
2) LED becomes display 5 with the sound of “peep” and
the latest error code is displayed.
3) Confirmation of the contents of previous error can be
performed by operating switches 1 or 2.
(Caution) When operating switch 1, one before the
existing error code is displayed.
When operating switch 2, one after the existing
error code is displayed.
Error code list
No.
E000
E003
E004
E005
E906
E007
E008
E811
E813
E924
E730
E731
E343
Description of error detected
Execution of data initialization
(This is not the error.)
Disconnection of synchronizer
connector
Synchronizer lower position
sensor failure
Synchronizer upper position
sensor failure
Operation panel transmission
failure
Overload of motor
Machine head connector
failure(Resistance pack)
Overvoltage
Low voltage
Motor driver failure
Encoder failure
Motor hole sensor failure
Bobbin thread remaining
amount sensor unit failure
Cause of occurrence expected
• When the machine head is changed.
• When the initialization operation is executed
• When position detection signal is not input
from the sewing machine head
synchronizer.
• When the synchronizer has broken.
• Disconnection of operation panel cord
• Operation panel has broken.
• When the machine head is locked.
• When sewing extra-heavy material beyond
the guarantee of the machine head.
•When the motor does not run.
• Motor or driver is broken.
• When the machine head connector is not
properly read.
• When voltage higher than guaranteed one
is inputted.
• 220V has been inputted to SC-500 of 110V
specifications.
• 400V is applied to the box of 220V (230V).
• When voltage lower than guaranteed one
is inputted.
• 110V has been inputted to SC-500 of 220V
specifications.
• 110V is applied to the box of 220V.
• Inner circuit is broken by the applied
overvoltage
• Motor driver has broken.
• When the motor signal is not properly
inputted.
• When the position of the detection bar of
the AE device is shifted from the home
position.
Items to be checked
• Check the synchronizer connector (CN33) for
loose connection and disconnection.
• Check whether the synchronizer cord has broken
since the cord is caught in the machine head.
• Check the operation panel connector (CN38) for
loose connection and disconnection.
• Check whether the operation panel cord has
broken since the cord is caught in the machine
head.
• Check whether the thread has been entangled in
the motor pulley.
• Check the motor output connector (4P) for loose
connection and disconnection.
• Check whether there is any holdup when turning
the motor by hand.
• Check the machine head connector (CN32) for
loose connection and disconnection.
• Check whether the applied power voltage is higher
than the rated voltage + (plus) 10% or more.
• Check whether 110V/220V changeover switch is
improperly set.
In the aforementioned cases, POWER p.c.b is
broken.
• Check whether the voltage is lower than the rated
voltage – (minus) 10% or less.
• Check whether 110V/220V changeover switch is
improperly set.
• Check whether fuse or regenerative resistance is
broken.
• Check the motor signal connector (CN30) for loose
connection and disconnection.
• Check whether the motor signal cord has broken
since the cord is caught in the machine head.
• Check whether the detection bar of the AE device
has returned to the correct position.
• Check whether the function setting No. 57 has
been mistakenly set.
• Check the AE device connectors (CN121, CN123)
for loose connection and disconnection.
• Check whether the AE device cord has broken
since the cord is caught in the machine head.
5
1
2
Contents

 Loading...