-8--8-
-8--8-
-8-
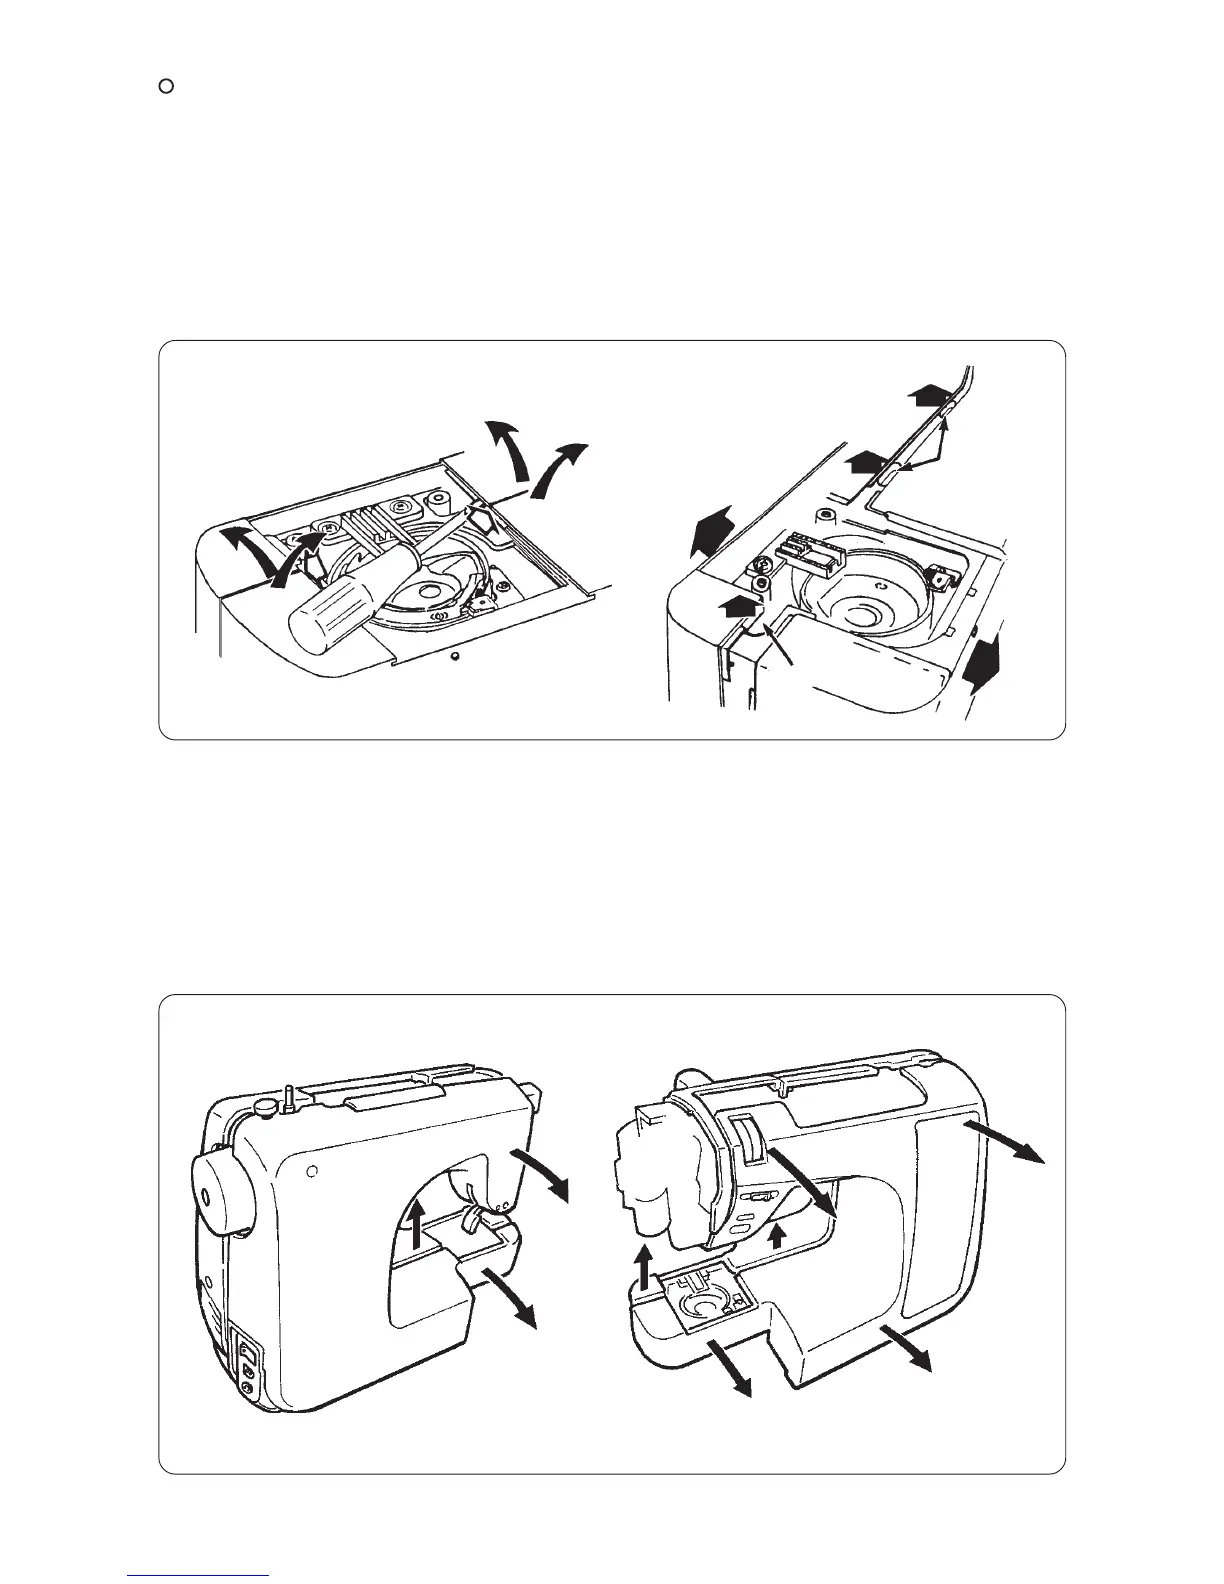
On condition that the presser lifting lever is lowered, open a little bit the joint section of
the front and rear covers as illustrated in the figure below.
(Rear panel)
• Remove the convex sections of the front panel and the rear panel from the frame so as to move the convex
sections up from the frame as illustrated in the figure below. Then open the respective panels.
• Open the right side (side of presser bar and face plate) of the rear panel and the joint section of the whole
panel is removed.
Note) Remove the rear panel so as to bring the rear panel near the hand wheel side at
the place of the power switch installing plate since there is a convex shape on
the rear panel.
(Front panel)
• Remove the convex sections of the front panel and the rear panel from the frame so as to move the convex
sections up from the frame in the same way as the rear panel above. Then open the panels.
[a] Draw the free arm section toward you. (Lower section of the front panel)
Then remove in the order below.
[b] Thread tension section
[c] Bobbin winder base section
Frame hole
Frame hole
[a]
[b]
[c]
[a]
 Loading...