4.
OPERATION AND ADJUSTMENT
OF
MH-484
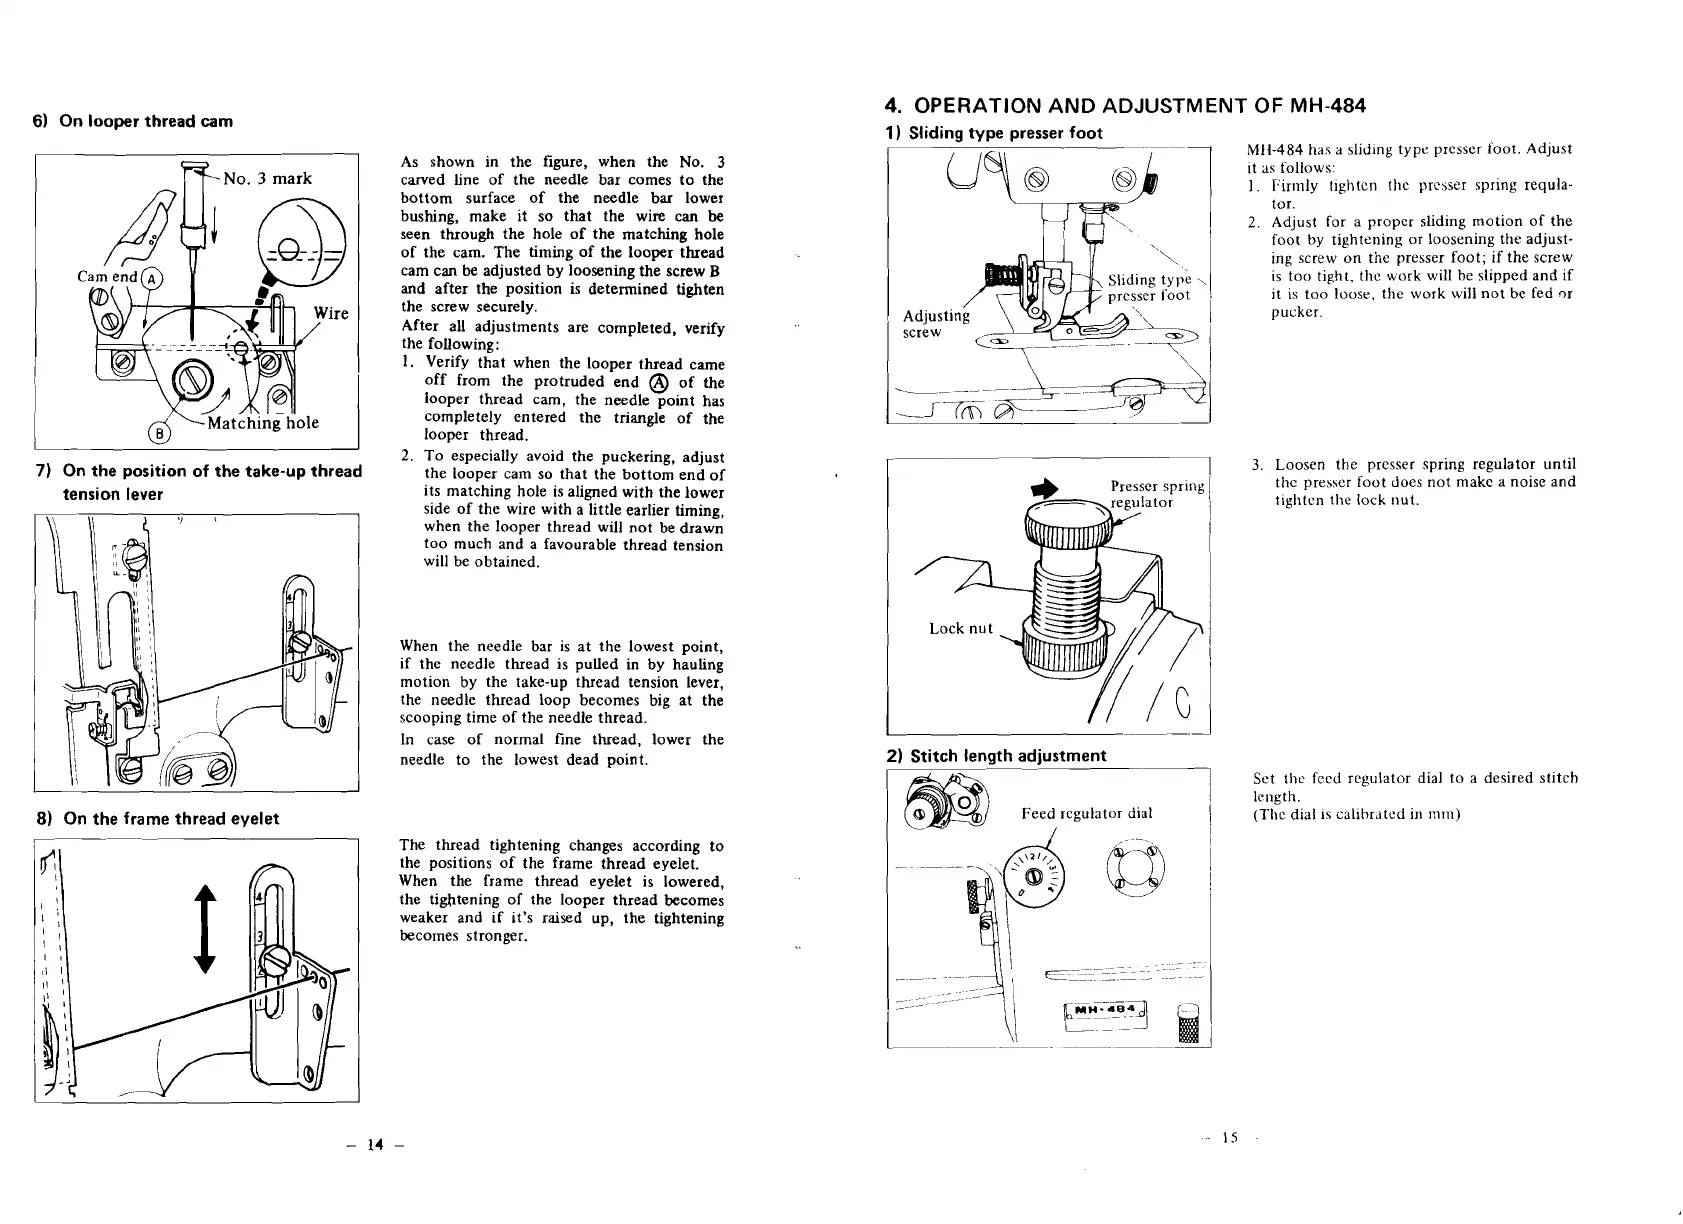
1)
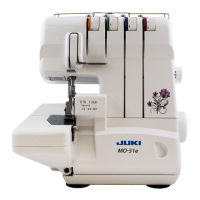
Sliding tvpe presser foot
6)
On looper thread
cam
bottom surface of the needle bar lower
bushing, make it so that the wire can
be
seen through the hole of the matching hole
of the cam. The timing of the looper thread
cam can be adjusted by loosening the screw
B
and
after the position is determined tighten
the screw securely.
After all adjustments are completed, verify
the following:
1.
Verify that when the looper thread came
off from the protruded end
@
of the
looper thread cam, the needle point has
completely entered the triangle of the
looper thread.
2.
To especially avoid the puckering, adjust
7)
On the position of the take-up thread
the looper cam so that the bottom end of
tension lever
its matching hole is aligned with the lower
side of the wire with a little earlier timing,
when the looper thread will not be drawn
too much and a favourable thread tension
1
will be obtained.
NO.
3
mark
When the needle bar is at the lowest point,
if the needle thread is pulled in by hauling
motion by the take-up thread tension lever,
the needle thread loop becomes big at the
scooping time of the needle thread.
As shown in the figure, when the No.
3
carved line of the needle bar comes to the
In case of normal fine thread, lower the
I
needle to the lowest dead point.
8)
On the frame thread eyelet
The thread tightening changes according to
the positions of the frame thread eyelet.
When the frame thread eyelet is lowered,
the tightening of the looper thread becomes
weaker and if it's raised up, the tightening
becomes stronger.
Adjustin
screw
3
Lock nut
Mli-484 has a sliding type presser foot. Adjust
it as follows:
I.
Firmly tightcn thc presser spring requla-
tor.
2.
Adjust for
a
proper sliding motion of the
foot by tightening or loosening the adjust-
ing screw on the presser foot; if the screw
is too tight,
thc work will be slipped and if
it
is
too loose, the work will not be fed qr
pucker.
3.
Loosen the presser spring regulator until
the presser foot does not make
a
noise and
tightcn the lock nut.
2)
Stitch length adjustment
--
pi
Set tlic feed regulator dial to a desired stitch
length.
Feed regulator dial
I
(Thc dial
IS
calibrated in
~nm)
i
 Loading...