1. Wrap and fasten one end of the electrostatic discharge (ESD) grounding strap around your bare wrist, and connect the
other end to a site ESD point.
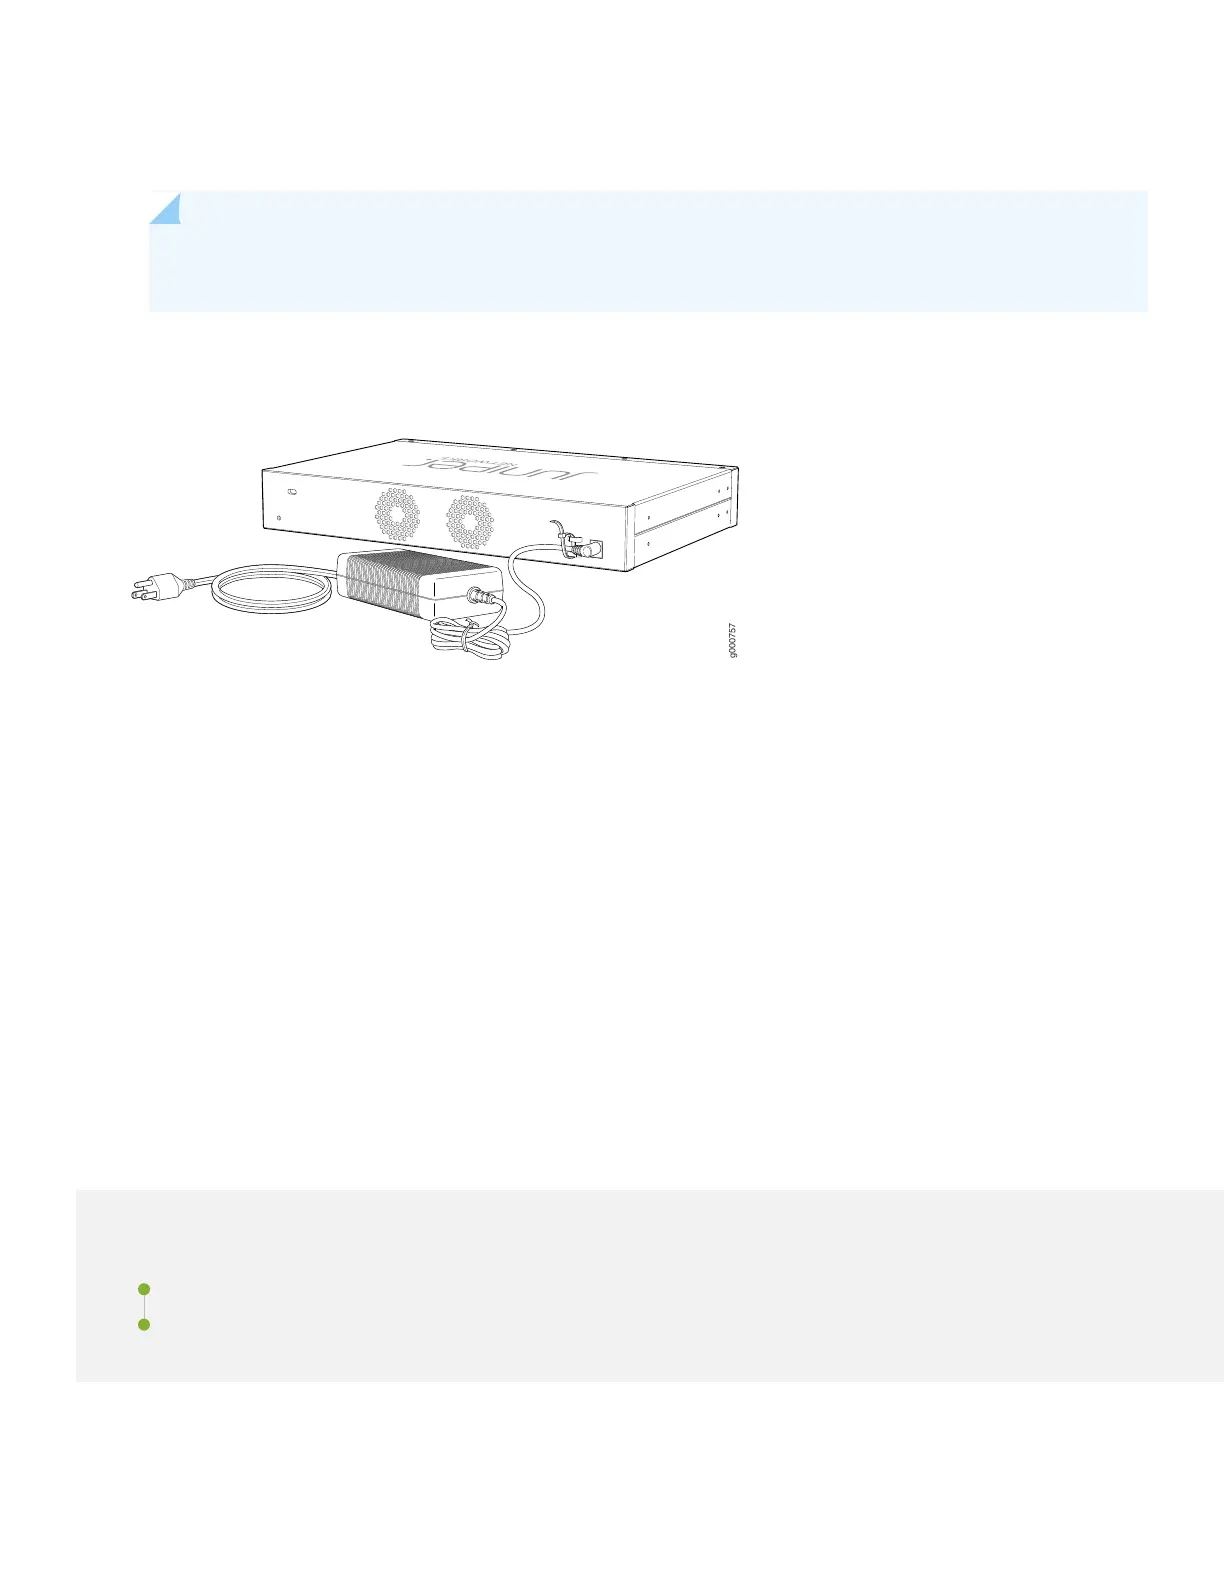
NOTE: If the SRX320 has a supply adapter tray, you can perform step 2 and 3 with the power supply adapter
seated in the tray.
2. Plug the DC connector end of the power cable into the power connector at the back of the SRX320.
3. Plug the AC adapter end of the power cable into the power supply adapter.
4. If the AC power source outlet has a power switch, turn it off.
5. Plug the power cord into the AC power source outlet.
6. If the AC power source outlet has a power switch, turn it on.
The SRX320 powers up as soon as you connect it to power. When the STAT LED on the front panel is lit solid green,
the SRX320 is ready to use.
Step 2: Up and Running
IN THIS SECTION
SRX320 Provisioning Options | 7
Initial Configuration Using the CLI | 7
Now that the SRX320 is powered on, let’s do some initial configuration to get it up and running on the network.
6
 Loading...


