English
7
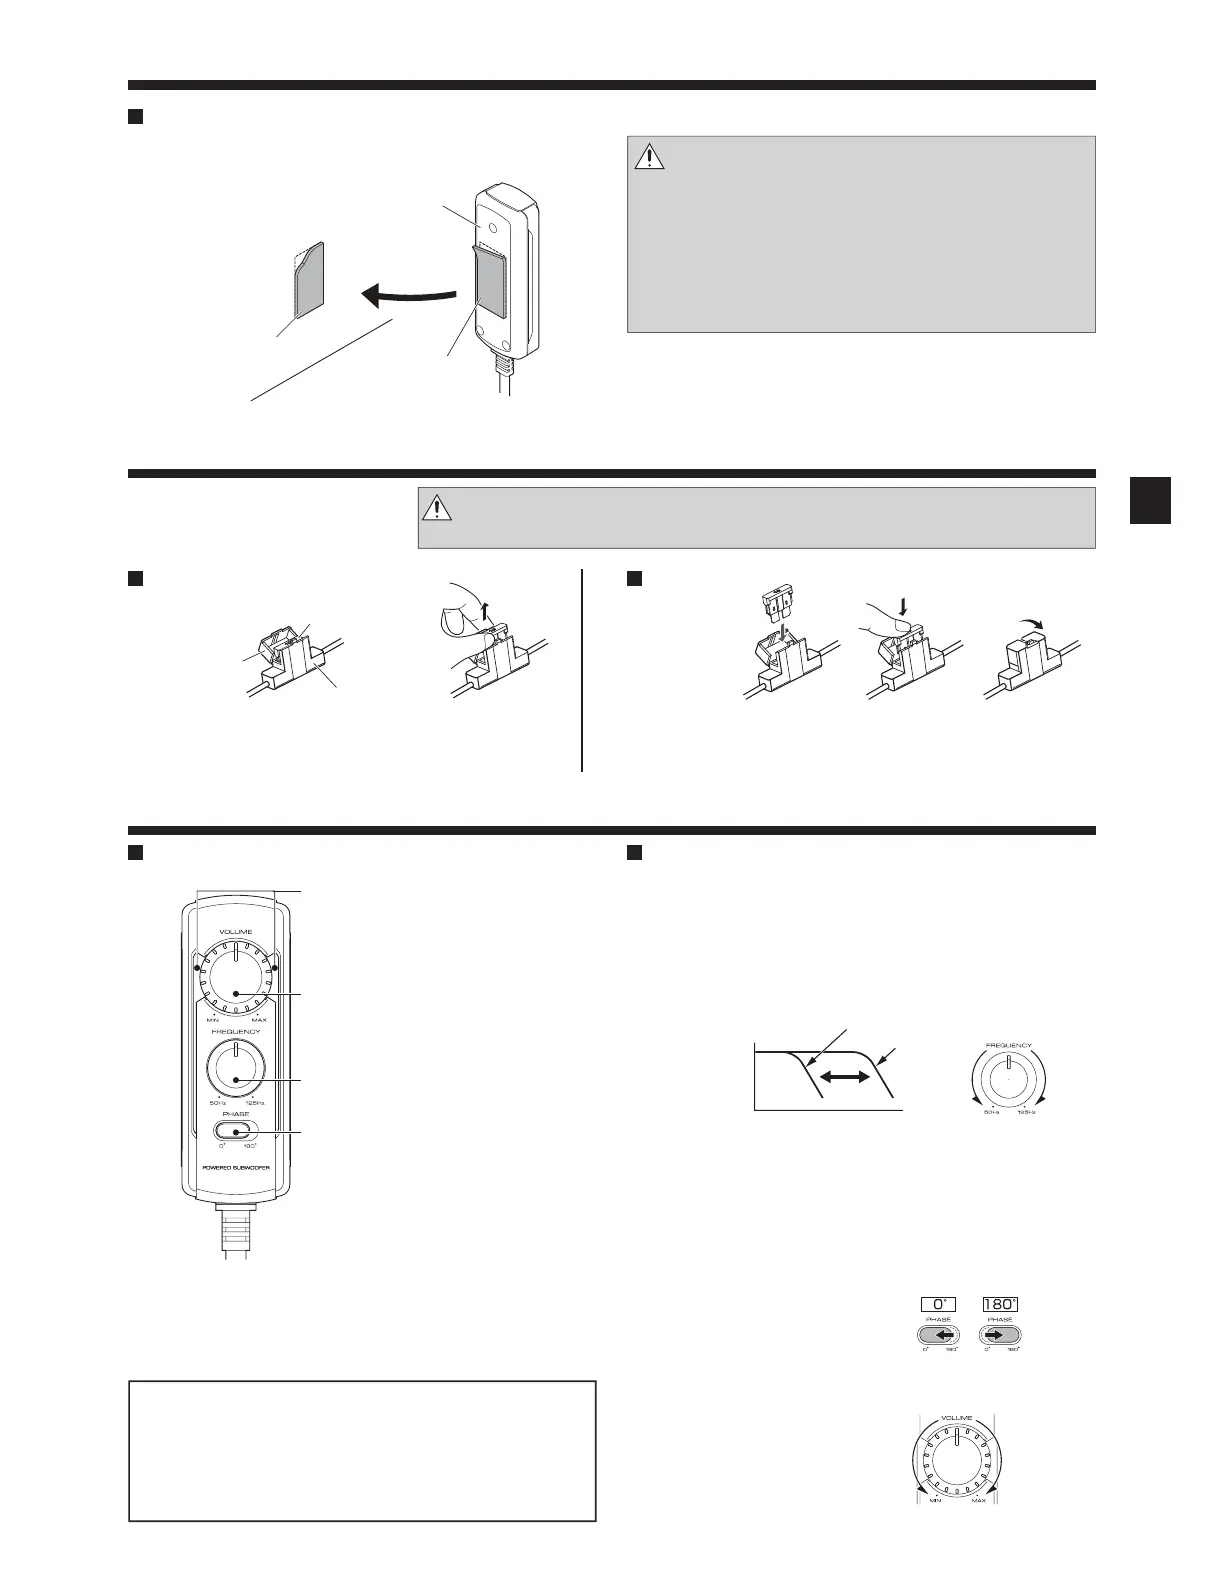
Removal Insertion
❶
Open the cover.
❷
Grasp the fuse and pull up.
❶
Insert the fuse gently into the fuse holder and
push in all the way with your finger.
❷
Close the cover.
Exchange with the specified capacity
fuse.
Operation
Fuse exchange
Adjusting the sound
(Remote control operation)
❶
Turn the FREQUENCY control knob to adjust the
cut-off frequency (frequencies higher than this
frequency are cut off).
Turn the FREQUENCY control knob to adjust the balance be-
tween the bass from the rear speakers and the bass from this
unit as desired.
❷
Adjust the low frequency phase.
The low frequency tone may be variable depending on the po-
sition of the unit, its orientation or the turn-over frequency. This
can be adjusted by changing the position of the PHASE switch.
Set this switch to either position according to your liking.
[0°] indicates the normal phase and [180°] means the reverse
phase.
❸
Turn the VOLUME control knob to adjust the low
frequencies to the desired level.
Name of each part (Remote control )
The sound is output even when the remote control unit
is not connected, but the operations described in this
section are not available. In this case, the volume, cut-off
frequency and phase are set to the predetermined default
conditions, with which the cut-off frequency is 125 Hz
and the phase is 0° (positive).
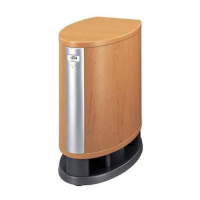
Installing the remote control unit
Install the remote control unit on the vehicle by the
provided hook-and-loop fastener.
Frequency
Low
Low
High
High
50 Hz
125 Hz
To increase
volume
To decrease
volume
Sound pressure
level
①
Remote control
(Rear panel)
⑨
Hook-and-loop
fastener
(Softer surface)
Vehicle
⑨
Hook-and-loop
fastener
(Harder surface)
PHASE switch
(Phase select switch)
FREQUENCY control knob
(Cut-off frequency control knob)
VOLUME control knob
(Input sensitivity control knob)
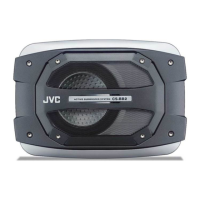
Illumination
When the power turns ON, the illu-
mination lights.
Fuse
Cover
Fuse holder
Replacement
fuse 10 A
Caution:
Install the remote control unit in a position that does not
come in the way of driving operations.
Avoid installing it in a place subject to direct sunlight or
direct hot wind from the heater. Otherwise, the product
may be degraded and a fire hazard may result.
Remove dirt from the installation position before attach-
ing the hook-and-loop fastener.
Caution: Be sure to replace with same capacity (amperage) as displayed on the
fuse. This product is 10A.
Note:
Large power input will cause the protection circuit for this
unit to operate, which will decrease output level. In this
case, turn the volume to “MIN” for a while, then eventually
this unit will automatically start working again.
1ENJ.indd7 2017/12/2818:49
 Loading...