1. Firmware upgrade:
Plug in USB stick with rmware, operate Menu to upgrade
the monitor. ( page 19.)
2. User 3DLUT upload:
Plug in USB stick with user created LUTs, operate Menu to
upload to the monitor. ( page 11.)
3. Auto calibration:
Plug in color sensor probe into the USB port, operate Menu
to start auto calibration. ( page 12.)
8
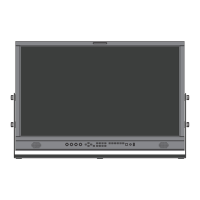
Index of Parts and Functionos (cont.)
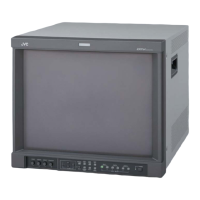
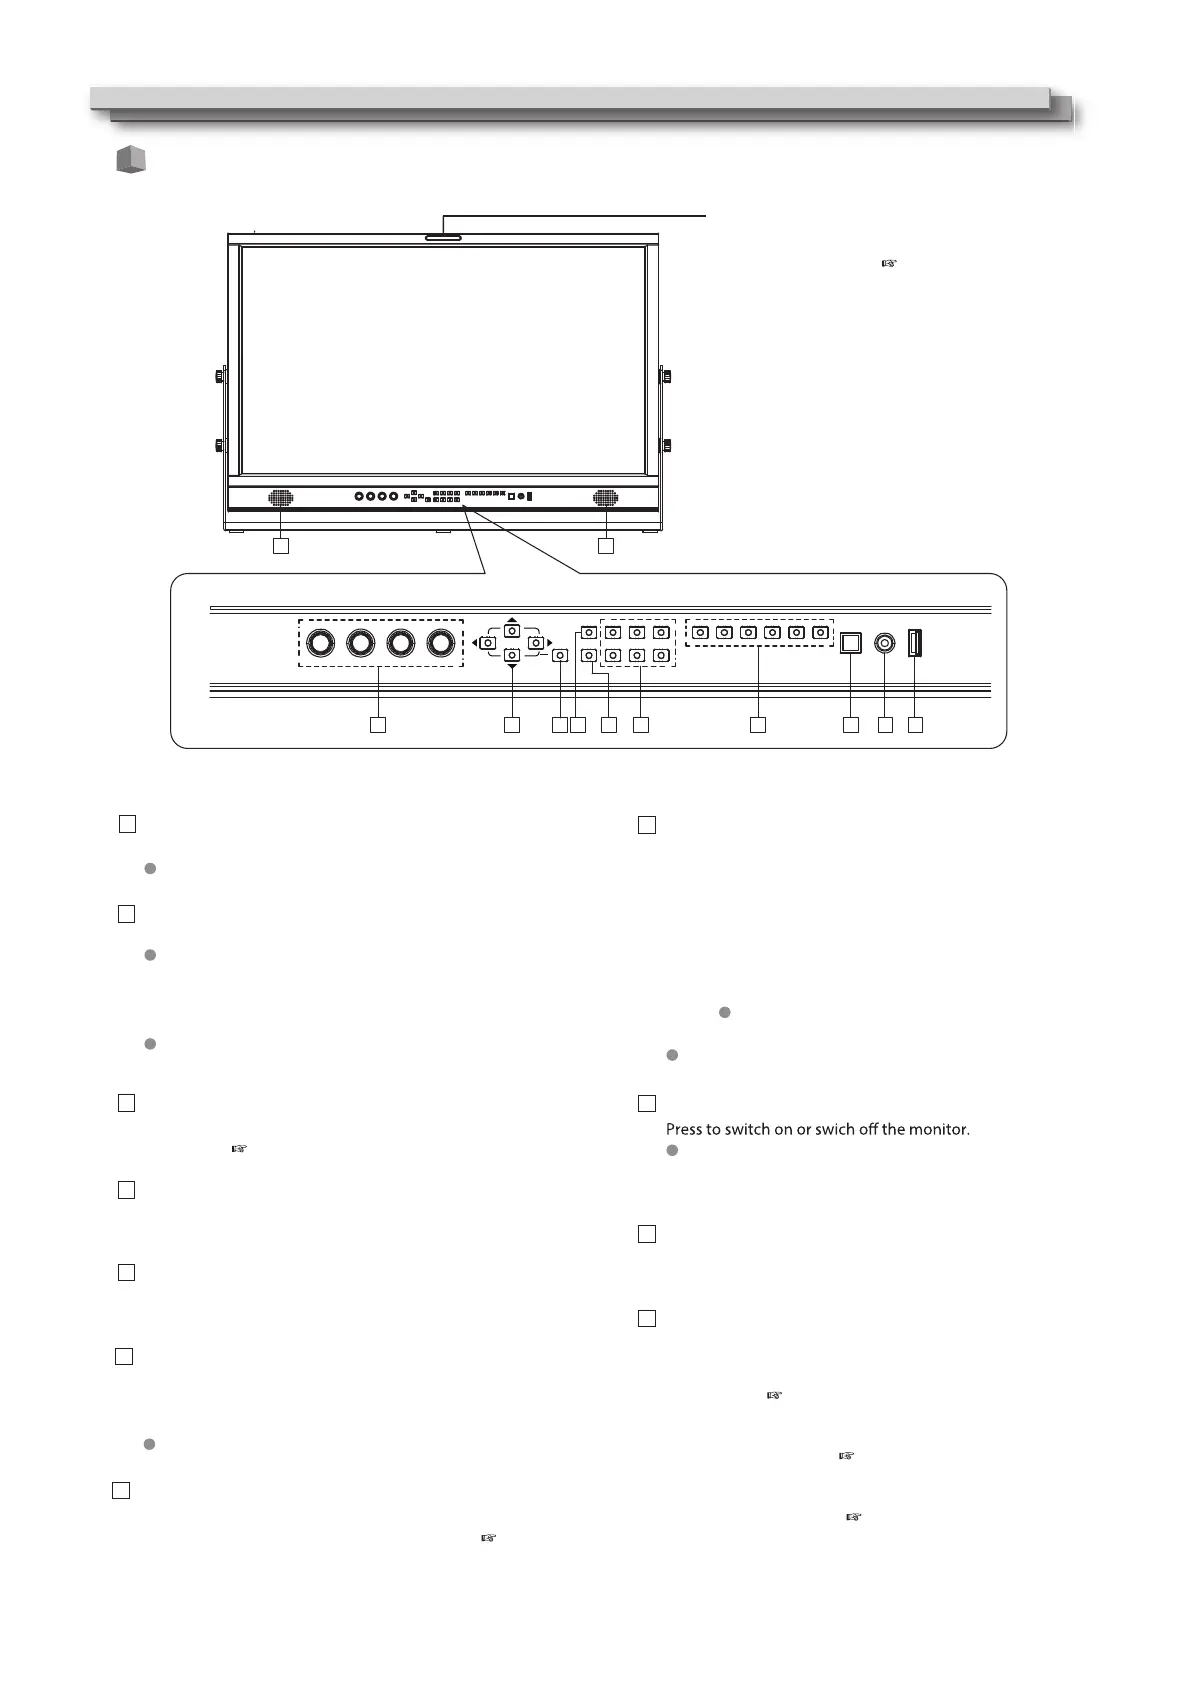
Speaker:
For SDI/HDMI embedded audio monitoring.
The speaker will not work if earphone is plugged in.
Rotary knobs:
VOLUME: Adjust the sound volume from 0-100.
Press down the VOLUME knob, the volume will be 0 (mute).
CHROMA: Adjusts the picture chroma from -100 to +100.
BRIGHT: Adjusts the picture brightness from -100 to +100.
CONTRAST: Adjusts the picture contrast from -100 to +100.
Press down the BRIGHT/CONTRAST/SATURATION knobs,
the parameters will recover to default value 0.
Direction Keys:
Includes Up, Down, Left, Right 4 direction keys for Menu
operation. ( page 10.)
Menu Key:
Press to switch on Menu system and operate by direction
keys.
WFM Key:
Press to swtich on/o the Waveform scope.
FUNCTION Keys
Provide F1 / F2 / F3 / F4 / F5 / F6 function keys to assign
monitor functions and switch on/off quickly. ( page 19.)
INPUT SELECTION keys
Select input sources directly:
- SDI 1 / SFP: Press to switch to the SDI IN-1 terminal input,
Press again to switch to SFP terminal input.
- SDI 2: Press to switch to the SDI IN-2 terminal input.
- SDI 3: Press to switch to the SDI IN-3 terminal input.
- SDI 4: Press to switch to the SDI IN-4 terminal input.
- 4x3G: Press to switch to Quad-link 4x3G SDI 2SI interleave mode,
Press again to switch to 4x3G SDI Quad split mode.
The 4x3G source requires inputs of all SDI IN1,2,3,4.
- HDMI: Press to switch to HDMI terminal input.
The key light will indicate the current input source.
POWER ON/OFF
The standby power consumption is less than 0.5W, comply
with ErP rules. To complete cut o power, please switch o the
AC input switcher or disconnect DC cable.
PHONE jack
3.5mm earphone socket, for SDI/HDMI embedded audio
monitoring.
USB LUT
Front panel
Tally lamp
This lamp is controlled by the tally function of the
Make contact terminal. ( Page 16.)
You can select the color of the tally lamp from
"Green", "Red", or "Yellow".
1
2
3
4
5
INFO Key
Press to switch on/off all the on screen overlay
informations, includes video scopes, audio meters,
UMD, timecode, markers etc.
Press INFO can quit Menu system at any time.
6
7
8
9
10
11
1 1
2
3
4
5
6
7
8
9
10 11
 Loading...