EN 47
MAKE CONNECTIONS
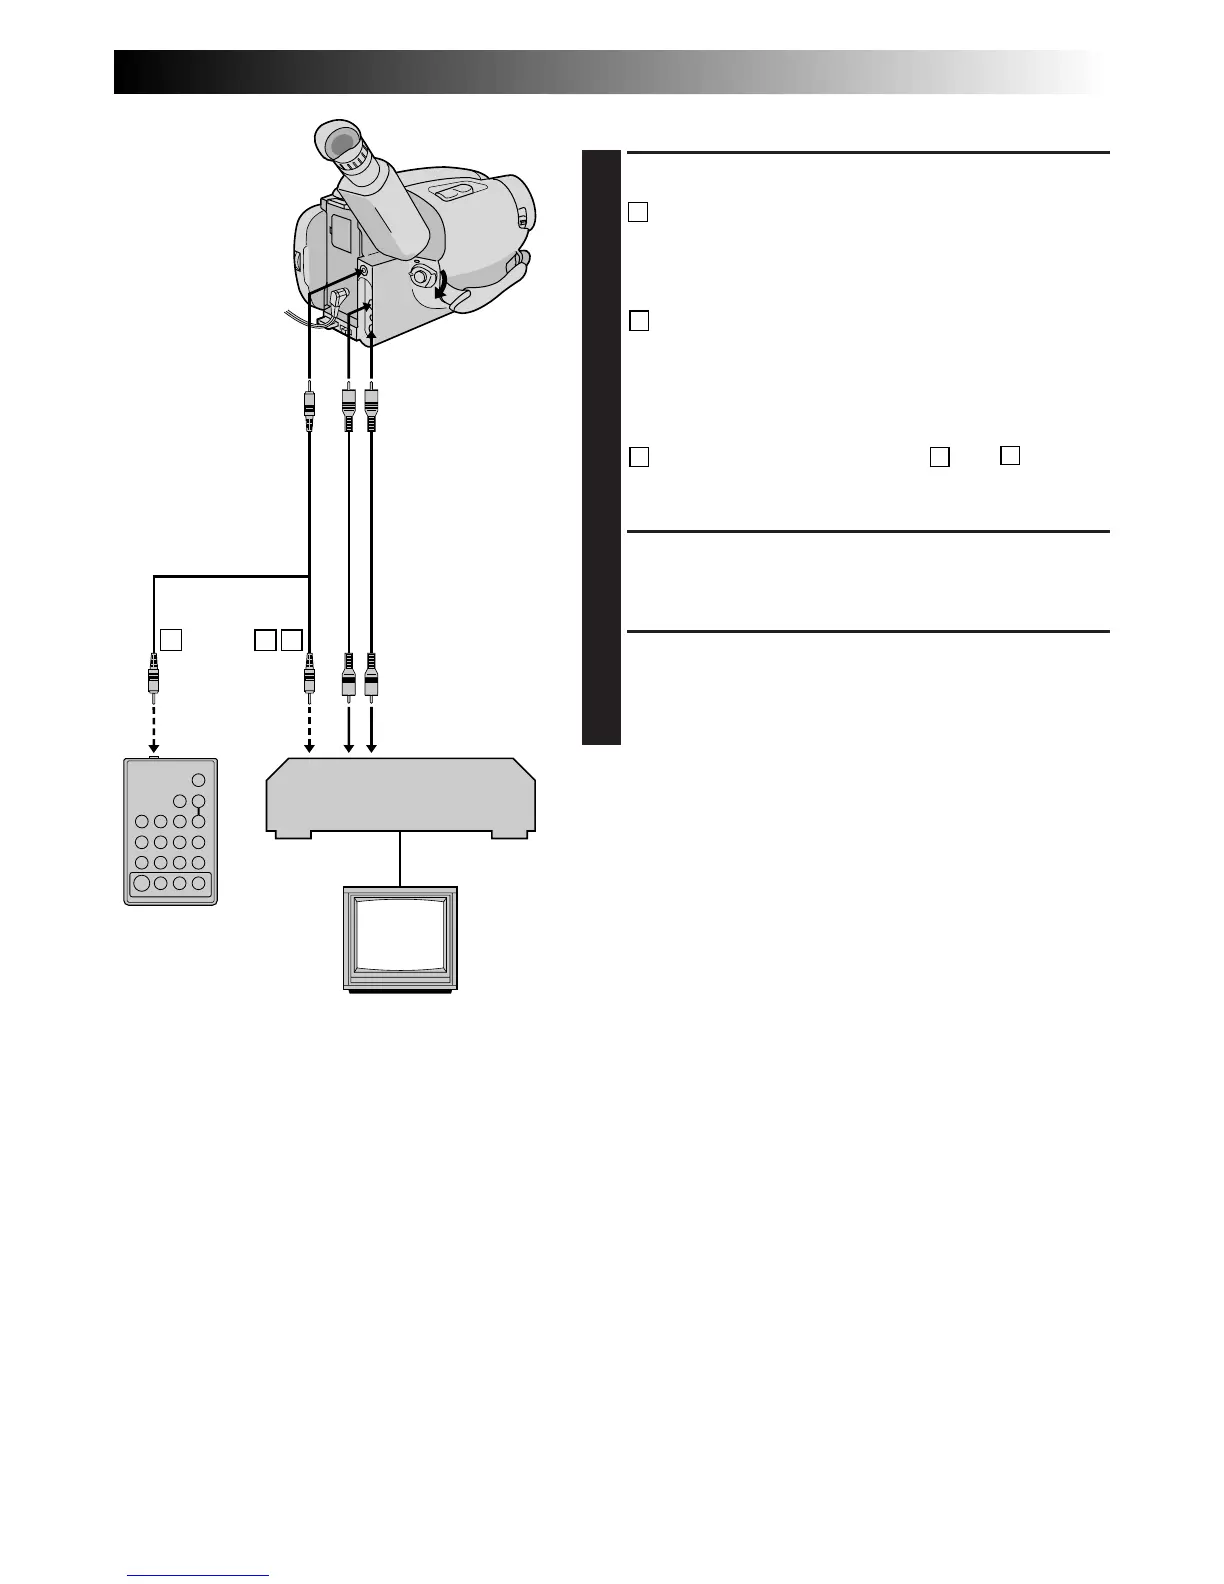
CONNECT TO . . .
1
A
JVC VCR EQUIPPED WITH REMOTE
PAUSE TERMINAL
Connect the editing cable to the Remote PAUSE
terminal.
B
JVC VCR NOT EQUIPPED WITH REMOTE
PAUSE TERMINAL BUT EQUIPPED WITH
R.A. EDIT CONNECTOR
Connect the editing cable to the R.A.EDIT
connector.
C
VCR OTHER THAN TYPE
A
OR
B
Connect the editing cable to the RM-V700U’s
Pause-In jack.
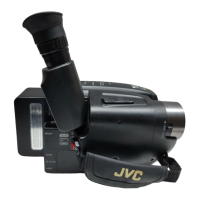
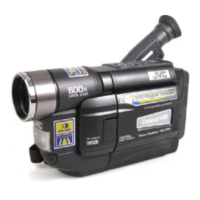
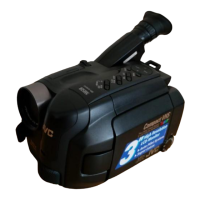
PREPARE CAMCORDER
2
Insert a recorded tape and set the Power Switch to
“PLAY”.
PREPARE VCR
3
Turn the power on, insert a recordable tape and
engage the AUX mode (refer to VCR’s instructions).
A
B
C
VCR
(Recording deck)
RM-V700U
(optional)
To J terminal
(JLIP)
Open the
cover
To AUDIO and
VIDEO OUT
connectors
Audio and Video
cables (optional)
Editing cable
(optional, ø3.5
mini-plug cable)
To AUDIO
and VIDEO IN
connectors
To Remote
PAUSE
To Pause-In
 Loading...