Do you have a question about the JVC GR-AXM700 and is the answer not in the manual?
| Camcorder Media Type | VHS-C |
|---|---|
| Optical Zoom | 16x |
| Image Sensor Size | 1/4 inch |
| Minimum Illumination | 2 lux |
| Microphone Operation Mode | Stereo |
| Connector Type | Composite video/audio output |
| Viewfinder Type | Color LCD |
| Display Type | LCD |
| Image Sensor | CCD |
| Shutter Speed | 1/60 - 1/4000 sec |
| Viewfinder | Color LCD |
| Microphone | Stereo |
| Focus Adjustment | Automatic |
| White Balance | Automatic |
| Microphone Type | Built-in |
| Display Size | 2.5 inch |
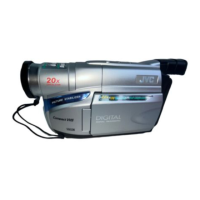
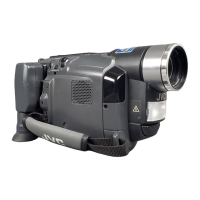
| Zoom | 16x optical |
| LCD Screen | 2.5 inch |
| Audio Recording | Stereo |
| Battery | Rechargeable battery |
Step-by-step guide for safe installation, covering grounding, power, ventilation, and mounting.
Instructions for safely installing antennas, including grounding and placement near power lines.
Guidelines for safe operation, covering accessories, water, liquids, cleaning, and heat.
Procedures for servicing, damage requiring service, replacement parts, and safety checks.
Highlights features like Program AE, Special Effects, and Digital Still Camera capabilities.
Details on features like Integrated Auto Light, Picture Stabilizer, LCD Monitor, and Digital Zoom.
Steps for supplying power, inserting cassettes, and basic playback/shooting setup.
Guides for basic video playback and shooting operations.
Steps for powering up, shooting, and storing still images in DSC mode.
How to select mode and play back stored still images in DSC mode.
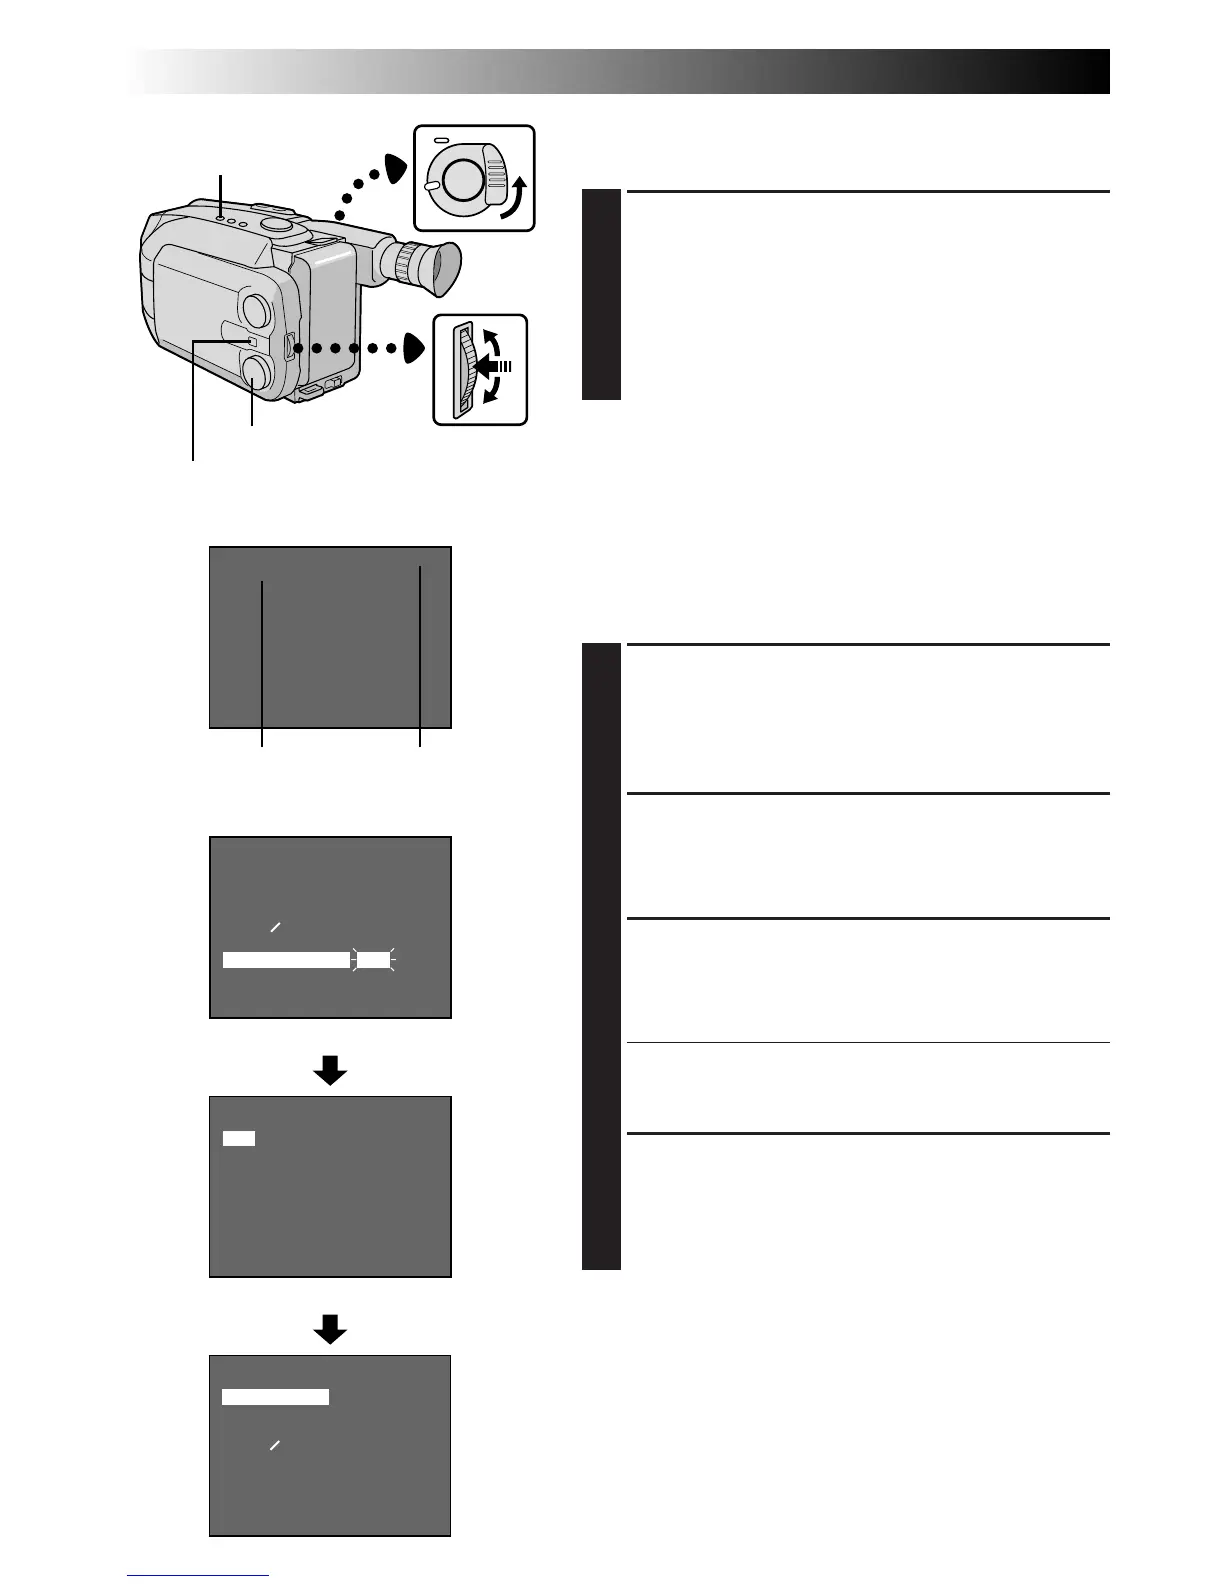
Instructions for using AC power, charging, and attaching the battery pack.
Details on battery types, charging times, and usage.
Explanation of the charge marker for tracking battery status.
Using car batteries and AC power adapters for operation.
Step-by-step guide for installing and replacing the lithium battery for clock functions.
Procedure for accessing and setting the camcorder's date and time accurately.
How to adjust the grip strap and viewfinder for comfortable and clear operation.
Instructions for attaching and adjusting the camcorder's shoulder strap.
Guide for securely mounting the camcorder onto a tripod.
Setting the recording mode (SP/EP) for desired quality and recording time.
Configuring the tape length setting for accurate remaining time display.
Detailed steps for inserting and removing video cassettes, including erase protection.
Steps for loading a cassette and setting up for shooting via the viewfinder.
How to stop recording and the indicators related to tape remaining time.
Instructions for shooting footage using the camcorder's LCD monitor.
Techniques for journalistic and interface shooting for dramatic results.
Adjusting the brightness of the LCD monitor for optimal visibility.
How to use the zoom, including optical and digital zoom, and adjusting zoom speed.
Using Picture Stabilizer for shake compensation and Quick Review/Retake for checking footage.
Displaying and recording date and time information on video footage.
Using the video light to brighten scenes and safety precautions.
Recording still images onto tape and into memory using the Snapshot function.
Details on snapshot modes, remaining shots, and protecting/deleting images.
Applying automatic exposure modes with effects like Sepia and Sports.
Using modes like Twilight, Sports, Nega/Posi, and High-Speed Shutter for creative shooting.
Creating professional scene transitions using Fade-in/out and Wipe effects.
Applying wide-screen effects and enhancing low-light recording with Super LoLux.
Superimposing preset text titles onto video recordings.
How to enter and navigate the camcorder's on-screen menu system.
Procedures for adjusting various settings like Focus, Exposure, and Date/Time via the menu.
Explanations of core menu items such as Focus, Exposure, Date/Time, and White Balance.
Details on settings like Time-Lapse, Digital Zoom, Color Bars, and Demo Mode.
How the auto focus works and situations where manual focus may be needed.
Step-by-step instructions for manually adjusting the camcorder's focus.
How to use automatic exposure and manually adjust brightness levels.
Setting white balance automatically or manually to ensure accurate colors under different lighting.
Configuring the self-timer for delayed recording start.
Creating stop-motion effects and recording time-lapse sequences.
Steps for loading, selecting mode, playing, and stopping video playback.
Using rewind, fast-forward, and other controls for tape navigation.
Adjusting LCD brightness and speaker volume for optimal viewing and listening experience.
Eliminating playback noise bars by adjusting tape tracking.
Using Still Playback, Shuttle Search, and Counter Memory for precise tape management.
Instructions for playing VHS-C cassettes using the adapter.
How to connect the camcorder to a VCR for editing, dubbing, and playback.
Connecting the camcorder to a TV for playback via AV or RF inputs.
Step-by-step guide for dubbing video content from camcorder to VCR.
Steps for setting modes and taking still images in DSC mode.
Choosing between FINE and STANDARD modes for image quality and storage capacity.
Using features like Zoom, Video Light, and Picture Stabilizer for DSC shooting.
Utilizing modes like Sepia, ND Effect, and Fog Filter for creative still image capture.
Using modes like Twilight, Sports, and Wide for specific shooting scenarios.
How to access and navigate the camcorder's menu for DSC settings.
Procedures for adjusting DSC settings like Interval Time, Title Language, and Digital Zoom.
Explanations of DSC menu items like Focus, Exposure, Picture, and White Balance.
Details on settings like Rec Time, Title Language, Digital Zoom, and Color Bars for DSC.
Steps to select DSC mode and browse stored still images.
How to use the menu system to access playback and management functions.
Overview of Index, Slide Show, Protect, and Delete functions for managing images.
Detailed explanation of INDEX, SLIDE SHOW, PROTECT, and DELETE functions.
How to use the Index mode to quickly browse and locate specific still images.
Using the Protect function to prevent accidental erasure of important still images.
Procedures for deleting images, either selectively or all at once, to free up memory.
Displaying stored images automatically in a slide show sequence.
Connecting the camcorder to a PC or Macintosh to transfer and save still images.
Installing the remote battery and identifying its buttons and functions.
Using the remote for Self-Timer, Animation, Time-Lapse, and Index Code Marking.
Configuring the remote to control a VCR for setting up Random Assemble Editing.
Identifying and registering scene start and end points for editing using the remote.
Executing the automatic editing process from camcorder to VCR using the remote.
Replacing video segments with new footage using insert editing.
Inserting still images from memory onto a tape using the insert editing function.
Recording new audio tracks onto prerecorded tapes.
Steps for powering off, removing cassettes, and disconnecting the battery.
Instructions for cleaning the exterior, LCD, lens, and viewfinder.
Explains icons related to cassette, tape remaining time, and recording modes.
Icons for Program AE, effects, picture modes, zoom, and stabilizer.
Indicators for PC Mode, Date/Time, Battery Power, and Clock Battery warnings.
Identification and function of external controls like Power Zoom, Play/Pause, and Menu Dial.
Location and purpose of ports like DC IN, J Terminal, and AV OUT.
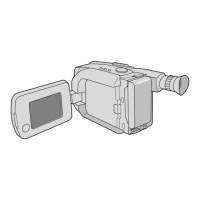
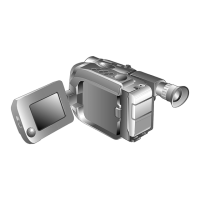
Explanations of indicators and identification of components like Video Light and Microphone.
Solutions for issues related to power, battery, and connections.
Troubleshooting for image anomalies, overheating, and error messages.
Solutions for issues encountered during recording, playback, and tape transport in VIDEO mode.
Troubleshooting for issues in DSC mode, including shooting and playback problems.
Steps to format and reinitialize the camcorder's memory to resolve issues.
Important safety warnings regarding the operation and handling of the video light.
Safety instructions for AC adapters, battery packs, charging, and storage.
Guidelines for proper use and storage of VHS-C cassettes to prevent damage.
Warnings about operating the unit safely, avoiding moisture, shock, and extreme conditions.
How to protect the LCD monitor and understand normal operational phenomena.
Instructions for handling the CD-ROM and what to do in case of serious malfunctions.
Details on operating temperature, dimensions, weight, format, and recording systems.
Specifications for power adapters, connectors, adapters, and included/optional accessories.
Information on finding authorized service centers for product repair.
Guidance on shipping products for service, purchasing accessories, and avoiding self-repair.
Details of the product's limited warranty, including parts and labor coverage.
Procedures for obtaining warranty service and understanding warranty exclusions.