EasyManua.ls Logo

JVC GR-DVX7 User Manual

JVC GR-DVX7
112 pages
To Next Page IconTo Next Page
To Previous Page IconTo Previous Page
Page #89 background image
EN89
ON
OFF
DISPLAY
TIMECODE
END
SOUND1
0 . 0
ON
FULL SOUND48kHz MODE
32kHz MODE
INDICATION
SYNCHRO
4
ON
OFF
DISPLAY
TIMECODE
END
SOUND1
0 . 0
ON
FULL SOUND48kHz MODE
32kHz MODE
INDICATION
SYNCHRO
4
P
L
A
Y
/
P
C
O
F
F
C
A
M
E
R
A
5
S
D
S
C
D
S
C
P
L
A
Y
ADJUSTMENT OF VCR’S AGAINST
CAMCORDER TIMING
4
ACCESS PLAYBACK MENU
Point the remote control at the camcorders remote
sensor and press R.A.EDIT ON/OFF to make the
Random Assemble Editing menu disappear, then
press MENU/SET. The Playback Menu appears.
5
SELECT FUNCTION
Move the highlight bar to “SYNCHRO” by rotating
MENU/SET, then press it. The value for “SYNCHRO”
is highlighted.
6
INPUT CORRECTION DATA
Based on the diagnostics performed (Z pg. 88), you
can now increase the VCR’s speed by rotating
MENU/SET upward. You can also slow down the
VCR’s speed by rotating MENU/SET downward. The
adjustment range is from –1.3 to +1.3 seconds, in
0.1-second increments.
7
CLOSE MENU
Press MENU/SET twice.
Now perform Random Assemble Editing beginning
with step 4 on page 85.
NOTES:
Before performing actual Random Assemble Editing, do
a few Random Assemble Editing trial runs to check
whether the value you have input is appropriate or not,
and make adjustments accordingly.
Depending on the recorder, there may be situations
where the timing difference cannot be fully corrected.
Playback Menu
Power Switch
Display
MENU/SET Dial
VCR
(Recording deck)
TV

Table of Contents

Question and Answer IconNeed help?

Do you have a question about the JVC GR-DVX7 and is the answer not in the manual?
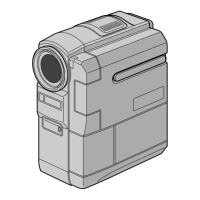
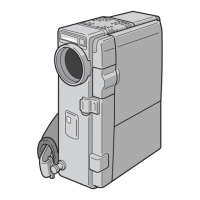
JVC GR-DVX7 Specifications

General IconGeneral
TypeMiniDV Camcorder
Optical Zoom10x
LCD Screen Size2.5 inches
Media FormatMiniDV
Recording MediaMiniDV cassette
LCD ScreenColor LCD
ViewfinderColor
Video Recording FormatDV
Audio Recording FormatPCM
Input/OutputIEEE 1394 (FireWire)

Summary

Getting Started

Charging The Battery Pack

Steps to charge the battery pack using the AC adapter/charger.

Using The Battery Pack

Instructions for attaching and detaching the battery pack.

Using AC Power

Instructions for connecting and using the AC power adapter/charger.

Recording

Basic Recording For Video

Fundamental steps for recording video footage.

Basic Recording For Digital Still Camera (D.S.C.)

Fundamental steps for capturing still images in D.S.C. mode.

Focusing

Methods and considerations for achieving and maintaining sharp focus.

Playback

Basic Playback For Video

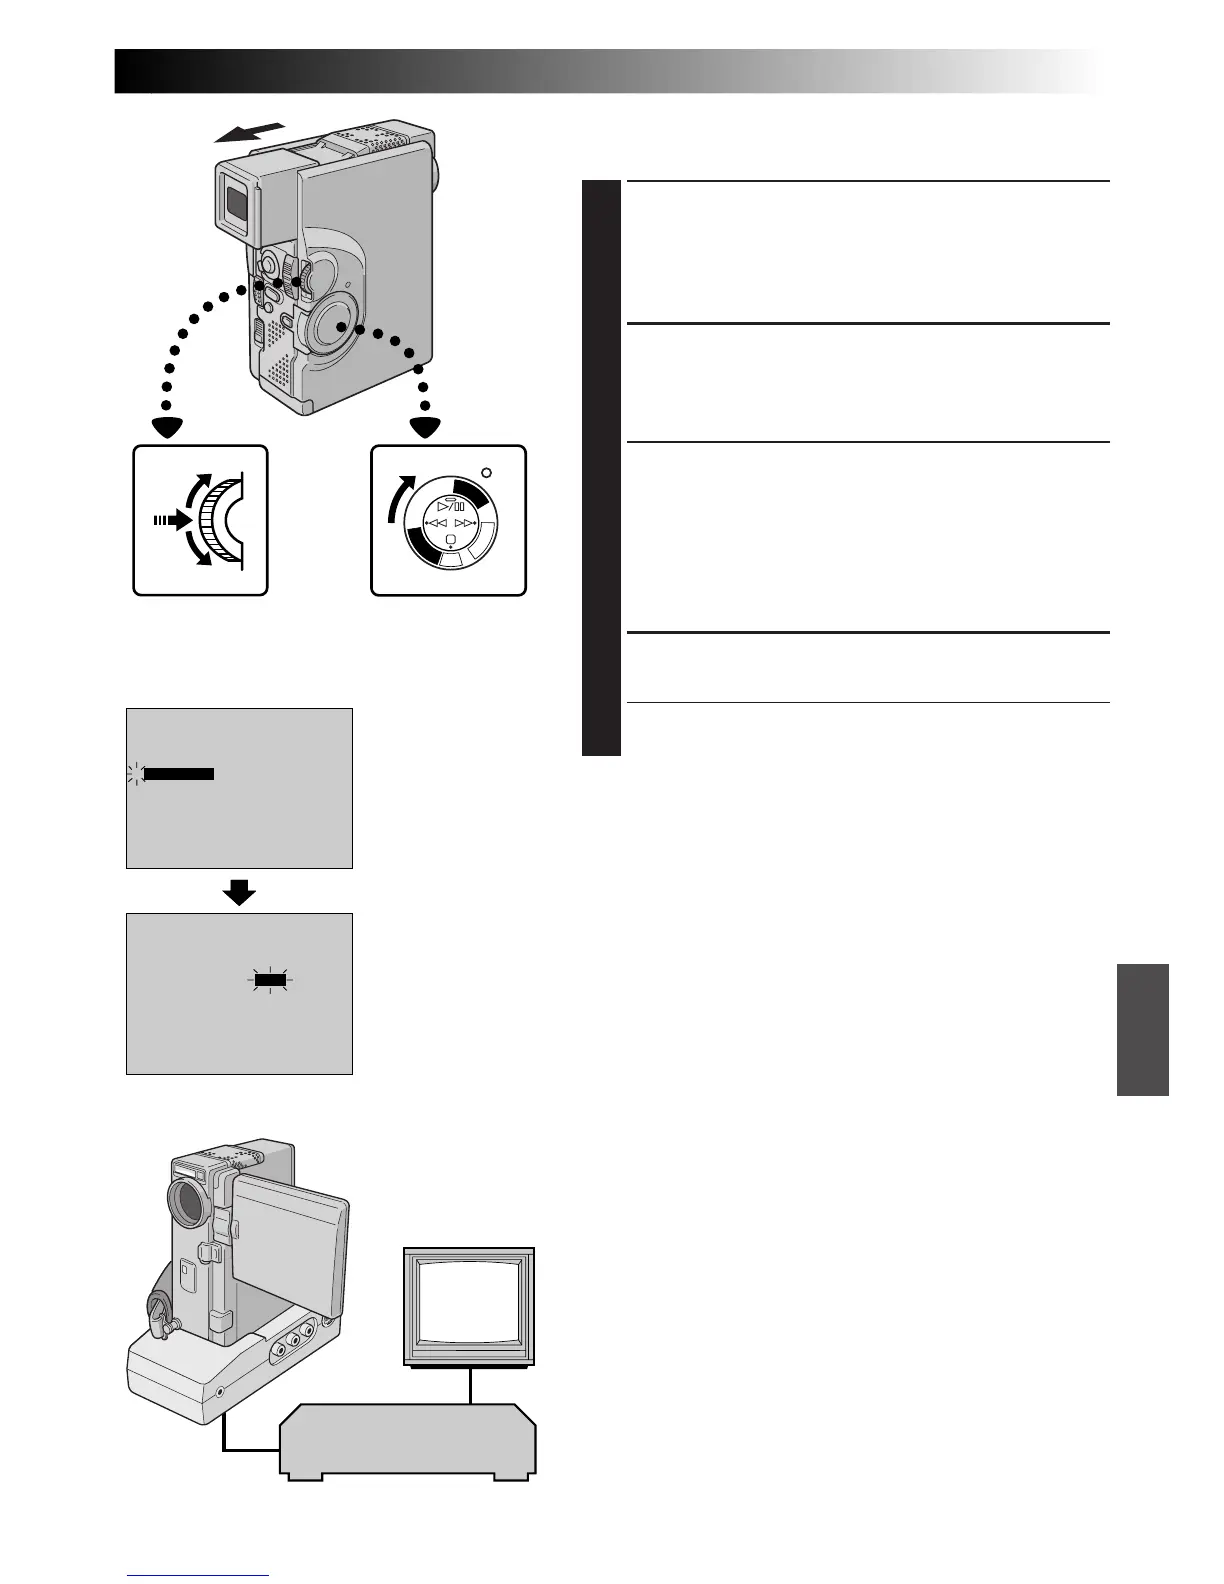
Fundamental steps for playing back recorded video tapes.

Basic Playback For D.S.C.

Viewing stored still images from the MultiMediaCard.

Basic Connections

Overview of common connection types for outputting signals.

Dubbing

Dubbing Images/Sounds Recorded On A Tape To Another Tape

Copying video and audio from one tape to another.

Digital Dubbing Of Recorded Images/Sounds Between Tapes

Digitally copying video/audio between units with DV connectors.

Dubbing Images Stored In A MultiMediaCard To A Tape

Copying images from a MultiMediaCard to a tape.

Dubbing Images Recorded On A Tape To A MultiMediaCard

Copying images from a tape to a MultiMediaCard.

Using The Remote Control Unit

Additional Information

Troubleshooting

Cautions

Specifications

Related product manuals