1-10 (No.YA337)
SECTION 3
DISASSEMBLY
3.1 DISASSEMBLY PROCEDURE
CAUTION AT DISASSEMBLY:
• Be sure to perform the SYSTEM SETTEING, at the end of the procedure.
• Make sure that the power cord is disconnected from the outlet.
• Pay special attention not to break or damage the parts.
• When removing each board, remove the connectors as required. Taking notes of the connecting points (connector numbers)
makes service procedure manageable.
• Make sure that there is no bent or stain on the connectors before inserting, and firmly insert the connectors.
• Wait until the LAMP UNIT has cool down is completely.
• While not in repair service, place the chassis back its original position.
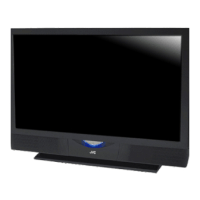
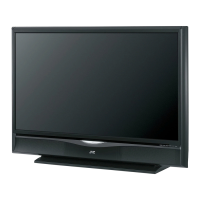
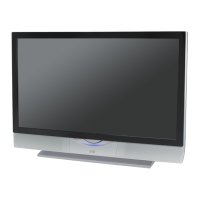
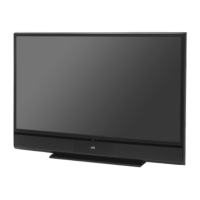
3.1.1 FRONT SIDE DISASSEMBLY [HD-56FH96]
3.1.1.1 REMOVING THE SPEAKER GRILL (Fig.1)
(1) Remove the 2 screws [A].
(2) Remove the SPEAKER GRILL.
NOTE:
As a speaker grille is depressed downward, it is removed.
3.1.1.2 REMOVING THE ORNAMENT PANEL (Fig.1)
• Remove the SPEAKER GRILL.
(1) Remove the 6 screws [B].
(2) Remove the ORNAMENT PANEL.
3.1.1.3 REMOVING THE CENTER PANEL (Fig.1)
• Remove the SPEAKER GRILL.
(1) Remove the 4 screws [C].
(2) Remove the CENTER PANEL.
3.1.1.4 REMOVING THE FRONT LED PWB (Fig.1)
• Remove the SPEAKER GRILL.
(1) Remove the 2 screws [D].
(2) Remove the FRONT LED PWB.
NOTE:
Remove the earth wire connected to the FRONT LED PWB
simultaneously.
3.1.1.5 REMOVING THE SPEAKER (Fig.1)
• Remove the SPEAKER GRILL.
(1) Remove the 4 screws [E].
(2) Remove the SPEAKER.
(3) Remove the opposite SPEAKER same steps.
3.1.1.6 REMOVING THE CENTER COVER (Fig.1)
• Remove the SPEAKER GRILL.
(1) Remove the 2 screws [F].
(2) Remove the CENTER COVER.
3.1.1.7 REMOVING THE FRONT PANEL (Fig.1)
• Remove the SPEAKER GRILL.
(1) Remove the 10 screws [G].
(2) Remove the 12 screws [H].
(3) Remove the FRONT PANEL.
3.1.1.8 REMOVING THE SCREEN BLOCK (Fig.1)
• Remove the SPEAKER GRILL.
• Remove the FRONT PANEL.
(1) Remove the 8 screws [J].
(2) Remove the FRONT PANEL.
CAUTION :
• Place the SCREEN BLOCK on a flat table without fail.
• Because of the large size, at least 2 persons are
recommended for removal and reassemble.
• Use care not to scratch the screen during work.
• During assembly, be sure to engage the left and right tabs
with the cabinet mounting positions.
• When supporting the SCREEN BLOCK, avoid grasping the
top of the screen panel, instead grasp the left and right
areas.
• Do not leave the SCREEN BLOCK removed for long time to
prevent soiling from dust.
3.1.1.9 REMOVING THE SCREEN ASS'Y (Fig.1)
• Remove the SPEAKER GRILL.
• Remove the FRONT PANEL.
• Remove the SCREEN BLOCK.
(1) Remove the 12 screws [K].
(2) Remove the SCREEN ASS'Y.

 Loading...