ENGLISH
5
Data Size: B6L (182 mm x 128 mm)
Book Size: B6L (182 mm x 128 mm)
GETTING STARTED
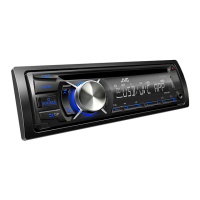
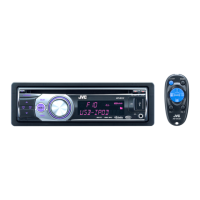
For key layout on the faceplate, see page3 or page4.
Cancel the demonstration
When you turn on the power for the first time (or after you reset the unit),
the display shows:
KD-R691
/
KD-R491
:
“CANCEL DEMO”
“PRESS ENTER”
1 Press .
[YES]
is selected for the initial setup.
2 Press again.
“DEMO OFF” appears.
KD-R499
/
KD-R494
/
KD-R492
:
“CANCEL DEMO”
“PRESS” “VOLUME KNOB”
1 Press the volume knob.
[YES]
is selected for the initial setup.
2 Press the volume knob again.
“DEMO OFF” appears.
Set the clock and date
1
Press and hold .
2 Perform ‘select an item
( 3
or
4)’
operation to select
[CLOCK]
.
3 Perform ‘select an item
( 3
or
4)’
operation to adjust the clock.
[CLOCK ADJUST]
set the hour and minute
[CLOCK FORMAT]
[12H]
or
[24H]
4 Perform ‘select an item
( 3
or
4)’
operation to set the date.
[DATE SET]
set the day, month and year
5 Press to exit.
To return to the previous setting item, press .
1
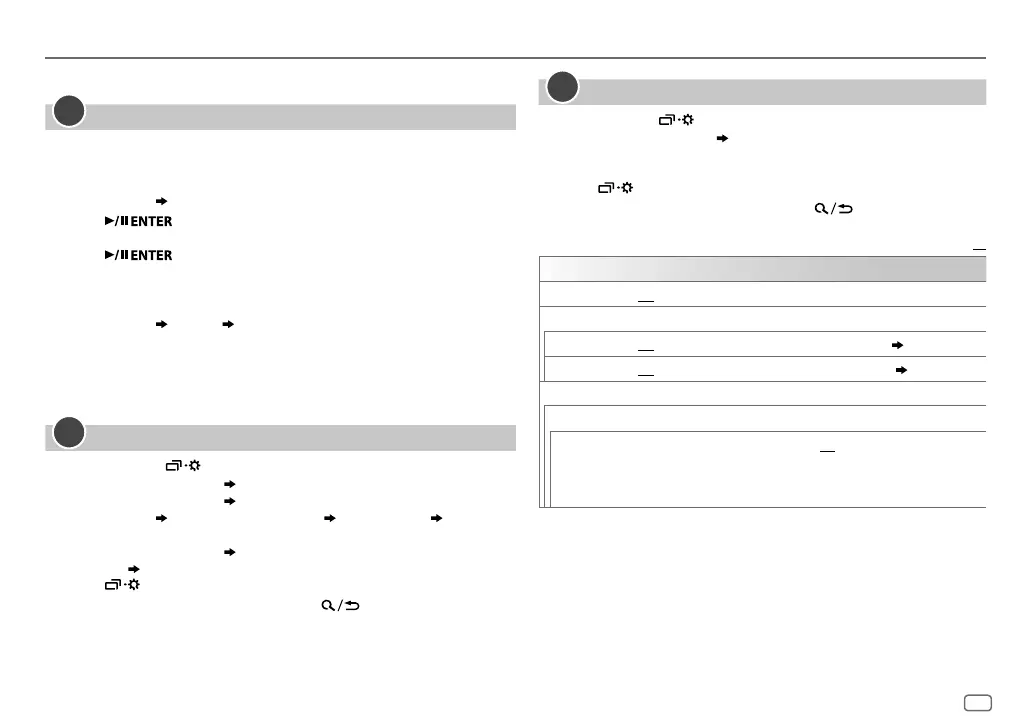
Set the basic settings
1
Press and hold .
2 Perform 'select an item
( 3
or
4)’
operation to select an
item (see the following table).
3 Repeat step 2 until the desired item is selected or activated.
4 Press to exit.
To return to the previous setting item, press .
Default:
XX
SYSTEM
KEY BEEP
ON
:Activates the keypress tone.;
OFF
:Deactivates.
SOURCE SELECT
AM SRC
*
ON
:Enables AM in source selection.;
OFF
:Disables.
( 6)
BUILT-IN AUX
*
ON
:Enables AUX in source selection.;
OFF
:Disables.
( 8)
F/W UPDATE
UPDATE SYSTEM
F/W UP xxxx
YES
:Starts upgrading the firmware.;
NO
:Cancels (upgrading is not
activated).
For details on how to update the firmware, see:
<http://www.jvc.net/cs/car/>.
*
Not displayed when the corresponding source is selected.
2
3
JS_JVC_KD_R691_E_EN_4.indd 5JS_JVC_KD_R691_E_EN_4.indd 5 7/10/2017 2:42:02 PM7/10/2017 2:42:02 PM
 Loading...