5
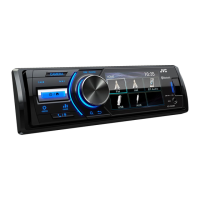
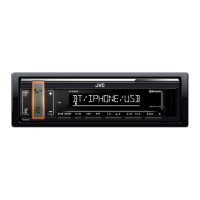
Data Size: B6L (182 mm x 128 mm)
Book Size: B6L (182 mm x 128 mm)
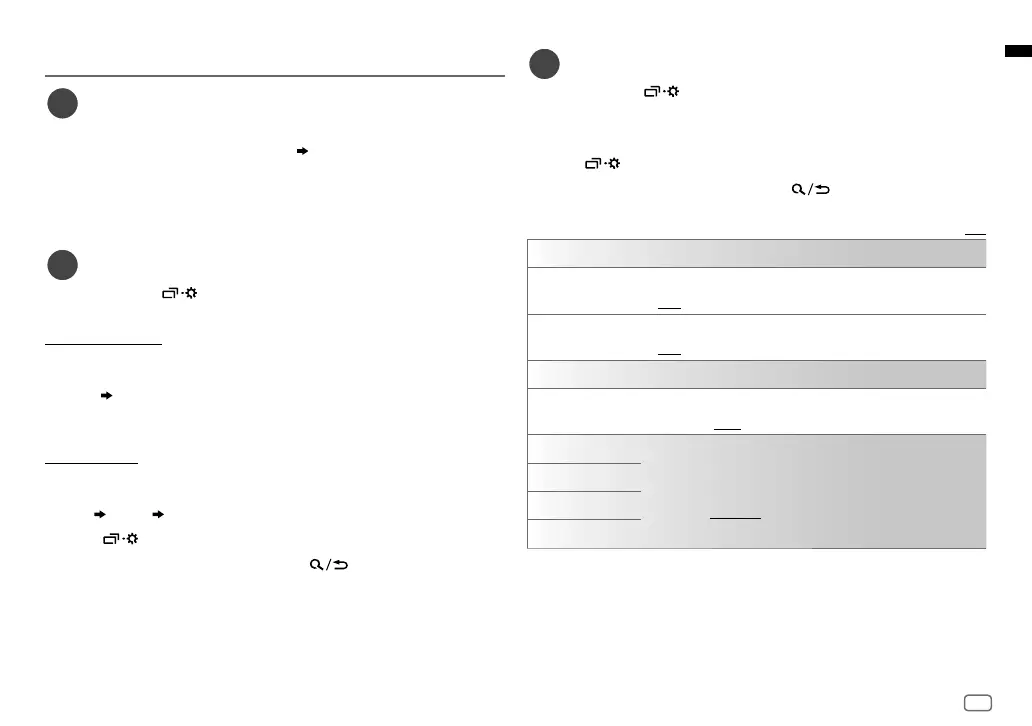
GETTING STARTED
1
Cancel the demonstration
When you turn on the power for the first time (or
[FACTORY RESET]
is set to
[YES]
), the display shows: “CANCEL DEMO” “PRESS ENTER”
1 Press * ENTER.
[YES]
is selected for the initial setup.
2 Press * ENTER again.
“DEMO OFF” appears.
2
Set the clock and date
1 Press and hold .
2 Press VOL +/– to select
[CLOCK]
, then press * ENTER.
To adjust the clock
3 Press VOL +/– to select
[CLOCKADJUST]
, then press * ENTER.
4 Press VOL +/– to make the settings, then press * ENTER.
Hour Minute
5 Press VOL +/– to select
[CLOCK FORMAT]
, then press * ENTER.
6 Press VOL +/– to select
[12H] or [24H]
, then press * ENTER.
To set the date
7 Press VOL +/– to select
[DATESET]
, then press * ENTER.
8 Press VOL +/– to make the settings, then press * ENTER.
Day Month Year
9 Press to exit.
To return to the previous setting item, press
.
3
Set the basic settings
1 Press and hold .
2 Press VOL +/– to select an item (see the following table), then press
* ENTER.
3 Repeat step 2 until the desired item is selected or activated.
4 Press to exit.
To return to the previous setting item, press
.
Default: [XX]
[SYSTEM]
[KEY BEEP]
(Not applicable when 3-way crossover is selected.)
[ON]: Activates the keypress tone. ; [OFF]: Deactivates.
[FACTORY RESET]
[YES]: Resets the settings to default (except the stored station). ;
[NO]: Cancels.
[CLOCK]
[CLOCK DISPLAY]
[ON]: The clock time is shown on the display even when the unit is
turned off. ; [OFF]: Cancels.
[ENGLISH]
Select the display language for menu and music information if
applicable.
By default, [ENGLISH] is selected.
[РУССКИЙ]
[ESPANOL]
[FRANCAIS]
JS_JVC_QSG_KD_X361BT_E_EN_1.indd 5JS_JVC_QSG_KD_X361BT_E_EN_1.indd 5 6/13/2018 10:46:20 AM6/13/2018 10:46:20 AM
 Loading...