' i
Qf:I!J
,.
HJgLQJWJ~il!lbUIDQili-
------------------~
O~In
~
s
~
t
:
al~li:n:g
~
t
:
he:':tr:im
~
p:la:t:e:(o
:
n:l:y~fo:flr
~:
K;;w:-
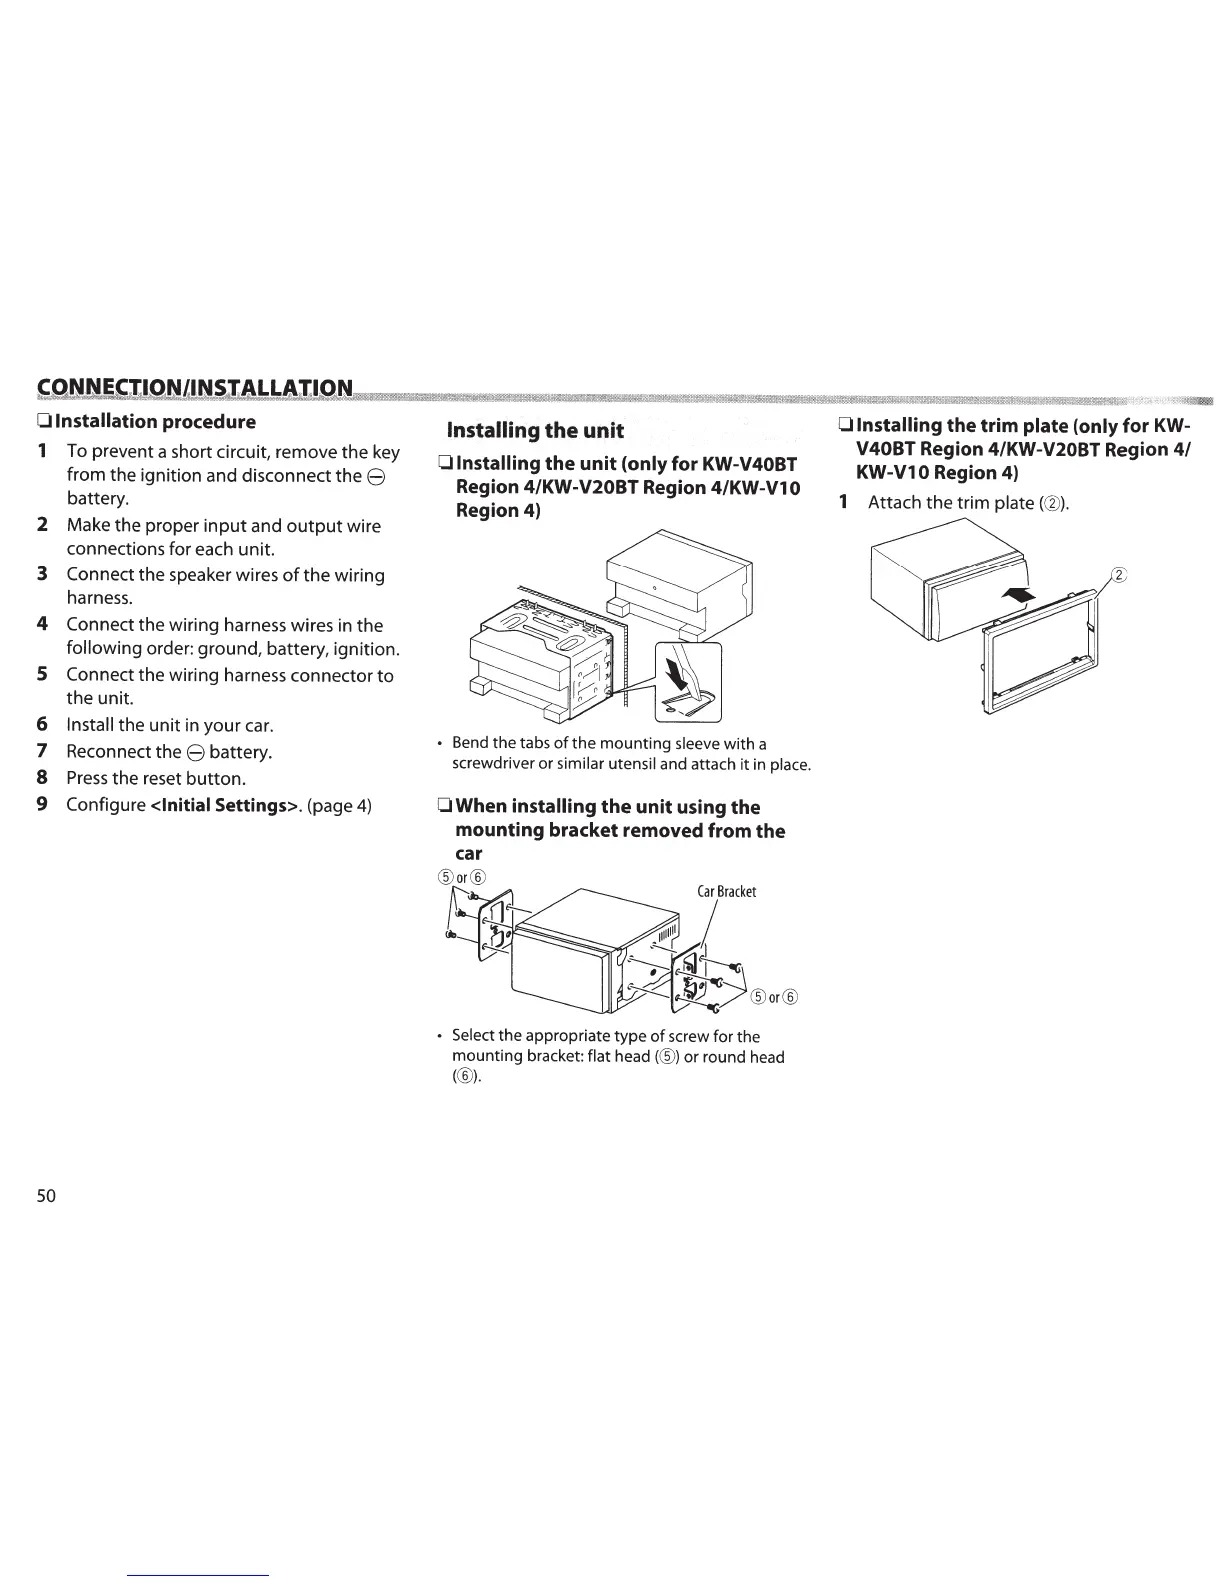
•
0
Installation
procedure
Installing
the
unit
v
4
oBT Region 4/KW-V20BT
Region
4/
1
To
prevent a short circuit, remove the key
o
Installing
the
unit
(only
for
KW-V40BT KW-V1 0
Region 4)
from the ignition and disconnect the
8
Region
4/KW-V20BT Region
4/KW-V1 0
1
Attach the trim
plate
(@).
battery.
Region
4)
2
Make the proper
input
and
output
wire
connections for each unit.
3
Connect the speaker wires
of
the wiring
harness.
4
Connect the wiring harness wires in the
following
order: ground, battery, ignition.
5
Connect the wiring harness connector
to
the unit.
6
Install the unit in your
car.
7
Reconnect the
8
battery.
8
Press
the reset button.
9
Configure <Initial
Settings>. (page
4)
so
•
Bend the tabs
of
the
mounting
sleeve
with
a
screwdriver or
similar utensil
and attach
it
in
place.
0
When
installing
the
unit using the
mounting bracket removed from the
car
f~
• Select
the appropriate
type
of
screw for the
mounting bracket:
flat head
(@)
or
round head
(@).
 Loading...