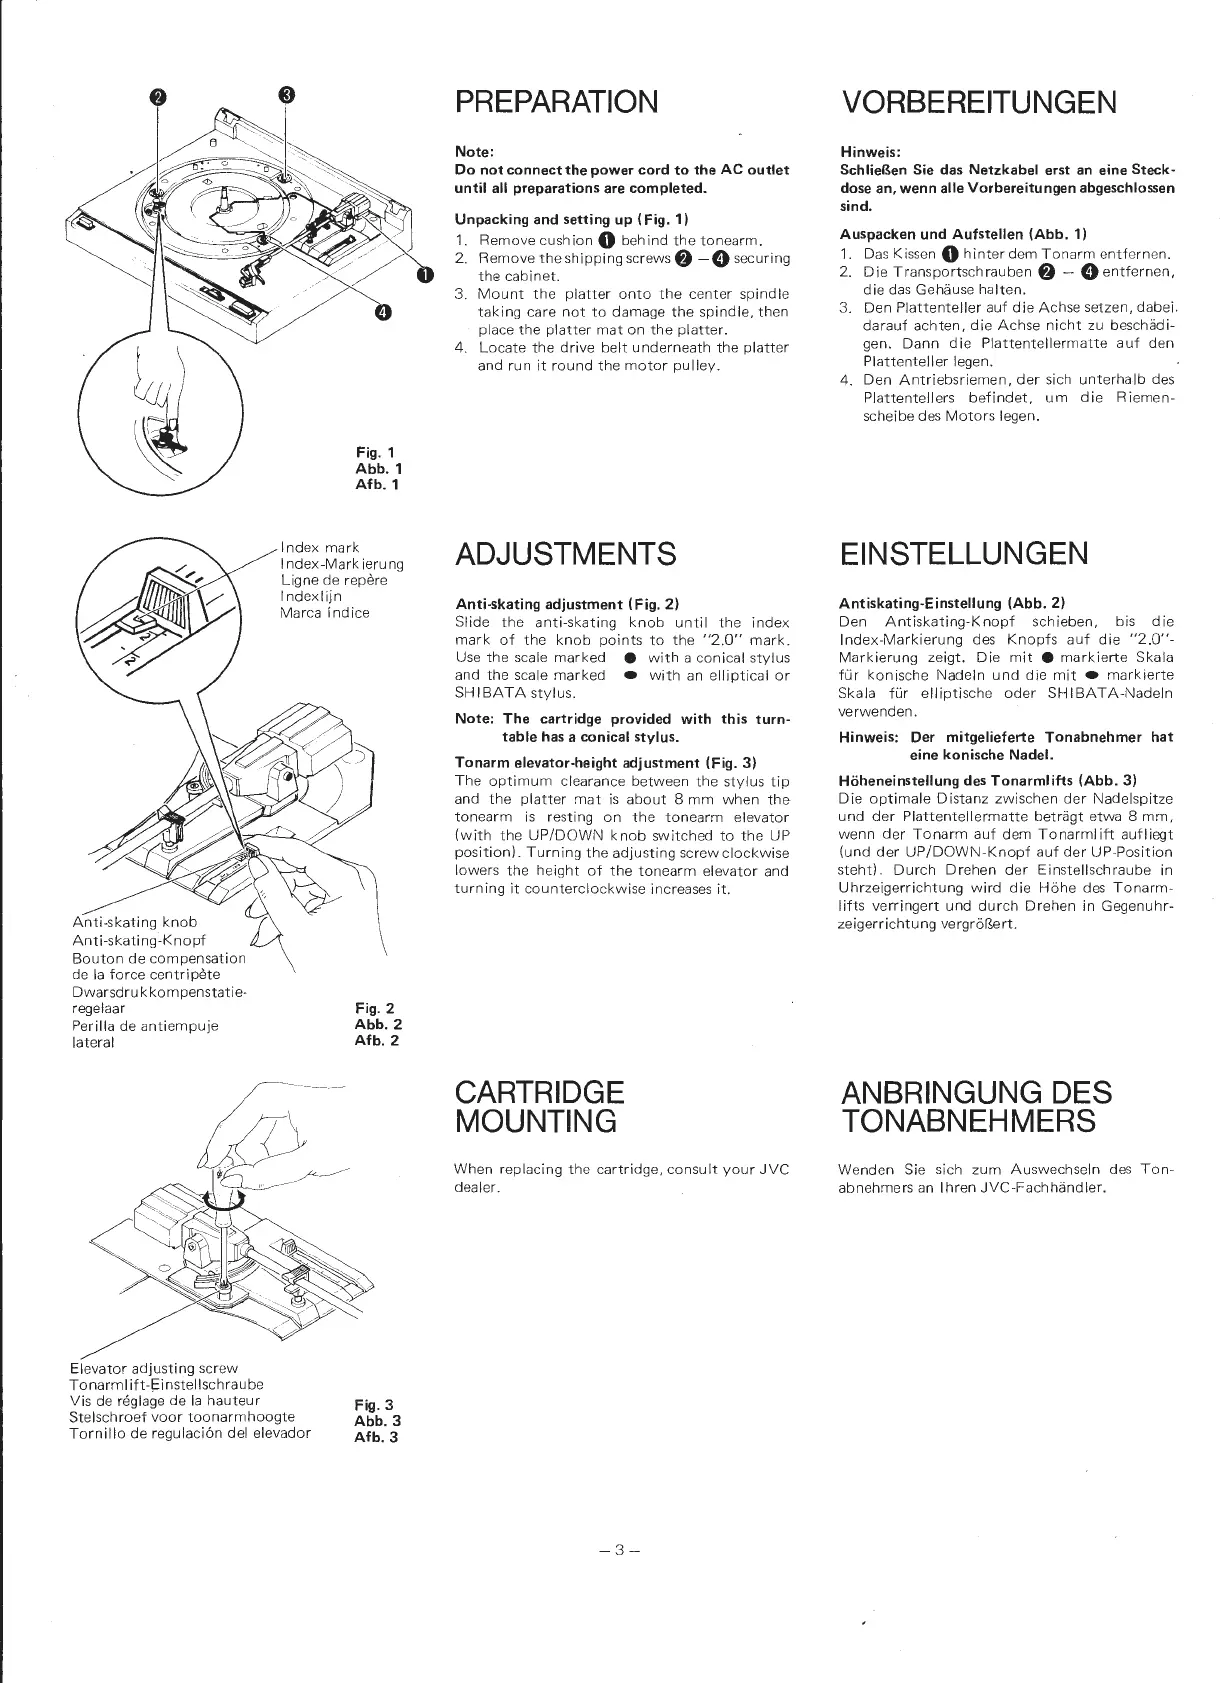
Anti-skating
knob
Anti-skati
ng-Knopf
Bouton
de
compensation
de
Ia
force
centripete
Dwarsdru
k
kompenstatie-
regelaar
Perilla de
antiempuje
lateral
Elevator
adjusting
screw
Tonarm
I
ift
-Ei nstellschrau be
Fig. 1
Abb. 1
Afb.
1
Index
mark
Index-Mark
ieru
ng
Ligne de repere
lndexlijn
Marca
indice
Fig. 2
Abb. 2
Afb.
2
Vis de reglage
de
Ia
hauteur
Stelschroef
voor
toonarmhoogte
Tornillo
de regulaci6n del el
evador
Fig. 3
Abb. 3
Afb.
3
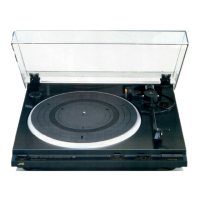
PREPARATION
Note:
Do
not
connect the power cord
to
the
AC
outlet
until all preparations are completed.
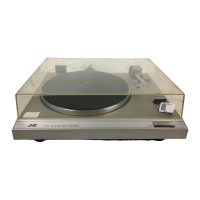
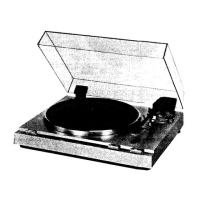
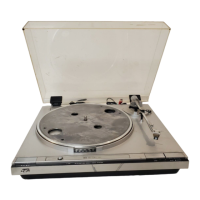
Unpacking and setting up (Fig.
1)
1.
Remove
cushion
0
behind
the
tonearm
.
2.
Remove
the
shipping
screws
f)
-0
securing
the
cabinet.
3.
Mount
the
pl
atter
onto
the
center
spindle
taking
care
not
to
damage
the
spindle,
then
place
the
platter
mat
on
the
platter.
4.
Locate
the
drive
belt
underneath
the
platter
and
run
it
round
the
motor
pulley.
ADJUSTMENTS
Anti-skating adjustment (Fig,
2)
Slide
the
anti-skating
knob
until
the
index
mark
of
the
knob
points
to
the
"2.0"
mark.
Use
the
scale
marked
e
with
a
conical
stylus
and
the
scale
marked
•
with
an
elliptical
or
SHIBATA
sty
l
us.
Note:
The
cartridge provided with this
turn-
table
has
a conical stylus.
Tonarm elevator-height adjustment (Fig.
3)
The
optimum
clearance
between
the
stylus
tip
and
the
platter
mat
is
about
8
mm
when
the
tonearm
is
resting
on
the
tonearm
elevator
(with
the
UP/DOWN
knob
sw
itch
ed
to
the
UP
position).
Turning
the
adjusting
screw
clockwise
lowers
the
height
of
the
tonearm
elev
ator
and
turning
it
counte
r
clockwise
increases
it.
CARTRIDGE
MOUNTING
When replacing
the
cartridge,
consult
your
JVC
dealer.
-3-
VORBEREITUNGEN
Hinweis:
SchlieBen Sie
das
Netzkabel erst
an
eine Stack-
dose
an, wenn aile Vorbereitungen abgeschlossen
sind.
Auspacken und
Aufstellen
(Abb
. 1)
1.
Das Kissen 0
hinter
dem
Tonarm
entfernen.
2.
Die
Transportschrauben
f)
- 0
entfernen,
die
das Gehause
halten
.
3.
Den
Plattenteller
auf
die
Achse setzen, dabei.
darauf
achten,
die
Achse
nicht
zu beschadi-
gen.
Dann
die
Plattentellermatte
auf
den
P
lattenteller
legen.
4.
Den
Antriebsriemen,
der
sich
unterha
lb des
Plattentellers
befindet,
um
die
Riemen-
scheibe des
Motors
legen.
EINSTELLUNGEN
Antiskating-Einstellung (Abb.
2)
Den
Antiskating-Knopf
schieben, bis
die
lndex-Markierung
des
Knopfs
auf
die
"2
.
0"-
Markierung
zeigt.
Die
mit
e
markierte
Skala
fur
konische
Nadeln
und
die
mit
•
markierte
Skala
fur
elliptische
oder
SHIBATA-Nadeln
verwenden
.
Hinweis: Der mitgelieferte
To
nabnehmer hat
eine konische
Nadel.
Hoheneinstellung
des
Tonarmlifts
(Abb.
3)
Die
optimale
D istanz
zwischen
der
Nadelspitze
und
der
Plattentellermatte
betragt
etwa
8
mm,
wenn
der
Tonarm
auf
dem
Tonarmlift
aufliegt
(und
der
UP/DOWN-Knopf
auf
der
UP-Position
steht).
Durch
Drehen
der
Einstellschraube
in
Uhr
ze
igerrichtu
ng
wird
die
Hohe
des
Tonarm
-
lifts
verringert
und
durch
Drehen
in Gegenuhr-
zeigerrichtung
vergroi?,ert.
ANBRINGUNG
DES
TONABNEHMERS
Wenden Sie sich
zum
Auswechseln
des
Ton-
abnehmers
an
lhren
JVC-Fachhandler.
 Loading...