22
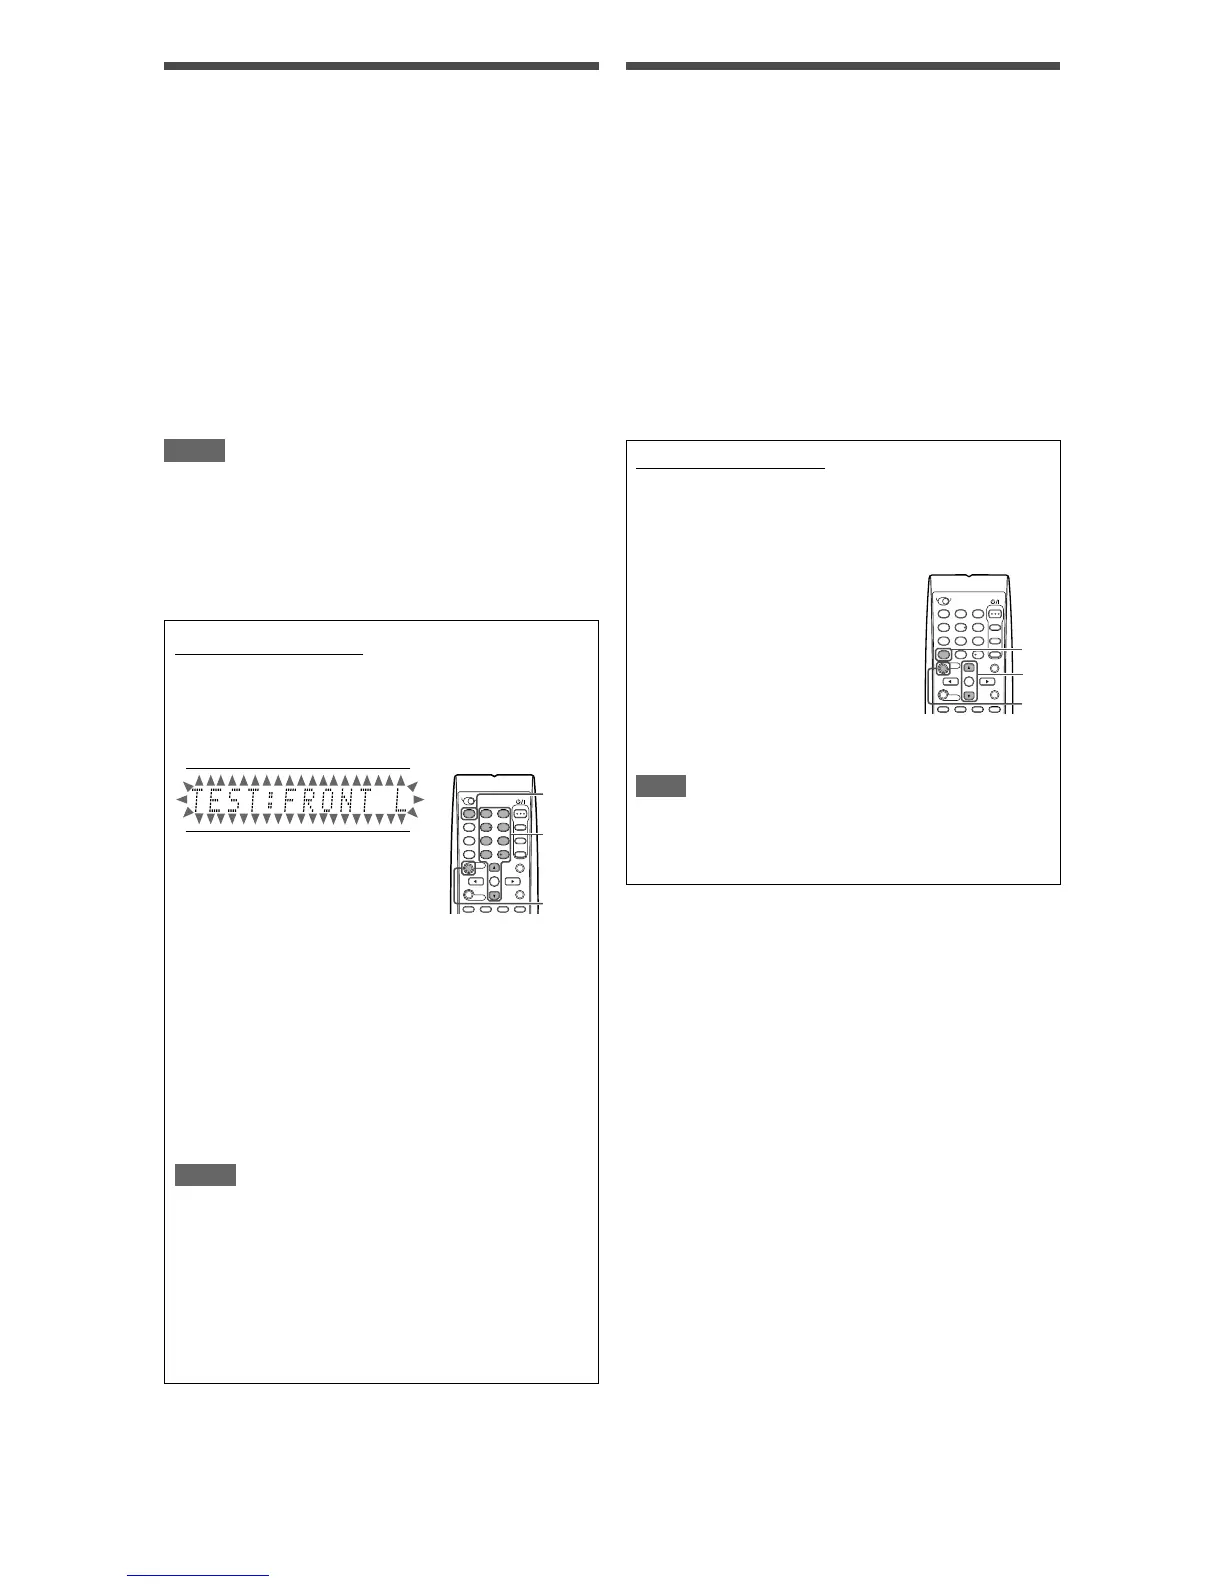
Adjusting the equalization patterns—
D EQ 63Hz/250Hz/1kHz/4kHz/16kHz
You can adjust equalization patterns in five frequency bands
(center frequency: 63 Hz, 250 Hz, 1 kHz, 4 kHz, 16 kHz) for the
front speakers.
• Once you have made an adjustment, it is memorized for each
source.
Adjustable range: –8 (dB) to +8 (dB) (in 2 dB intervals)
Initial setting: 0 (dB) for all bands
• When adjustment is made, the DIGITAL EQ indicator lights up
on the display.
If no adjustment is required, set all the frequency bands to
“0 (dB).”
• The DIGITAL EQ indicator goes off from the display.
From the remote control:
Before you start, remember...
There is a time limit in doing the following steps. If the setting is
canceled before you finish, start from step
2
again.
1
Press SOUND.
2
Press D. EQ FREQ repeatedly to
select the band you want to adjust.
3
Press LEVEL9 or LEVEL( to
adjust the equalization pattern of
the selected band.
4
Repeat steps
2
and
3
to adjust
other bands.
NOTE
After pressing SOUND, the numeric buttons work for sound
adjustments. To use the numeric buttons to operate your target
source, press the corresponding source selecting button before
operation.
Adjusting the speaker output levels
• SUBWFR LVL (subwoofer output level),
• FRONT L LVL (left front speaker output level),
• FRONT R LVL (right front speaker output level),
• CENTER LVL (center speaker output level),
• SURR L LVL (left surround speaker output level),
• SURR R LVL (right surround speaker output level),
• S BACK L LVL (left surround back speaker output level),
• S BACK R LVL (right surround back speaker output level)
You can adjust the speaker output levels.
Adjust all the speakers’ output levels so that you can listen to the
sounds from all the speakers at the same level.
• Once you have made an adjustment, it is memorized for each
source.
Adjustable range: –10 (dB) to +10 (dB) (in 1 step intervals)
Initial setting: 0 (dB) for all speakers
NOTES
• If you have selected “NO” for a speaker (see page 17), the
output level for the corresponding speaker is not adjustable.
• If you have selected “<1SPK>” for “S BACK OUT” (see page
17), “S BACK LVL” appears instead of “S BACK L LVL” and “S
BACK R LVL.”
• While using the headphones, you can adjust only the left and
right front speakers’ output level.
From the remote control:
1
Press SOUND.
2
Press TEST to check the speakers’ output balance.
“TEST: FRONT L” starts flashing on the display, and a test
tone comes out of the speakers clockwise.
• You can adjust the speaker output levels without the test
tone.
3
Adjust the speaker output levels.
Press the numeric button corresponding to the
speaker you want to adjust, then LEVEL9 or LEVEL(
to adjust the output level.
Ex.: To adjust the output level for the left front speaker
(L), press FRONT L, then LEVEL9 or LEVEL(.
4
Press TEST again to stop the test tone.
NOTES
• No test tone comes out of the speakers for which the
speaker setting is set to “NO” (see page 17).
• No test tone is available when the headphone is in use.
• If you have selected “<1SPK>” for “S BACK OUT” (see
page 17), press S BACK L, then LEVEL9 or LEVEL( to
adjust the output level.
• After pressing SOUND, the numeric buttons work for sound
adjustments. To use the numeric buttons to operate your
target source, press the corresponding source selecting
button before operation.
1
4
7
10
2
5
8
0
3
6
9
10
1
2,
3
1
4
7
10
2
5
8
0
3
6
9
10
1
3
2
 Loading...