 Loading...
Do you have a question about the Kärcher SE 4001 and is the answer not in the manual?
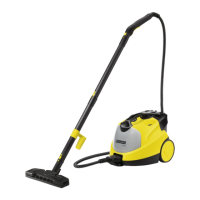
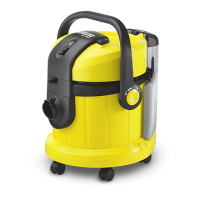
| Suction power | 40 AW |
|---|---|
| AC input voltage | 220 - 240 V |
| AC input frequency | 50 - 60 Hz |
| Maximum input power | 1400 W |
| Annual energy consumption | - kWh |
| Airflow | 70 l/s |
| Proper use | Home |
| Noise level | 73 dB |
| Cleaning surfaces | Carpet, Hard floor |
| Vacuum air filtering | - |
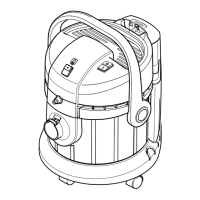
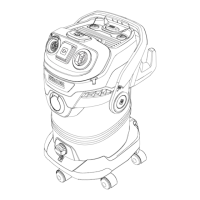
| Type | Drum vacuum |
| Cordless | No |
| Cleaning type | Dry&wet |
| Dust capacity | 4 L |
| Flexible hose | Yes |
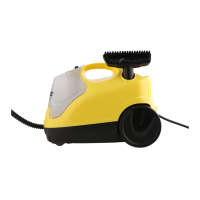
| Product color | Black, Yellow |
| Tube material | The material the tube is made of. |
| Dust container type | Dust bag |
| Cord length | 7.5 m |
| Vacuum brushes included | Hard floor brush |
| Depth | 441 mm |
|---|---|
| Width | 385 mm |
| Height | 480 mm |
| Weight | 11200 g |
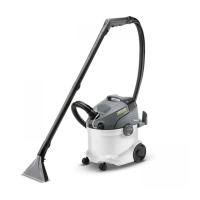
Appliance designed for private households, not commercial use. Spray extraction for carpets.
Packaging and old appliances recycling information. Battery disposal.
Information on ingredients available at a specific web link.
Information on how to get help for questions or faults from KÄRCHER.
Information on finding and ordering spare parts and accessories.
Details on warranty terms and how to claim.
Instructions for connecting the appliance to the power supply safely.
Guidelines on who can use the appliance and general usage precautions.
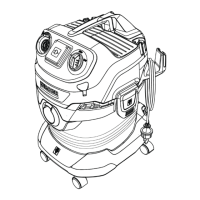
Lists the main components of the appliance with corresponding numbers.
Lists the attachments for wet/dry vacuum cleaner functionality.
Instructions on turning off the appliance and using authorized service for repairs.
Instructions for wet cleaning carpets and hard surfaces, including precautions.
Step-by-step guide to filling the fresh water reservoir with cleaner.
How to empty the dirty water reservoir when it's full.
Tips for light/normal and heavy soiling, including recleaning steps.
Procedure to rinse spray tubes after wet cleaning.
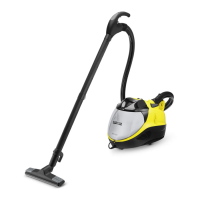
Instructions for performing dry vacuum cleaning on various surfaces.
Instructions for performing wet vacuum cleaning, including precautions.
Steps to empty and thoroughly rinse the fresh water reservoir.
Procedures for cleaning foam filter and accessories after use.
Guidelines for storing the appliance and accessories in a dry room.
Instructions for cleaning or replacing the spray nozzle for an even spray jet.
Annual or as-needed procedure to clean the sieve in the fresh water reservoir.
Troubleshooting steps for when no water exits the nozzle.
Causes and solutions for an uneven spray stream from the floor nozzle.
Reasons and fixes for low suction power, including blockages.
Potential cause for the detergent pump making noise.
Troubleshooting steps for when the appliance fails to start or operate.
Details on voltage, fuse, capacity, power, and sound pressure level.
List of special accessories with their corresponding order numbers.