English 7
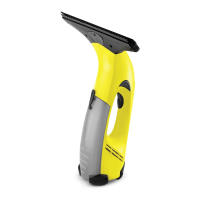
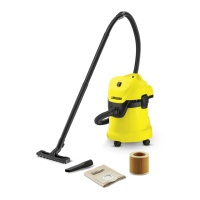
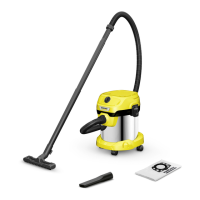
1 Charging socket
2 Handle
3 Power switch ("ON" / "OFF")
4 LED indicator lamp
5 Separator
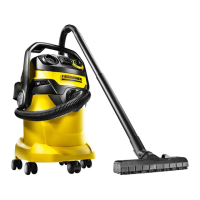
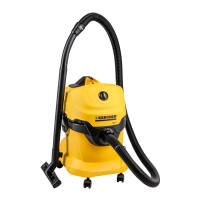
6 Suction nozzle
7 Squeegee blade
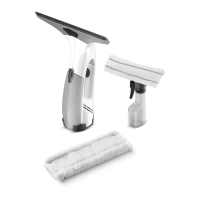
8 Spray bottle
9 Spray lever
10 Wiping attachment
11 Microfiber wipe cover
12 Spray head
13 Coarse dirt scraper
14 Detergent
15 Replaceable battery
16 Charger
17 Connection plug
18 Spacer
19 Waste water tank lock
20 Waste water tank
21 Type plate (only visible when the
waste water tank is removed)
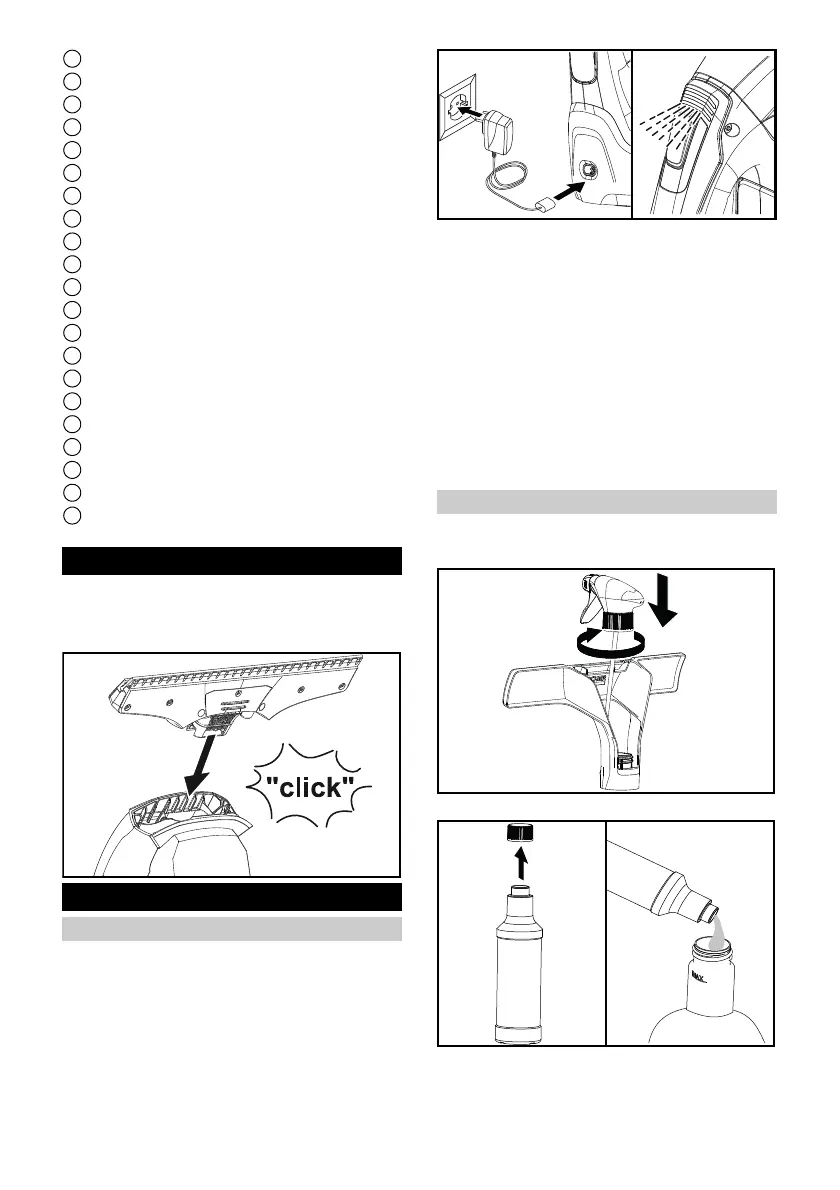
Assembling the device
1. Insert the suction nozzle into the
separator until the suction nozzle
audibly latches into place.
Initial startup
Battery charging
Note
The device is supplied with a dis-
charged battery. Fully charge the bat-
tery before using the device for the first
time.
1. Plug the charger into a main socket.
2. Plug the connecting plug into the
charging socket on the device.
The LED indicator light starts to
flash.
When the device is fully charged,
the LED indicator lights up for
60 minutes and then goes out. The
charging process takes more than
185 minutes when charging the de-
vice for the first time.
The device is ready for use.
Preparing the spray bottle
1. Fit the spray head on the wiping at-
tachment.
2. Fill the spray bottle with detergent.
 Loading...