Do you have a question about the Kenmore ELITE HE5T and is the answer not in the manual?
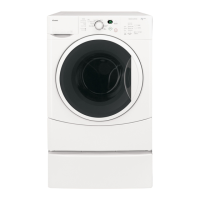
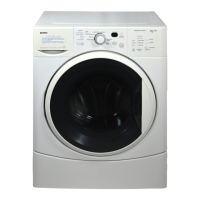
| Energy Star Certified | Yes |
|---|---|
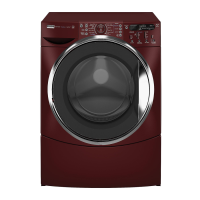
| Color | White |
| Steam Function | Yes |
| Brand | Kenmore |
| Model | ELITE HE5T |
| Type | Front Load Washer |
| Spin Speed | 1, 200 RPM |
Covers defects in material or workmanship for one year from purchase.
Replaces the stainless steel wash drum due to defects for the lifetime of the washer.
Limits implied warranties and disclaims liability for incidental or consequential damages.
Space to record model number, serial number, and purchase date for service.
Essential precautions to reduce the risk of fire, electric shock, or injury.
Lists necessary tools and parts for proper washer installation.
Information on optional pedestals and stack kits for washer installation.
Guidelines for spacing around the washer for various installation types.
Provides key physical dimensions of the washer unit.
Details on spacing for stacked units and cabinet installations.
Explains standpipe, laundry tub, and floor drain system connections.
Details the required voltage, amperage, and circuit for the washer.
Essential steps for safely grounding the washer to prevent shock.
Step-by-step guide for attaching hot and cold water inlet hoses.
Instructions for properly routing the drain hose to prevent leaks.
Ensures all parts are installed and checks are completed.
Steps to ensure the washer is level for optimal operation and reduced vibration.
Highlights features like HE wash system, stainless steel drum, and auto water level.
Describes features like Detergent Advantage, Thermal Optimizer, and Dynamic Balance.
Guidance on initial startup, including fire hazards and proper detergent use.
Overview of selecting cycles, modifiers, and the display indicators.
Details on using compartments for detergent, bleach, and softener.
Specific instructions for using detergent in prewash and main wash compartments.
How to pause and resume a wash cycle.
Procedures for cancelling a cycle or modifying options mid-cycle.
How to manually drain water from the washer.
Explains the meaning of various status lights on the control panel.
Information on door locking and how to enable/disable control lock.
How the washer senses load conditions and updates estimated time.
Chart detailing preset cycle times, water temps, and spin speeds.
Explanations for cycles like Normal/Casual, Heavy Duty, Whitest Whites, and Sanitary.
Details on options like My Cycle, Stain Treat, Prewash, and Delay Start.
How to adjust modifiers like Soil Level, Wash Temp, and Spin Speed.
Explains how to select and change modifiers for cycles.
Guidance on choosing appropriate water temperature and spin speed.
Chart suggesting load types for specific wash cycles and available options.
Explanation of how the Auto Temp Control feature works.
Recommendations for garment care before washing.
Tips for sorting clothes and loading the washer for best results.
Instructions for cleaning the rubber seal around the washer door.
Monthly procedure to clean the inside of the washer using bleach.
Routine steps to keep the washer fresh and clean.
Guidance on preparing the washer for non-use, storage, or moving.
Explains error codes like F20, F21, F22 and their solutions.
Troubleshooting steps for when the washer fails to start.
Solutions for problems where the washer does not fill, wash, or rinse.
Addresses issues related to the washer not draining or spinning correctly.
Explains causes and solutions for unusual washer noises or vibrations.
Tips for addressing washer odor and loads that remain too wet.
Solutions for common staining issues and load sorting.
Tips for preventing wrinkles and maintaining bright colors in loads.
Troubleshooting for cycles that take too long or the door remaining locked.