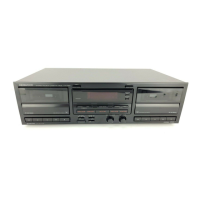
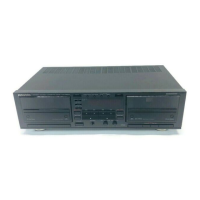
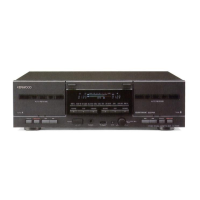
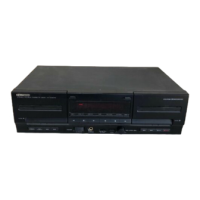
CT-2050/ 203/ KXF-W 6010/ W 4010 (En/ M)
16
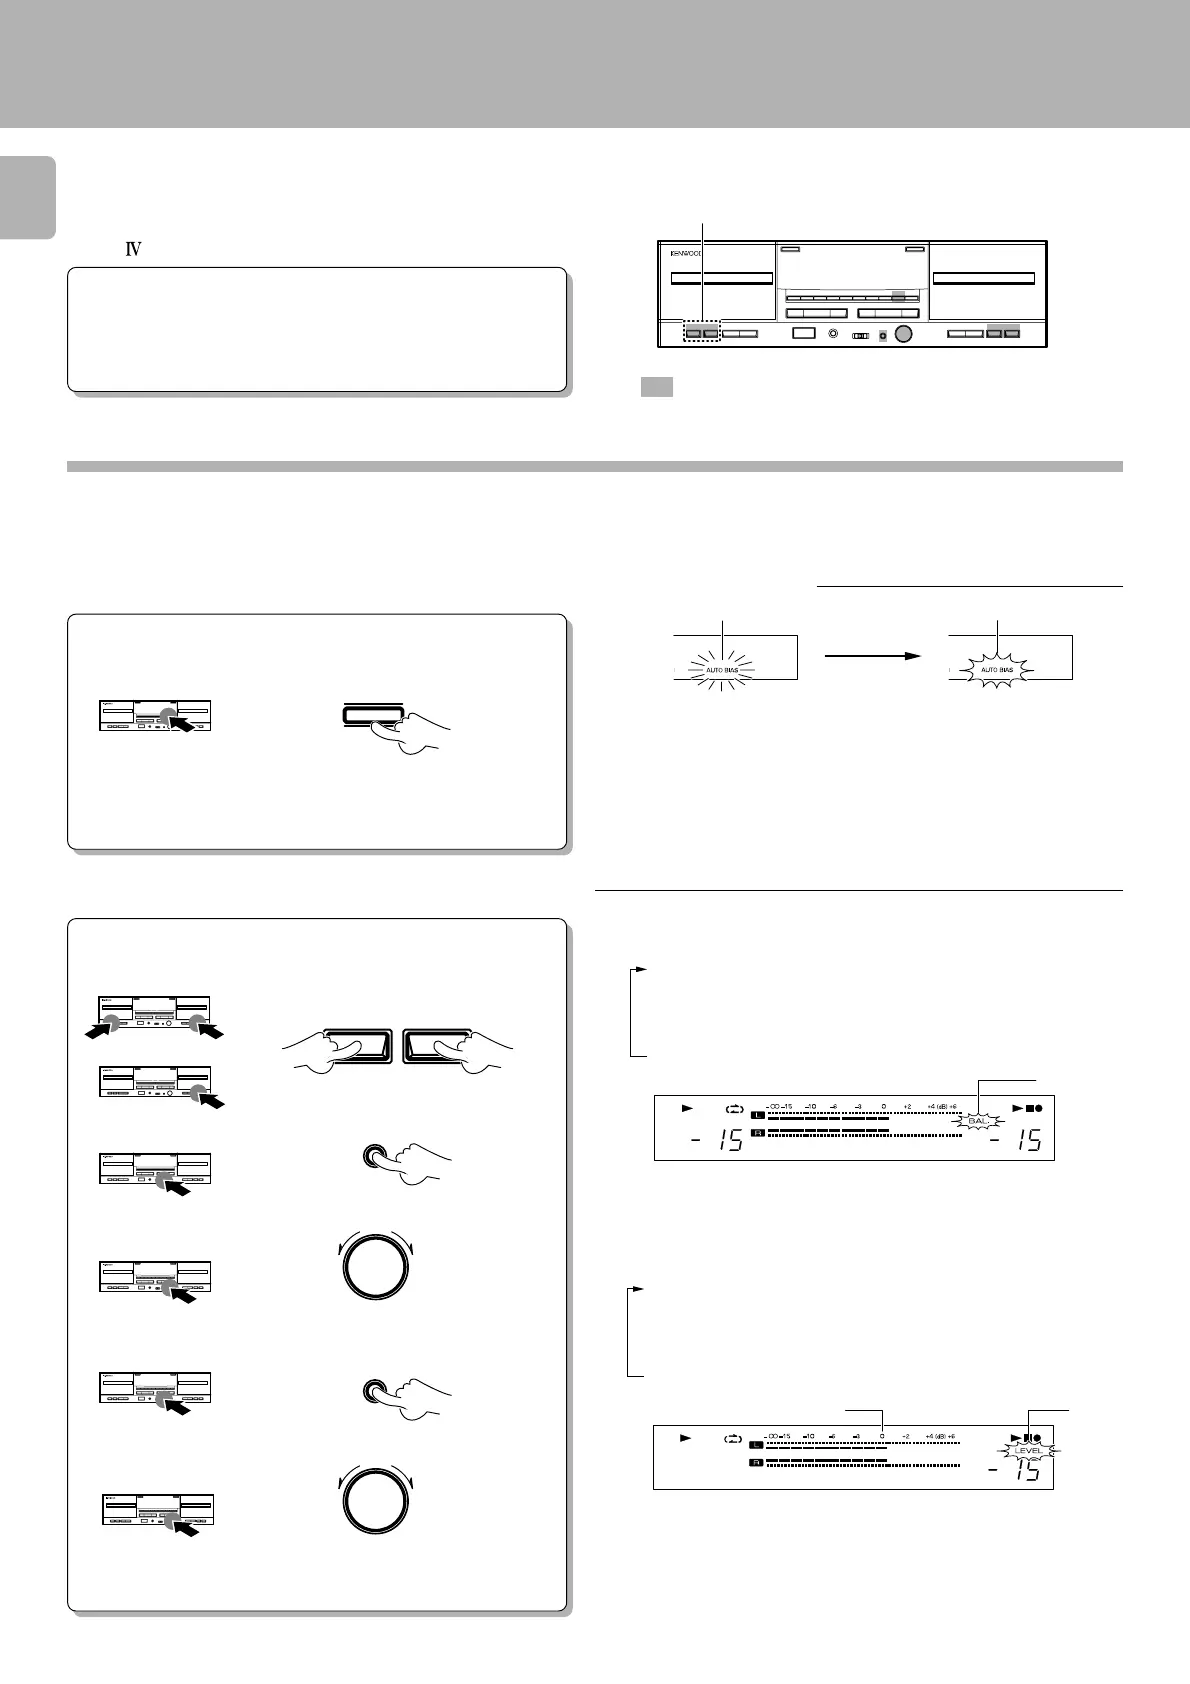
Each press of the MODE key changes the setting.
1 “LEVEL” lights up: Recording level setting mode
2
“BAL.” lights up: Recording balance setting mode
3 “BIAS” lights up: Recording bias setting mode (Deck B of the
CT-2050/ KXF-W6010 only)
4
“LEVEL”,“BAL.”,and “BIAS”go off: Counter display mode
Set the recording level.
÷ Adjust the recording level so that the 0 dB of the peak level indicators
sometimes lights up.
÷ The recording level can be adjusted on both decks A and B. (CT-203/
KXF-W4010; Deck B only)
lights up
lights up
The cassette deck incorporates the Dolby HX Pro headroom
extension function and auto-bias function to provide a re-
cording with superior high-frequency characteristics.
Since this unit is not designed for recording with metal
(TYPE
) tapes, do not use metal tapes for recording.
How to record (CT-203/KXF-W4010; Deck B only)
Preparation
÷ Select by operating the input selector of the amplifier (optional).
÷ In case of recording a FM broadcast,refer to discription of "How to use
the MPX FILTER key". &
÷ While pressing the PAUSE (8) key, press the REC/ARM (¶) key.
0dB.
Recording level display.
1
M ake “Playback (recording) preparation”.
0
(CT-203/ KXF-W4010; Insert a tape in deck
B.)
2
(Load a disc in the CD player.)
: Keys and control used in the operations described on this page.
Normal recording
1
Select the source to be recorded.
3
2
Perform auto-bias adjustment. (The bias adjustment is applied to deck B.)
AUTO BIAS
÷ The optimum bias is set in about 40 seconds, after which the deck
enters the stop mode.
÷ For a fine adjustment after setting AUTO BIAS, refer to the description
of “Bias level adjustment”. (CT-2050/KXF-W6010 only) &
÷ To cancel the auto-bias adjustment operation in the middle, press the
stop (7) key.
÷÷
÷÷
÷ Recording is possible even when the auto-bias setting is omitted.
÷ If the amount of remaining tape is small, the auto-bias adjustment may
be canceled in the middle and tape stopped at that position.
÷ The bias level is canceled when the eject (0) key is pressed.
1
Play a music source.
2
Enter the record-pause mode.
8
PAUSE
REC/ARM
3
Press the M ODE key and select the "BAL."
mode.
MODE
4
Adjust the recording balance.
REC LEVEL/BAL.
/BIAS
∞
MAX/R
∞
MIN/L
Right sound
decreases.
Left sound
decreases.
5
Press the MODE key and select the
"LEVEL" mode.
MODE
6
Adjust the recording level.
REC LEVEL/BAL.
/BIAS
∞
MAX/R
∞
MIN/L
Recording
level
decreases.
Recording
level
increases.
7
Stop playing the source.
÷ In counter, adjust the recording balance level so that the left and right
displays are the same. You can also check with the Òand Âpeak level
indicators.
Right channel levelLeft channel level
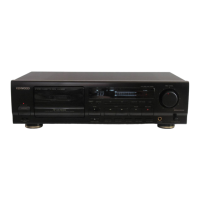
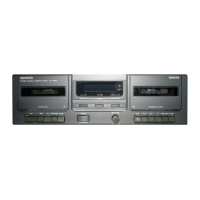
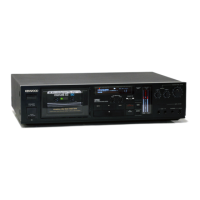
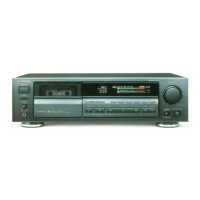
CT-2050/KXF-W6010
CT-203/KXF-W4010
CT-2050/ KXF-W6010 only
“AUTO BIAS”blinks. After approximately
40 seconds
“AUTO BIAS” lightsup.
Each press of the MODE key changes the setting.
1
“LEVEL” lights up: Recording level setting mode
2 “BAL.” lights up: Recording balance setting mode
3 “BIAS” lights up: Recording bias setting mode (Deck B of the
CT-2050/ KXF-W6010 only)
4
“LEVEL”,“BAL.”,and “BIAS”go off: Counter display mode
Downloaded from: http://www.usersmanualguide.com/
 Loading...