4
M-A30 0/ A100 (En)
Notes
Notes
1. Connect all cords firmly. Loose connections may prevent proper sound transmission or produce noise.
2. Be sure to remove the power cord from the AC outlet before plugging or unplugging any connection cords. Plugging / unplugging connection
cords without disconnecting the power cord can cause malfunctions and may damage the unit.
3. Do not connect power cords from components whose power consumption is larger than what is indicated on the AC outlet at the rear of this
unit.
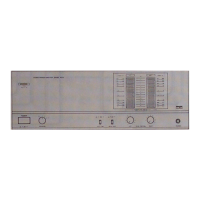
M ain unit
Speaker unit
1 Strip coating.
3 Insert cord.
4 Return lever.
2 Push lever.
Terminal connection
• Never short circuit the + and – speaker cords.
• If the left and right speakers are connected inversely or the speaker cords are connected with reversed polarity, the sound will be unnatural with
ambiguous acoustic imaging. Be sure to connect the speakers correctly.
1 Strip coating.
3 Insert cord.
4 Return lever.
2 Push lever.
System connections
UNSWITCHED AC outlet
The power of the component connected to this kind of AC outlet can
be switched ON/OFF regardless of the POWER switch on the main
unit.
AC outlet on the rear panel
• When connecting the parallel cord, insert the plug straight into the
connector until it clicks to lock them securely.
• When disconnecting the parallel cord, push in the two sides of the
plug and pull it straight out.
Connection of parallel cord
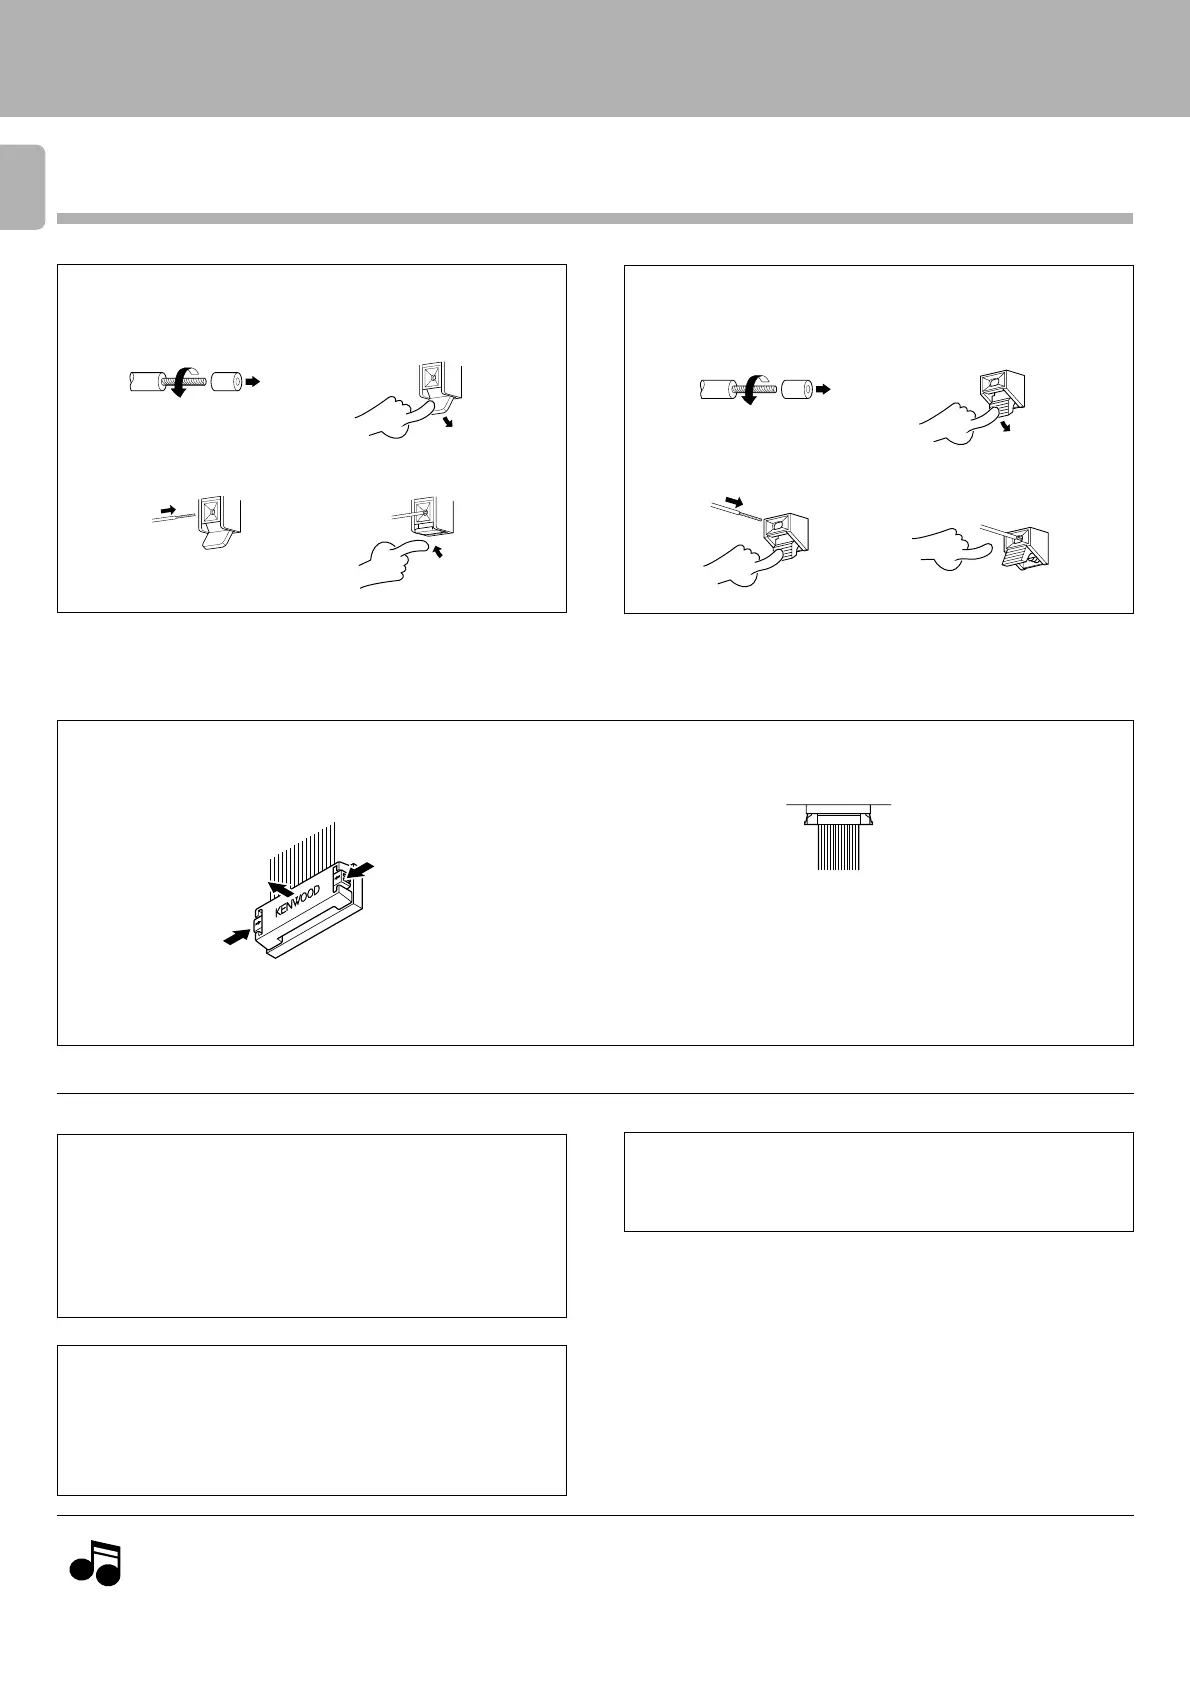
Caution regarding placement
(Except for U.S.A. and Canada)
Ventilation fan
The ventilation fan runs during high-power reproduction. To allow for
proper ventilation, do not block the ventilation fan.
To maintain proper ventilation, be sure to leave a space around the
unit (from the largest outer dimensions, including projections) equal
to, or greater than shown below:
Left and right panels: 10 cm, Rear panel: 10 cm
Downloaded from: http://www.usersmanualguide.com/
 Loading...