EasyManua.ls Logo

Kodak CAROUSEL NEW LOOK PROJECTOR User Manual

Kodak CAROUSEL NEW LOOK PROJECTOR
51 pages
To Next Page IconTo Next Page
To Previous Page IconTo Previous Page
Page #28 background imageLoading...
Page #28 background image
SERVICE MANUAL
28 18NOV97 – SM5440-1
Adjusting the Focus Light Path - Auto Focus Models
Adjustment Specification
Seat AUTO-FOCUS TARGET SLIDE TL-3002 on the GATE MECHANISM. Use TL-3005 or TL-1165 to bend the
AUTO-FOCUS BRACKET ASSEMBLY MIRROR until the image is within the target of the TARGET SLIDE.
Warning
Dangerous Voltage
[1] Disconnect the main power.
[2] Remove the PROJECTION LENS.
[3] Do the removal for the LOWER HOUSING ASSEMBLY.
Important
It is necessary to make a FAN COVER TOOL. See the Tools section.
[4] Install the FAN COVER TOOL over the FAN area and the LAMP MODULE.
[5] Energize the projector.
[6] Set the projector to the LOW LAMP position.
[7] Install the AUTO-FOCUS TARGET SLIDE TL-3002 until it is fully seated in the GATE MECHANISM.
[8] Look through the PROJECTION LENS hole and observe the focus light path on the AUTO-FOCUS TARGET
SLIDE TL-3002.
[9] Check the position of the image on the AUTO-FOCUS TARGET SLIDE TL-3002.
A091_0016BA
TL-3001
LEVER GUAGE
SLIDE LIFT
SELECT
A091_0016BCA
(not shown)
LEVER
SLIDE LIFT
LEVER

Table of Contents

Question and Answer IconNeed help?

Do you have a question about the Kodak CAROUSEL NEW LOOK PROJECTOR and is the answer not in the manual?
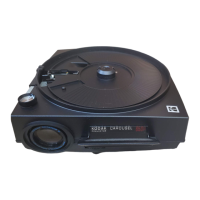
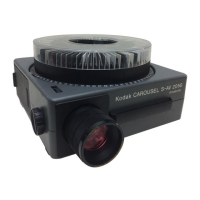
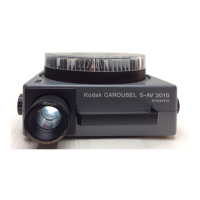
Kodak CAROUSEL NEW LOOK PROJECTOR Specifications

General IconGeneral
ModelCAROUSEL NEW LOOK PROJECTOR
ManufacturerKodak
TypeSlide Projector
Format35mm
Slide Format2x2 inch
Wattage300W
Voltage120V
Fan CoolingYes
Remote ControlNo
Light SourceHalogen

Summary

Section 1: Replacements and Installations

Replace Lower Housing Assembly

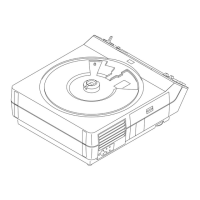
Procedure for removing and replacing the lower housing assembly.

Install Lower Housing Assembly

Steps for installing the lower housing assembly.

Replace Fan Shaft Assembly

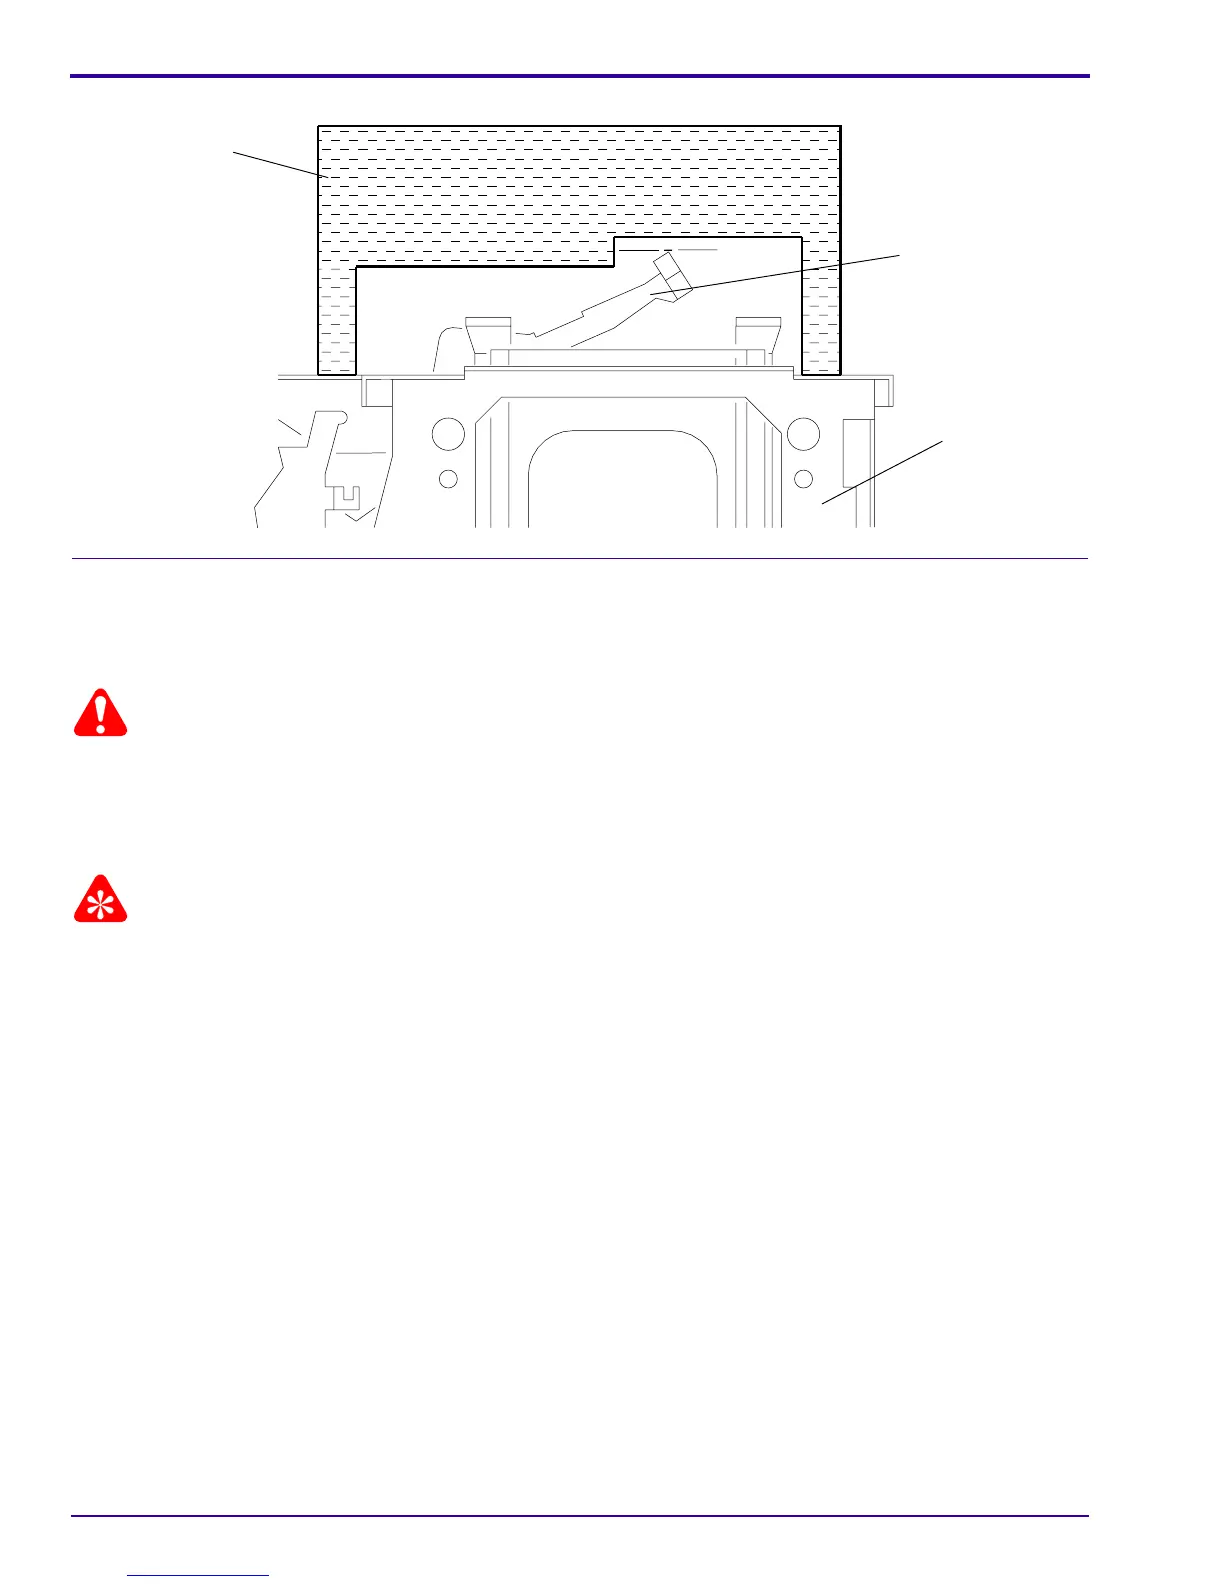
Instructions for removing the fan shaft assembly.

Install Fan Shaft Assembly

Procedure for installing the fan shaft assembly and belts.

Replace Motor

Steps for removing and replacing the projector's motor.

Install Motor

Guidance for installing the motor assembly.

Replace Worm Pulley and Mechanism Belt

Procedure for replacing the worm pulley and mechanism belt.

Install Worm Pulley and Mechanism Belt

Steps for installing the worm pulley and mechanism belt.

Replace Thermal Fuse Assembly

Instructions for removing and replacing the thermal fuse assembly.

Install Thermal Fuse Assembly

Procedure for installing the thermal fuse assembly.

Replace Lamp Module Receptacle

Steps to remove and replace the lamp module receptacle.

Install Lamp Module Receptacle

Guidance for installing the lamp module receptacle.

Replace Cycle Solenoid Assembly

Procedure for removing and replacing the cycle solenoid assembly.

Install Cycle Solenoid Assembly

Steps for installing the cycle solenoid assembly.

Replace Mechanism Assembly

Instructions for removing the main mechanism assembly.

Install Mechanism Assembly

Procedure for installing the main mechanism assembly.

Replace Auto-Focus Bracket Assembly

Steps to remove and replace the auto-focus bracket assembly.

Section 2: Adjustments

Section 6: Diagnostics

Related product manuals