11.14
Section 11
Reassembly
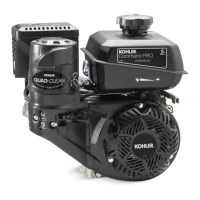
d. Hold the adjuster from turning and tighten
the locknut. Torque locknut to 10 N·m
(89 in. lb.). See Figure 11-51.
Figure 11-51. Lock Valve Tappet Adjustment.
e. Recheck that the clearance is correct.
5. Set the gap of a new Champion
®
RC12YC or
equivalent spark plug to 0.76 mm (0.030 in.).
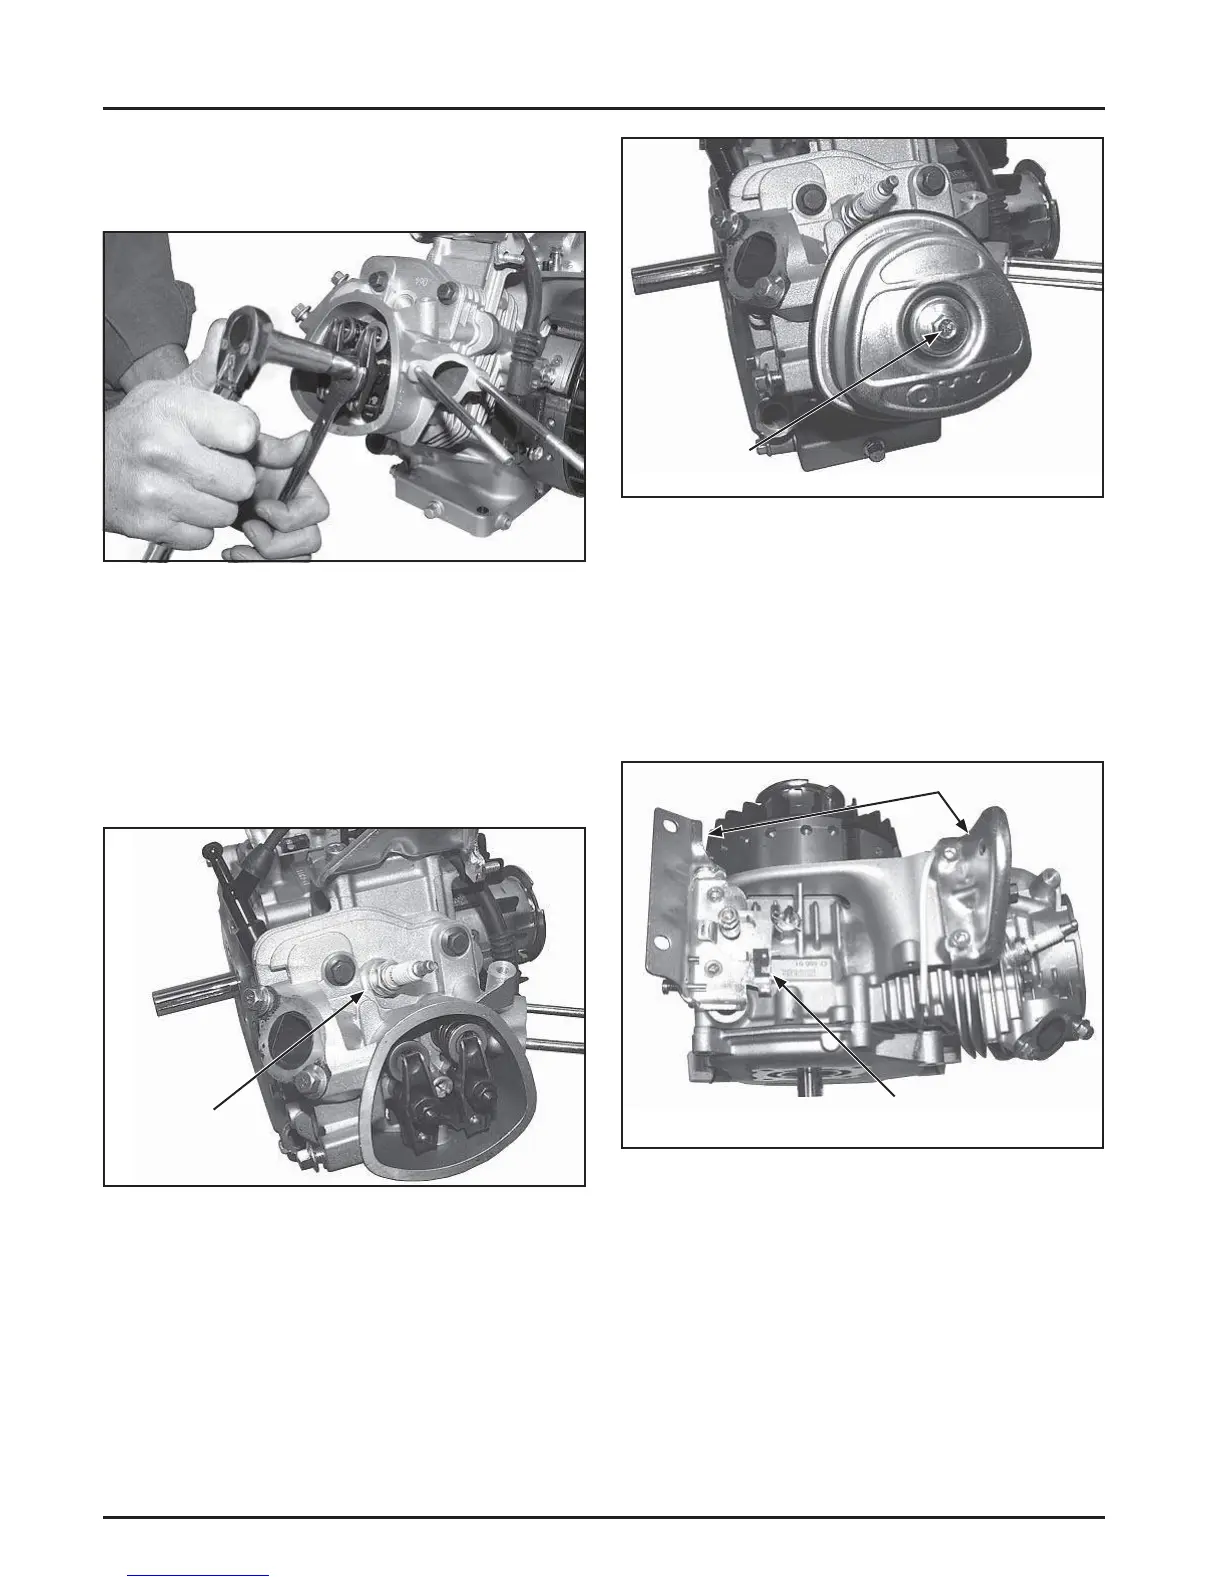
6. Install the spark plug in the cylinder head and
torque to 22-27 N·m (195-239 in. lb.). See Figure
11-52.
Spark
Plug
Figure 11-52. Installing and Torquing New Spark
Plug.
Install Valve Cover
1. Install a new valve cover gasket onto the valve
cover.
2. Position the valve cover/gasket assembly on the
head. Install the hex fl ange screw and torque to
10 N·m (89 in. lb.). See Figure 11-53.
Figure 11-53. Torquing Valve Cover Screw.
Install Fuel Tank Supports and Shut Down
Switch with Bracket
CH270
1. Position both tank support brackets on the
crankcase and loosely install with four hex head
screws. See Figure 11-54.
Valve Cover
Screw
Figure 11-54. Install Fuel Tank Brackets.
2. Position the shut down switch with bracket on
the tank bracket shown (see Figure 11-54) and
install the threaded stud to secure.
3. Torque the tank support bracket hardware to
24 N·m (212 in. lb.).
CH395, CH440
1. Position both tank support brackets on the
crankcase and install with four hex fl ange screws.
See Figures 11-55 and 11-56. Torque to 24 N·m
(212 in. lb.).
Fuel Tank Brackets
Shut Down Switch
and Bracket
 Loading...