14
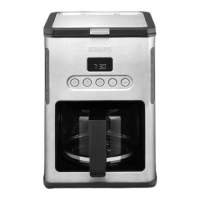
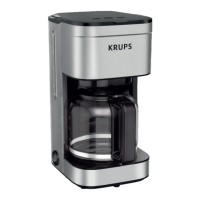
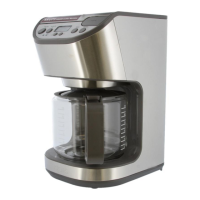
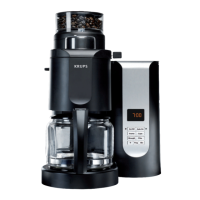
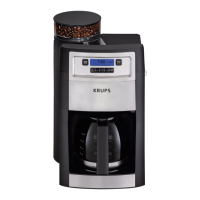
DESCRIPTION
A SCOOP WITH BRUSH
B FILTER
C CARAFE
D TOP COVER
E UPPER BURR (GRINDER)
F GRIND N BREW BASKET
G WATER TANK COVER
H KEEP WARM PLATE
I POWERCORD SET
CLEAN THE COFFEE MAKER BEFORE FIRST USE
Before using your coffee maker for the rst time, run a brew cycle without coffee to rinse.
1. Fill the water tank with water.
2. Place the carafe on the keep warm plate.
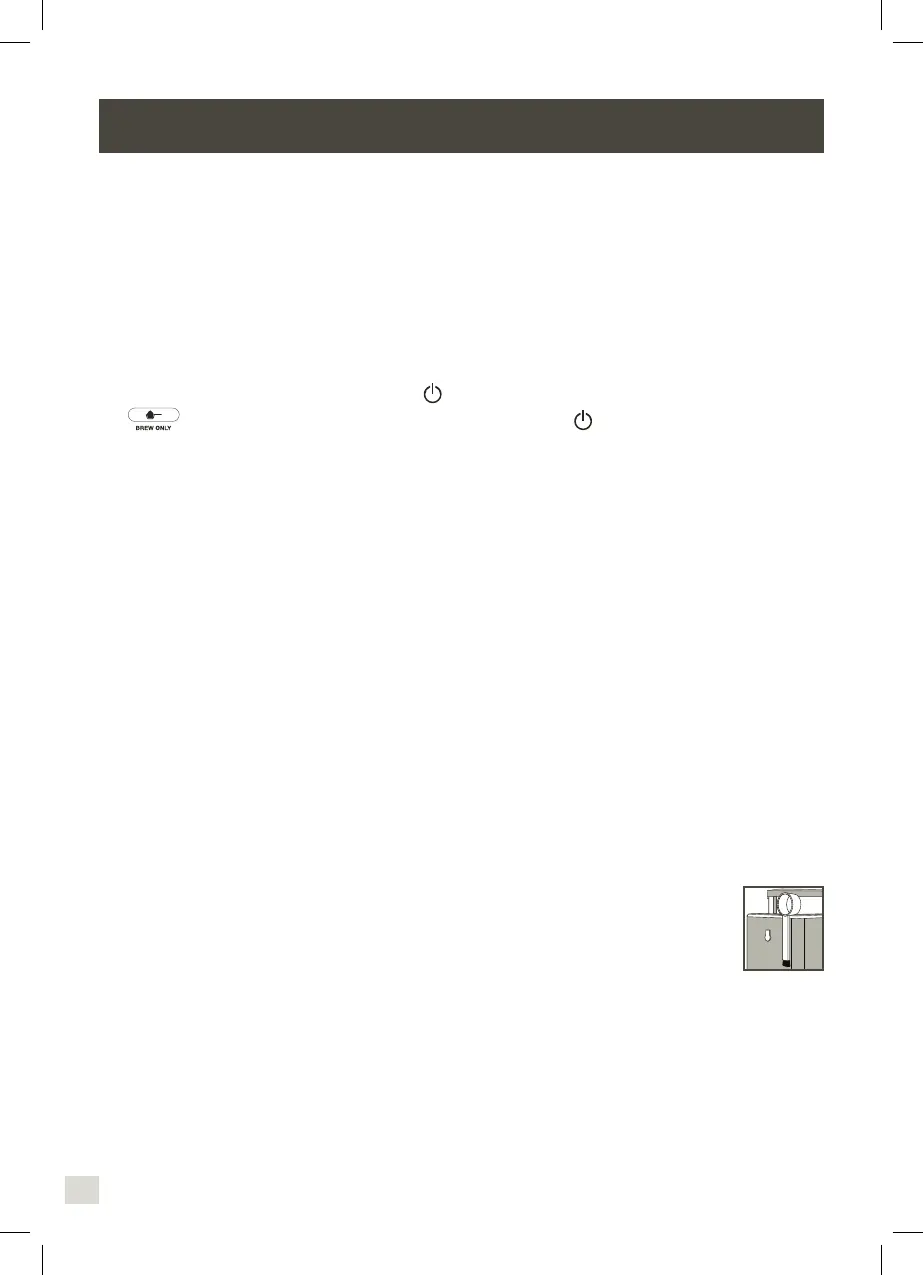
3. Start the cycle by pushing the “ON”
button. The indicator light turns on. Then push
to run hot water through the coffee maker. Push button to turn unit off.
BREWING COFFEE
ADD WATER AND COFFEE
1. Fill the water tank with cold water to the desired water level. (fig. 1)
2. Place your carafe in the center of the heating plate. (fig.2)
Note: Do not exceed the 4-cup line when brewing into carafe. Doing so could cause carafe
to overow. There must be a minimum of 2 cups of water in the water tank to begin the
brew cycle.
3. Open the top cover by pressing the release button and lifting. (fig.3)
FOR WHOLE BEAN COFFEE:
4. Changing Grind Size - Adjust the neness of the ground coffee by aligning the removable
upper burr to the markings “1” or “2”. The grind setting is useful when you change coffee
type or if you would like a stronger or weaker coffee. (fig.4) "1" for ne grinding (stronger
coffee), "2" for coarse grinding (lighter coffee).
Add the desired amount of whole coffee beans to the whole bean container, (fig.5) then
replace the top cover. (fig.6) We recommend using the provided scoop to measure coffee.
Refer to the recipe guide for additional customization information.
Note: Provided scoop can be stored by inserting into the slot on the back left
of the coffee maker
Note: It’s normal to have few coffee beans left in the grind & brew basket after
nishing every grinding cycle.
 Loading...