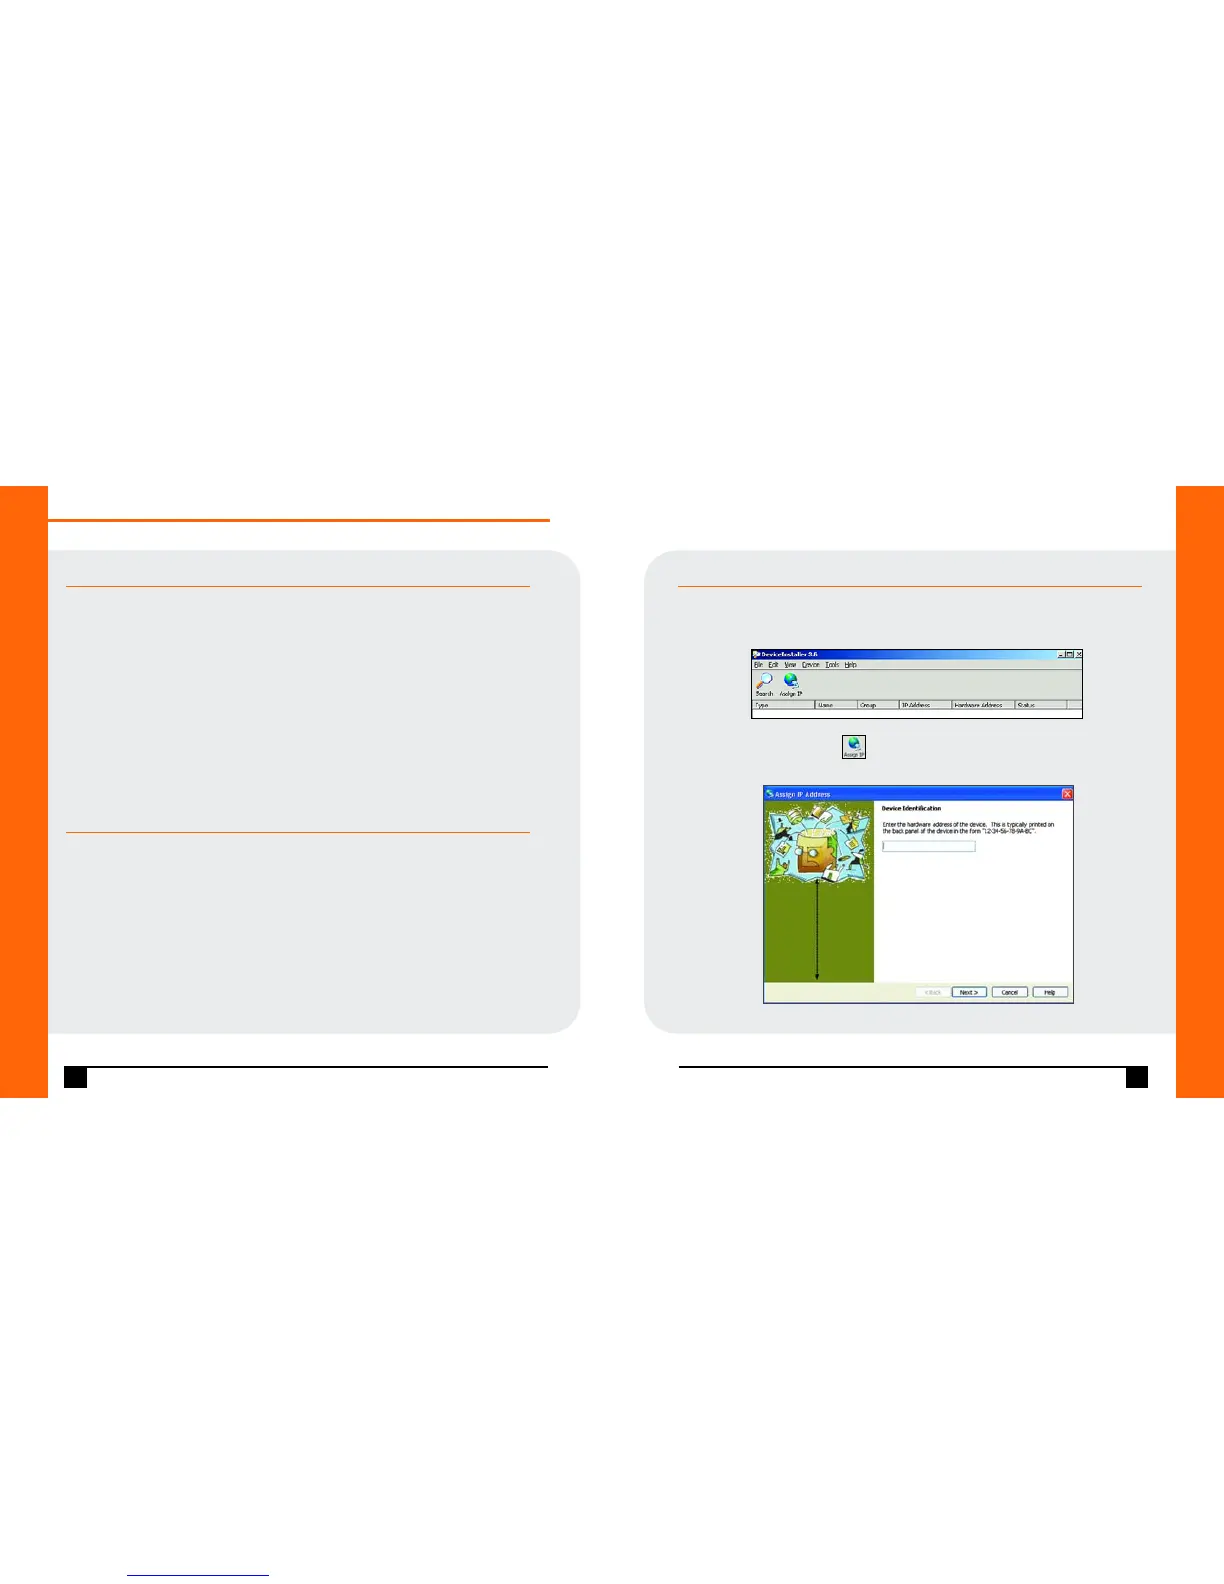
ASSIGN IP ADDRESS AND NETWORK CLASS
1. Click the Start button on the Task Bar and select Programs ➜ Lantronix ➜
DeviceInstaller ➜ DeviceInstaller. The DeviceInstaller window displays.
2. Click the Assign IP icon . The Device Identification window displays.
3. Enter the Hardware address of the device.
4
WWW.LANTRONIX.COM
CONNECT
1. Connect your Ethernet cable to the 10/100 Base-T Ethernet port
on the unit and attach the other end to the network drop.
2. Connect the external power supply (9 to 30 VDC, 2W maximum).
3. Confirm that one of the Link LEDs lights up. (Yellow LED is 10Mbps
link/activity; green LED is 100Mbps link/activity.)
INSTALL THE DEVICEINSTALLER GUI
1. Insert the CD into your CD-ROM drive.
If the CD does not launch automatically:
a) Click the Start button on the Task Bar and select Run.
b) Enter your CD drive letter, colon, backslash,
device_installer, backslash, DeviceInstaller.exe
(e.g., E:\device_installer\DeviceInstaller.exe).
2. Respond to the installation wizard prompts.
5
Quick Start Guide
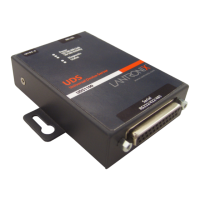
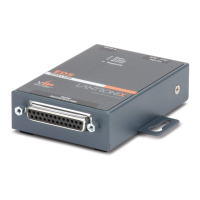
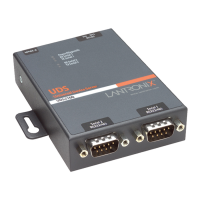
UDS2100
Figure 1. DeviceInstaller Window
Figure 2. Device Identification
 Loading...